Prior to installing
IM 986-11 • Vertical Stack WSHP 8 www.DaikinApplied.com
Disassembling Upper and Lower Cabinet
Sections
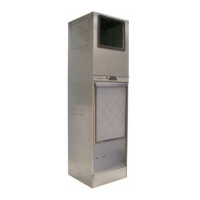
The Vertical Stack unit cabinet ships completely assembled. If
required, it may be disassembled into two (2) sections (upper-
fan/discharge cabinet) and (lower chassis/return air cabinet) to
make it easier to handle. To disassemble, do the following.
1. Remove risers (if received attached).
2 Remove the three (bottom row) screws on the back of the
unit as shown in Figure 2.
Note: Retain all screws for later use to reassemble unit in
reverse order as described in steps 1-6. Number of
screws will vary depending on unit size.
3. Carefully lay the unit down on its back and remove the
remaining eight (8) screws on the left and right side of the
cabinet (Figure 3).
4. Remove the ten (10) screws and lift off the front panel/lter
rack to gain access to the cabinet interior (Figure 4).
5. Locate and remove the six (6) screws located inside the
cabinet joining the upper and lower cabinet sections
(Figure 5).
Note: Pull the insulaton away from the walls of the cabinet
interior to get access to the screws.
6. Separate the lower return air cabinet section from the upper
blower/discharge cabinet section (Figure 6).
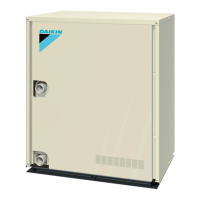
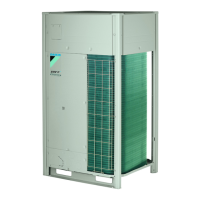
Figure 2: Remove three (3) screws (bottom row) on the
back of the unit.
Back of Unit
Three screws (bottom row)
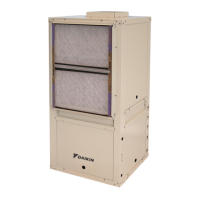
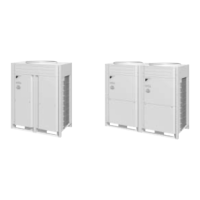
Figure 3: Remove remaining eight (8) screws on the left
and right sides of the cabinet
Four (4) screws located
on left side of cabinet
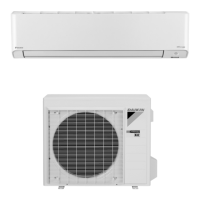
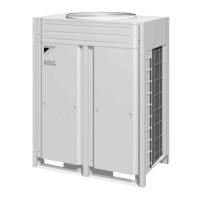
Figure 4: Remove the ten (10) screws from the front panel/
filter rack.
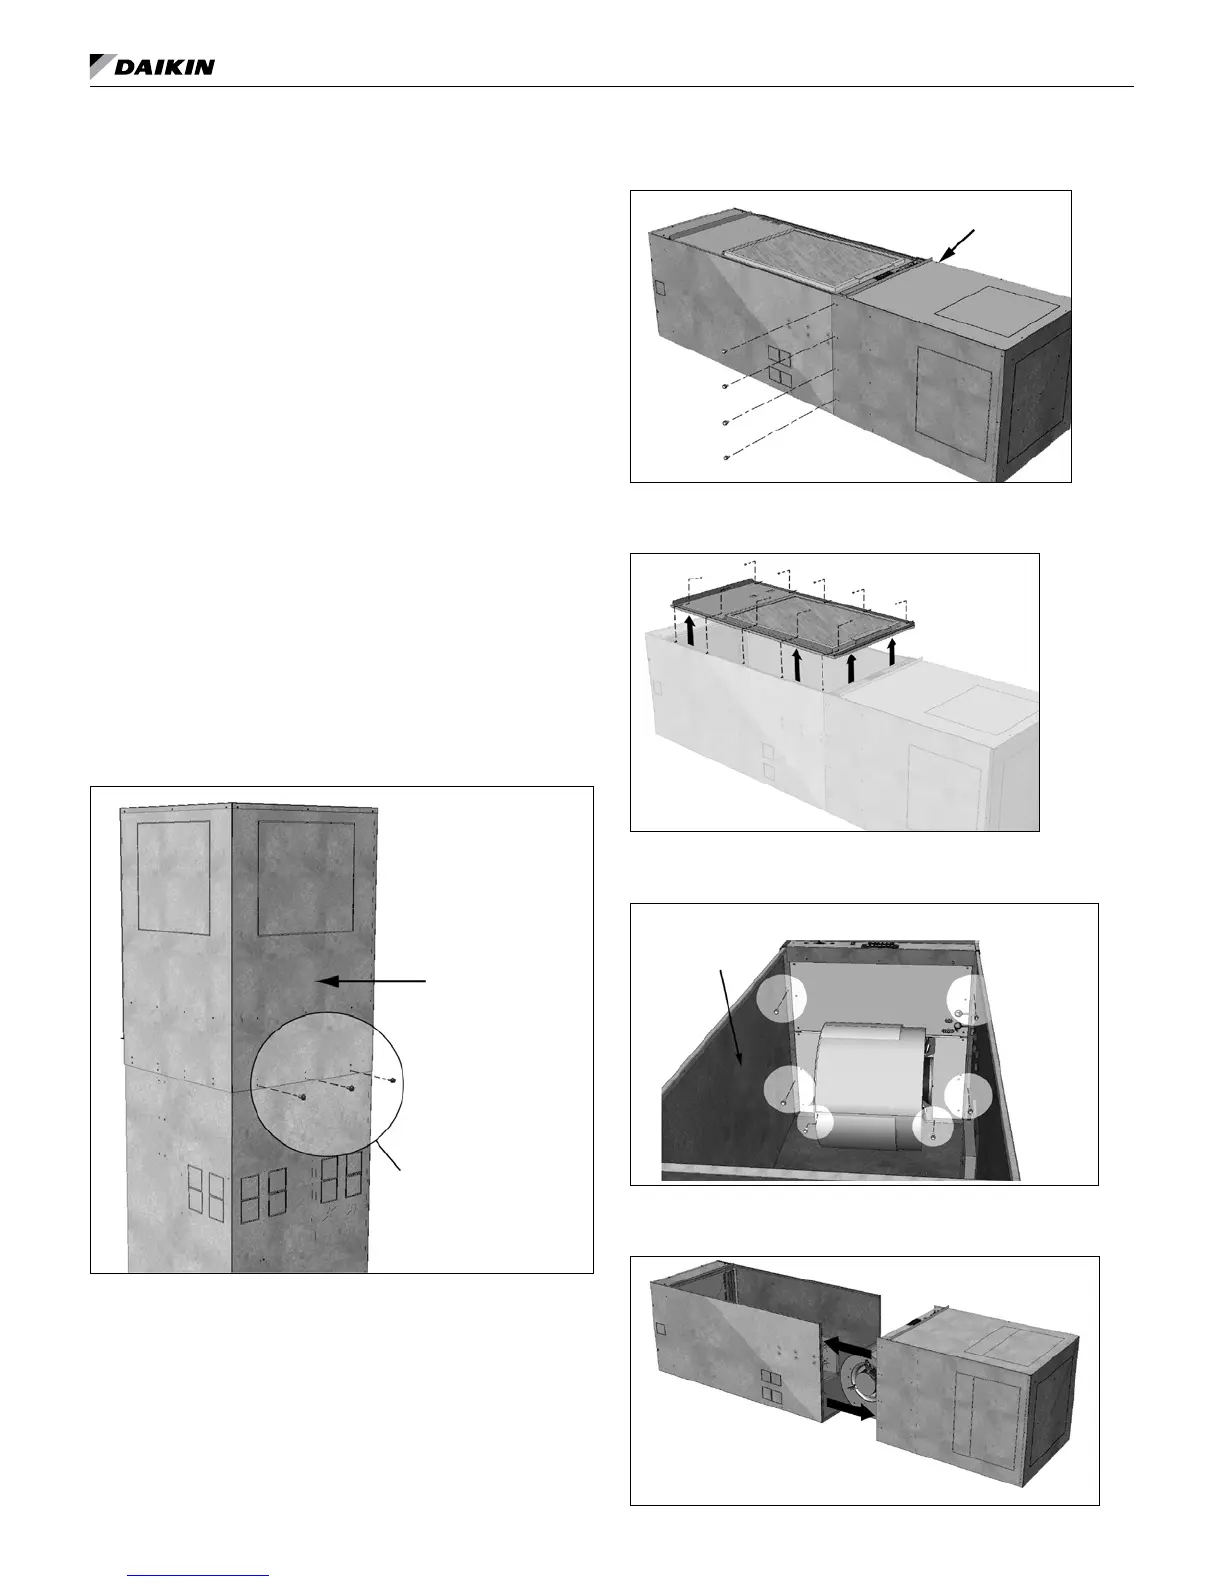
Figure 5: Remove the six (6) screws located on the interior
of the unit.
Return air cabinet
section interior
Figure 6: Separate the lower cabinet section from the
upper cabinet.