EASYSENSE Q3+ and Q5+ DO185 (2)
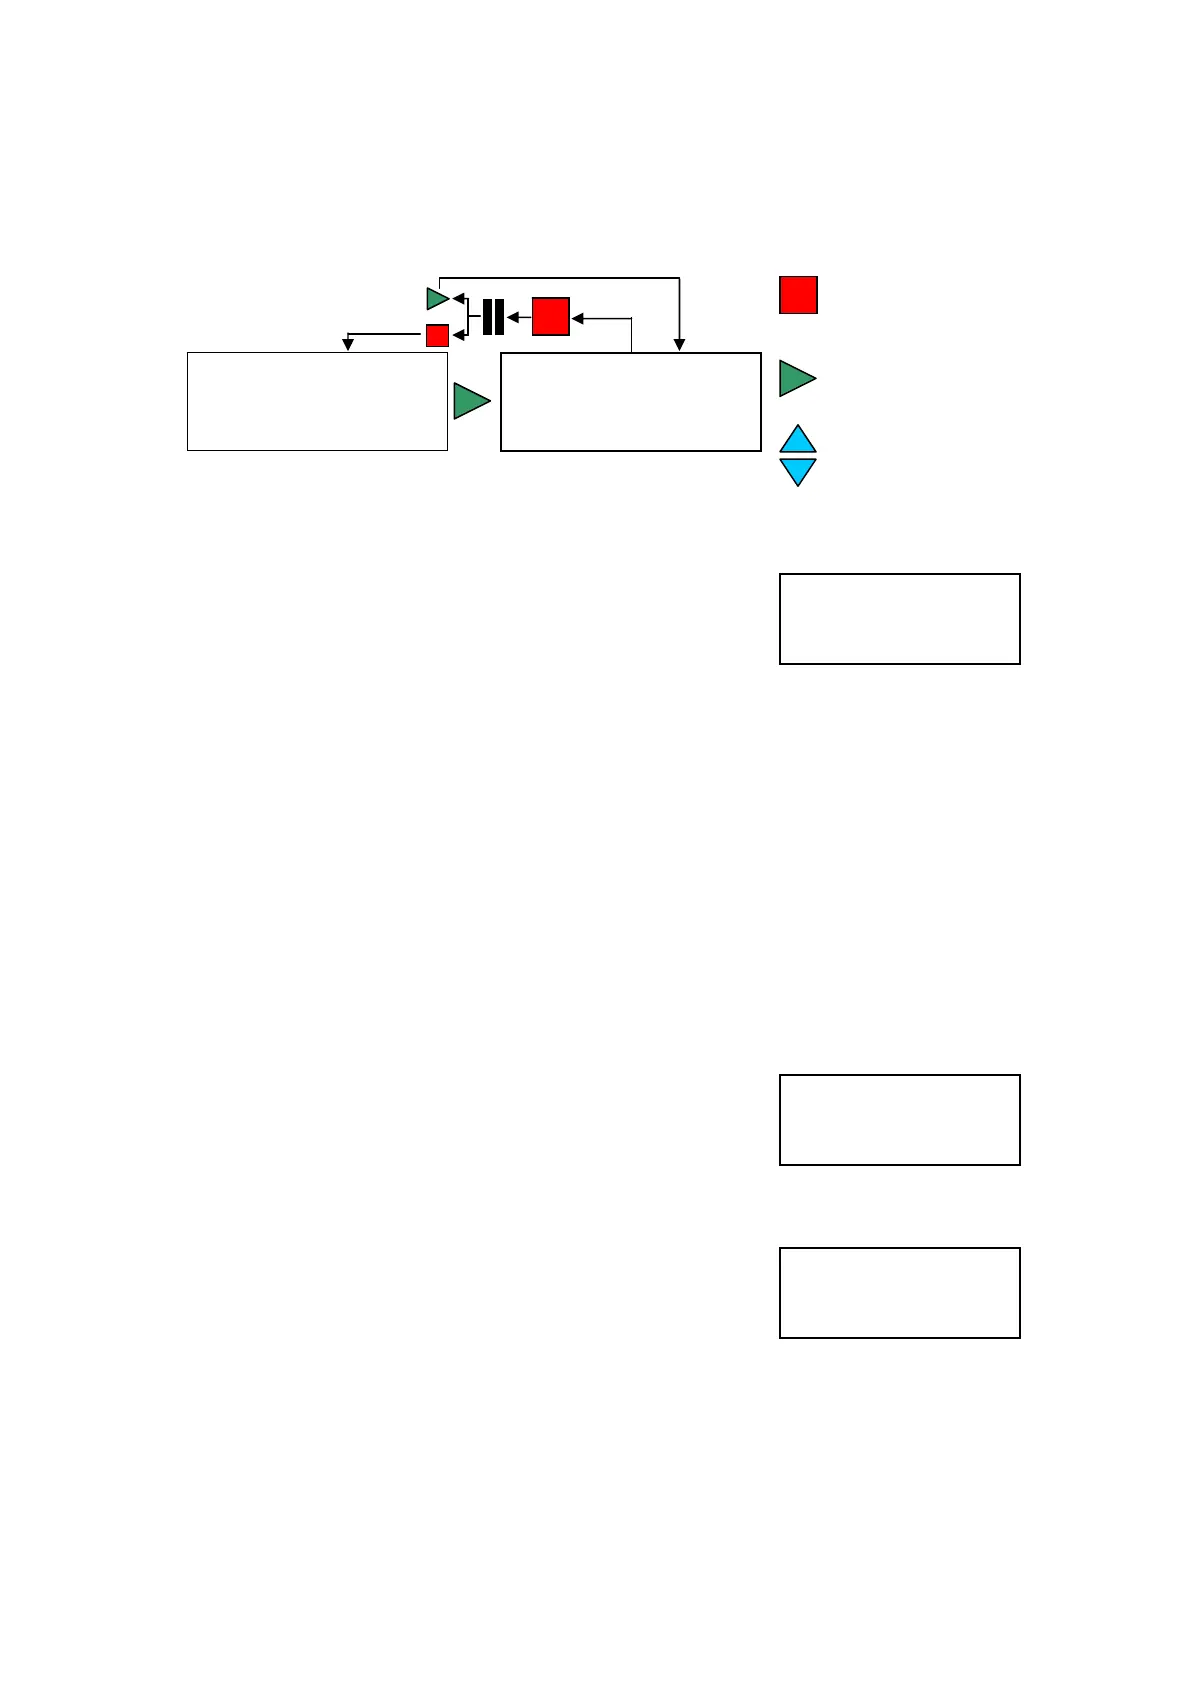
Meter
In this mode EASYSENSE Q will display measurements from the active sensors (built-in
and any plug-in sensors) on the LCD screen but will not store any data.
Use the green button t
check or change the
sensor range
o
Use the red button to pause
the screen (
▌▌)
Use the blue buttons to
scroll through the sensors
•
Connect any plug-in sensors if required. If the display is turned off, press any button
to wake up EASYSENSE Q.
System
• Use the blue buttons (▲▼) to scroll the list until the
pointer is pointing at Meter.
► Meter
Snapshot
Easy Log
• Press the green button ►to select Meter.
•
The blue buttons (▲▼) can be used to scroll and view data from the sensors.
• The green button ► can be used to check or change the sensors range (see below).
• The red button can be used to temporarily halt the updates to the sensors
readings. Two lines ▌▌on the top left will indicate that the display is paused.
• Press the green button ►to cancel pause.
• Press the red button to exit Meter mode and return to the main menu.
Set sensor range
Some built-in and plug in Smart Q sensors have multiple ranges. The range of a sensor
can be altered whilst in Meter mode.
• Whilst in Meter mode use the blue buttons (▲▼) to
scroll the list until the pointer is pointing at the
appropriate sensor.
• Press the green ►button.
Note: If a sensor only has one range then its name will be momentarily displayed.
► 3) 50.9 dBA
4) 150 lx
5) 28.5 ˚C
6) 103.5 kPa
System
► Meter
Snapshot
Easy Log
► 4) 498 lx
5) 25.5 ˚C
Light:
Outdoor 100k lx
►*Indoor 1000 lx
In/Out 10k lx
An asterisk * will indicate the current range selected.
Use the blue (▲▼) buttons to scroll the list until the
pointer is pointing at the required range.
• Press the green ►button to select the range and return to Meter mode.
Notes:
• The plug-in Temperature sensor supplied in the Q3+ or Q5+ pack will use the same range as the built-
in Temperature sensor.
• The built-in sensor range will not be applied to any Smart Q Temperature, Light or Pressure sensors
that are connected. They will continue to use the settings stored in the Smart Q sensor.
© Data Harvest Group Ltd.
10