Setting Up the Imager
Product Reference Guide
7
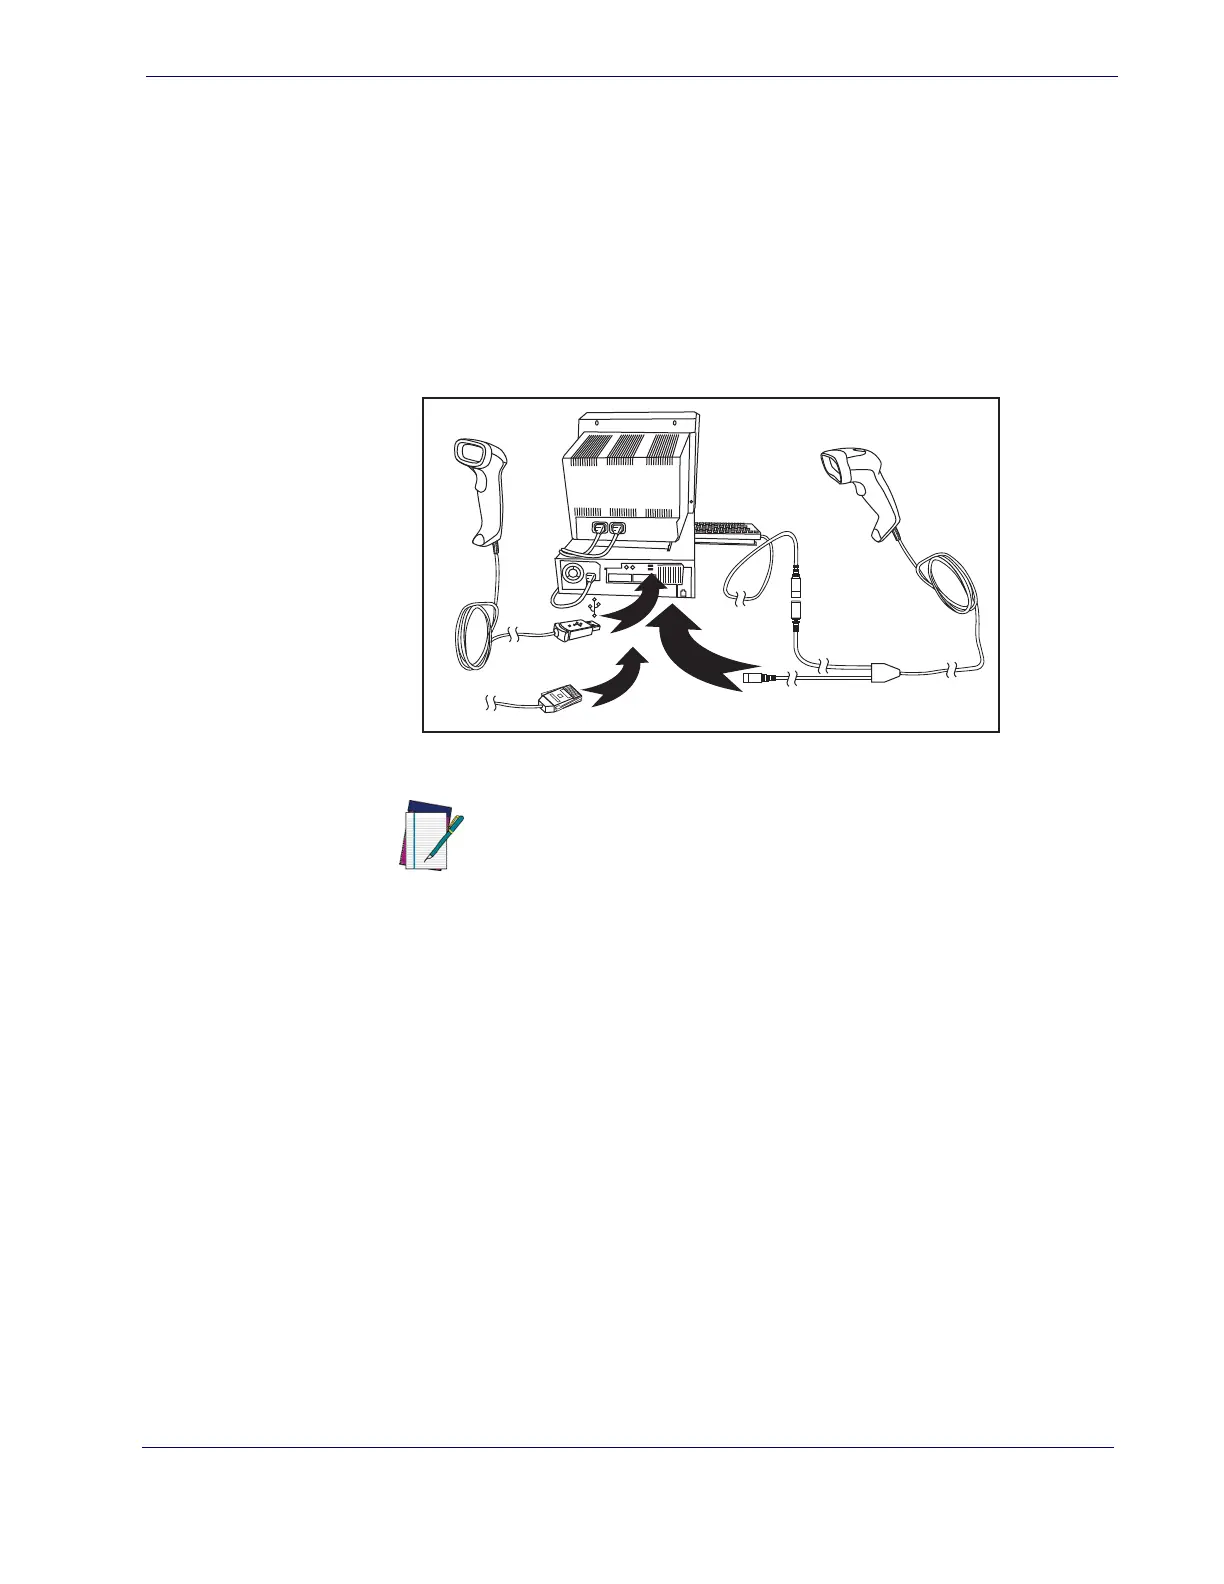
USB Connection —
Connect the imager to a USB port on the terminal/PC using the
correct USB cable for the interface type you ordered. Reference Figure 2.
IBM Connection —
Connect the imager to the IBM port on the terminal/PC using the
correct IBM cable. Reference Figure 2.
Keyboard Wedge Connection —
The Keyboard Wedge cable has a ‘Y’ connection
from the imager. Connect the female to the male end from the keyboard and the remain-
ing end at the keyboard port at the terminal/PC. Reference Figure 2.
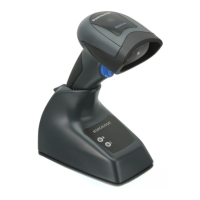
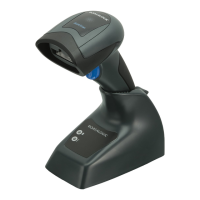
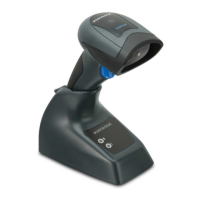
Figure 2. Other Interface Connections
U
S
B
I
B
M
K
e
y
b
o
a
r
d
W
e
d
g
e
or...
or...
NOTE
Specific cables are required for connection to different hosts.
The connectors illustrated above are examples only. Actual
connectors may vary from those illustrated, but the steps to
connect the imager remain the same.
Programming
The imager is typically factory-configured with a set of default features standard to the
interface type you ordered. After scanning the interface bar code from the Interfaces sec-
tion, you can select other options and customize your imag
er through use of the instruc-
tions and programming bar codes available in the corresponding features section fo
r your
interface and also the
Data Editing and Symbologies chapters of this manual.
 Loading...