Appendix J – General Purpose Input Output Ports
Class Series Programmer’s Manual 231
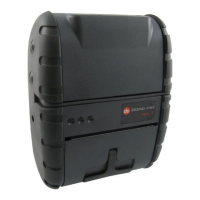
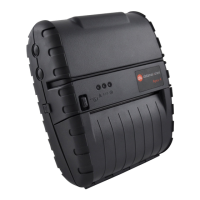
The GPIO Port allows convenient printer to applicator integration. Functions can be configured using the
menu system or via <STX>Kc commands. All configuration settings are saved in non-volatile memory.
Jumper settings are critical:
• Jumper settings allow internal or external power distribution to the applicator circuitry.
• Jumper settings allow + 5 or +24 VDC output signal levels.
WARNING
Failure to configure the card for the device(s) you are connecting may result in damage to the printer
and/or the applicator.
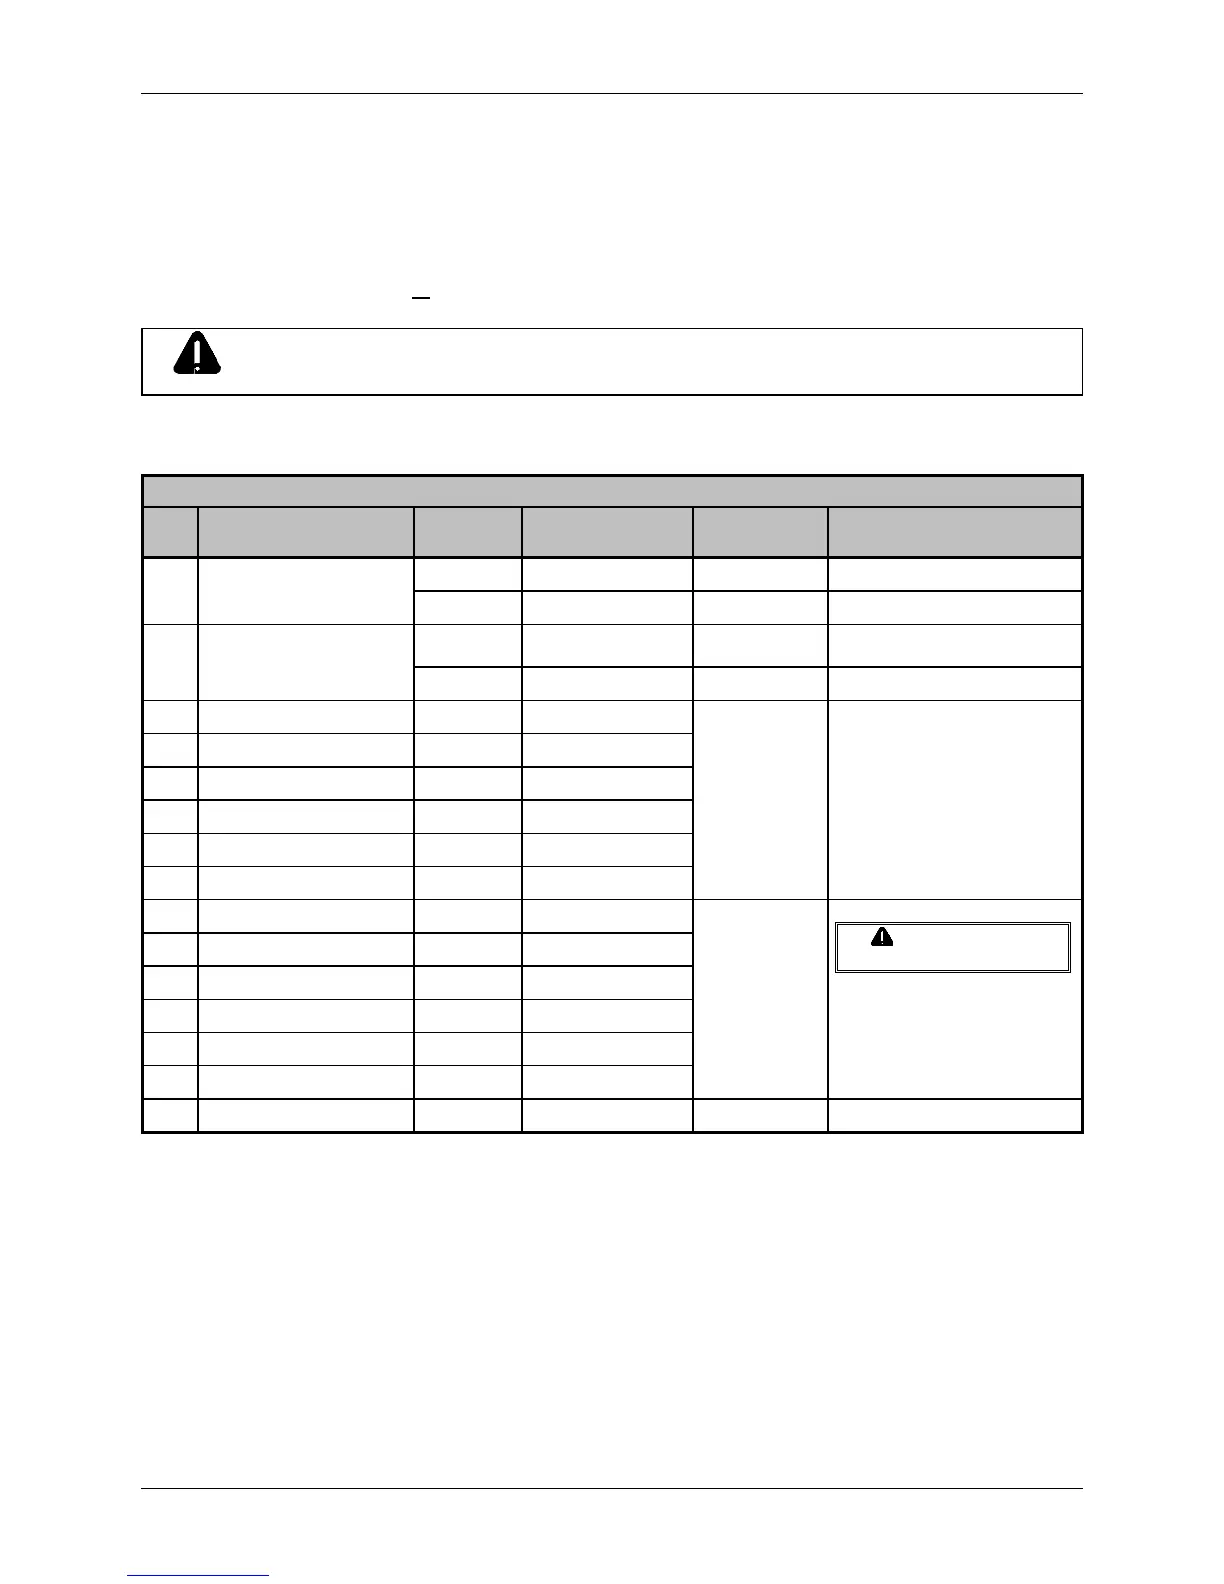
The table below details the GPIO Port functions, and configurable settings:
Applicator Interface Card GPIO Port (J2) Overview
Pin
#
Signal
Name
Signal
Direction
Active
Setting
Jumper
Placement
Function /
Description
Ground Ground JMP 7 ‘On’ Printer chassis ground is used
1 Ground (Configurable)
Open Open JMP 7 ‘Off’ Ground return must be supplied
Output +5 VDC JMP 8 ‘On’
Printer +5 VDC is used
(.5 amp max.)
2
+5 VDC (Configurable)
Open Open JMP 8 ‘Off’ +5 VDC must be supplied
3 Start Of Print
[3]
Input Programmable
4Slew Label
Input Programmable
5 Pause Toggle Input Low
6 Reprint
[2]
Input Low
7 +24 VDC (1.0 amp max.) Output +24 VDC
8 Ground Ground Ground
N/A N/A
9 Ribbon Low Output Programmable
10 Service Required
[1]
Output Low
11 End Of Print Output Programmable
12 Media Out Output Low
13 Ribbon Out Output Low
14 Data Ready (DRDY) Output Low
JMP 9:
Pins 1 & 2 =
+5 VDC
– OR –
Pins 2 & 3 =
+24 VDC
See the WARNING
message, above.
When inactive, all output pins
will be pulled up to the voltage
determined by this jumper
setting.
15 Spare
Output N/A N/A N/A
[1]
Evoked by occurrences listed under ‘Fault Messages’ in the A-Class Operator’s Manual.
[2]
Reprints the last label exactly, with no increment or time stamp changes; use it for error conditions. Always keeping this signal
LOW will result in non-stop printing.
[3]
If active with no current print job, “WAITING FOR DATA” is displayed. Specifying a quantity of 9999 while always
keeping this signal ‘ON’ will cause non-stop label printing, except in single label mode (see Imaging Mode, Section 4.2.5 of
the A-Class Operator’s Manual), which will cause the printer to stop between labels.