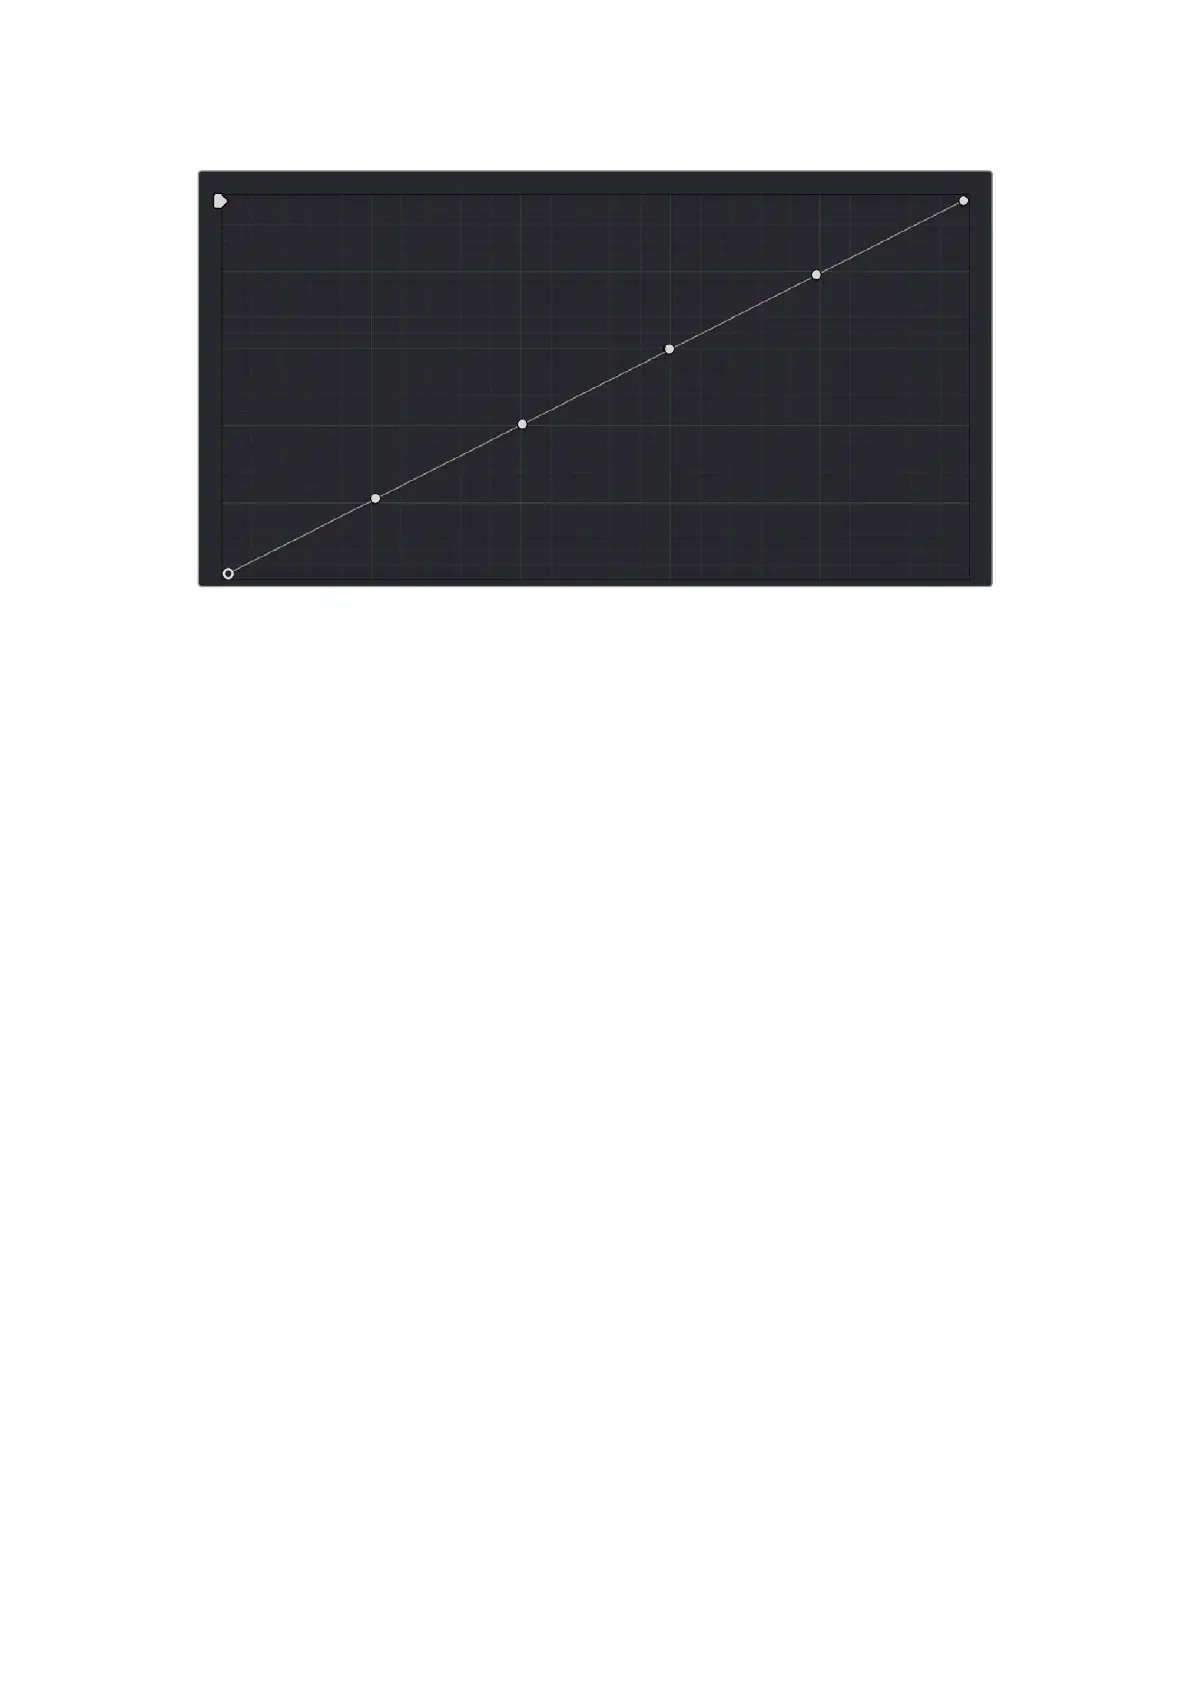
Each rotary curve control on the DaVinci control surface corresponds
to one of these six default control point positions
By default, all adjustments you make using these controls are ganged across all four YRGB
curve controls. However, if you turn Custom curve ganging off by pressing the GANG soft
key, then these controls only affect the curve you select using the LUM CURVE, RED CURVE,
GREEN CURVE, and BLUE CURVE soft keys.
You also have the option of using the fourth trackball from the left to adjust individual control
points on curves to any position you like. This works for all curves in DaVinci Resolve that have
control surface mappings.
Methods of selecting and adjusting curve points using the fourth trackball:
1 Press SHIFT DOWN and LEVEL/CURSOR/CURVE.
2 Do one of the following to make adjustments:
To select a control point to adjust: Spin the fourth ring control to the left or right to
select the next control point in that direction (it takes about half of a turn to select another
control point). Selected control points are highlighted in cyan.
To move a selected control point: Adjust the fourth trackball to move the control point up,
down, left, or right. Selected control points are constrained between whichever control
points are to the left and right.
To adjust the Curve Intensity sliders:
Adjust the MASTER INTENSITY, RED INTENSITY, GREEN INTENSITY,
or BLUE INTENSITY soft knobs.
To make YSFX adjustments:
1 Press the SOFT CLIP soft key.
2 Adjust the LUM YSFX, RED YSFX, GREEN YSFX, or BLUE YSFX soft knobs.
51Adjusting Curves Using the DaVinci Resolve Advanced Panel