12
PROPER CAMERA INSTALLATION AND PLACEMENT
PLEASE NOTE: Installing your camera indoors pointing outside through a window,
will result in a glare or reection when “auto” is selected in the night vision
settings. This will also disable the cameras PIR sensor and will not be able to detect
motion outdoors.
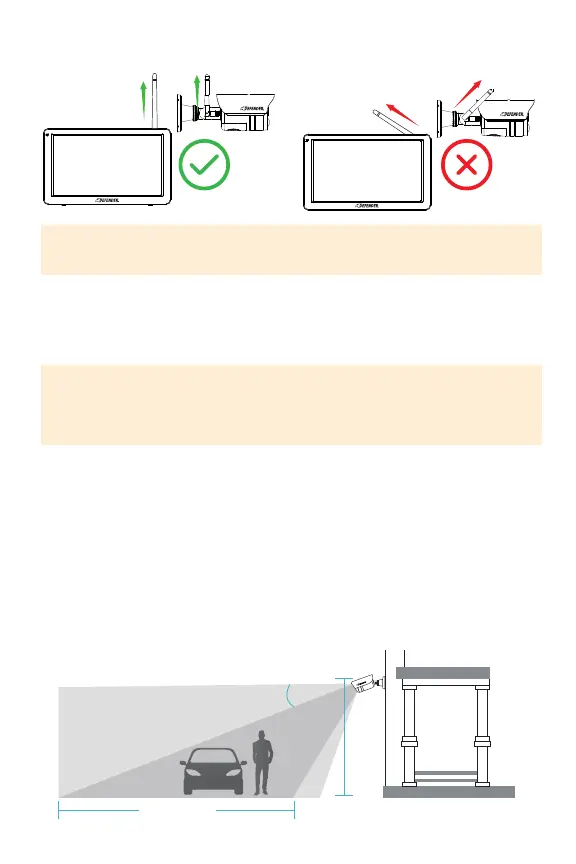
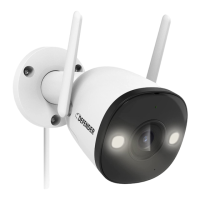
IMPORTANT: To achieve the best signal transmission, angle the camera antenna
and the monitor antenna such that they are parallel to each other.
DefenderPhoenixHDsupportsmotiondetection.Motiondetectionisinuencedby
multiplefactorssuchasdistancefromthecamera,thesizeoftheobject,theheight,
angle,anddirectionofthecamera,andyournightvisionsettings.Glasswillalso
disablemotiondetectionaccuracyasthesensorcannotfunctionthroughglass.
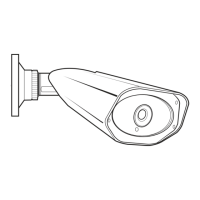
1. Anglethecamerasothatobjectsinthecamera’seldofviewappearinthe
bottom2/3ofthecameraimage.
2. Choosealocationwhereobjectsofinterestwillbenofurtherthan33ft(10m)
fromthecamera.
3. Ensurethecameraantennaisplacedinanuprightposition.
8-11 ft
(2.5-3.5 m)
Optimal Motion
Detection Zone
15°
Camera Field
Of View
Up to 33 ft (10 m)
OPTIMAL SIGNAL TRANSMISSION