25
Main Menu
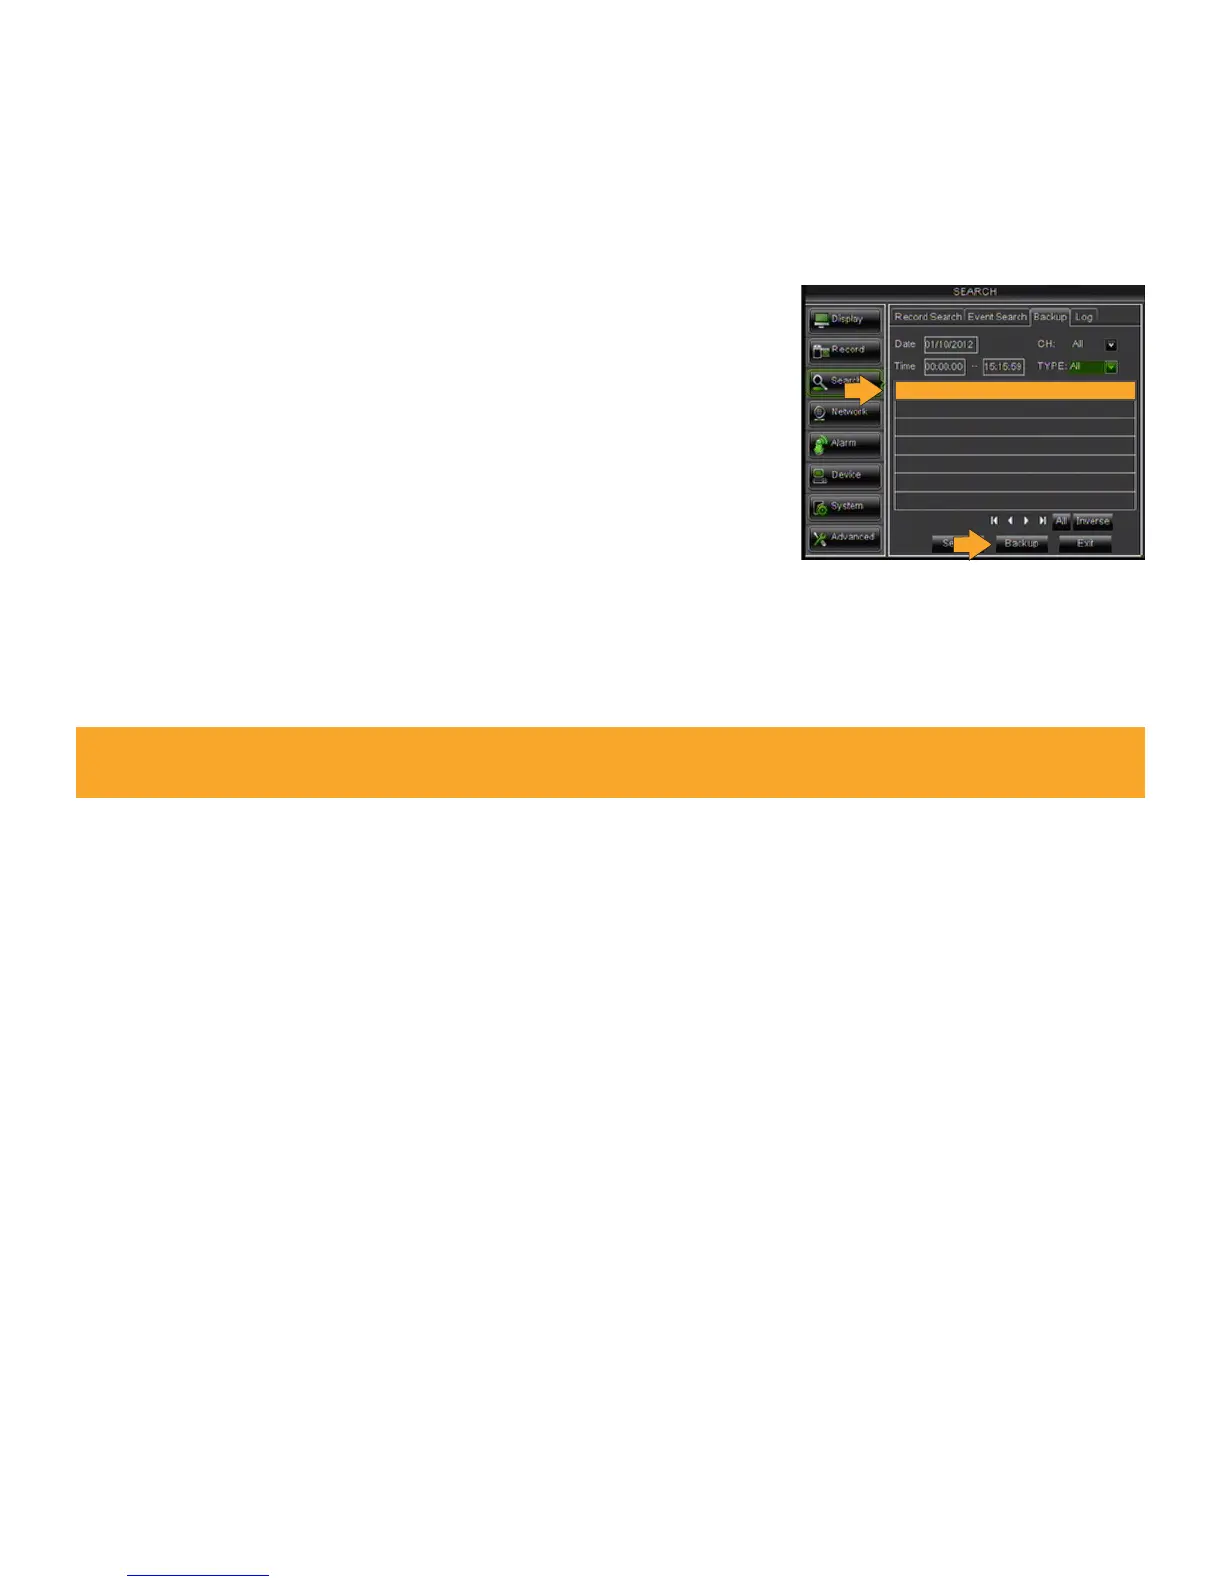
Backup Tab
Your DVR allows you to backup footage to a USB device, USB HDD, or a USB CD/DVD burner and play it back on
your computer.
Backup footage to USB device:
1. Make sure a USB device or USB burner connected to the proper USB
port on the back of the DVR.
2. Access the list of recordings from the day you need to back up.
3. Select the box under the word BAK next to the video clip(s) you
would like backed up.
4. Select the BACKUP button.
5. This will prompt the DVR to begin backing up footage. A message
will appear “BACKING UP, DON’T REMOVE USB!”.
6. Once the selected footage has saved to the USB device or USB
burner, a message will appear “BACKUP FINISHED!”. Select EXIT to
exit the menu.
7. To view the backed up footage on your USB device, please go to the COMPUTER PLAYBACK section of the
manual. To view the backed up footage on a CD/DVD, follow the basic instructions for your CD/DVD player.
Log Tab
To view the log of files in the order that they were recorded. Here you can choose to view files based on recording
type and time frame.
1. Select the recording type and time frame and press the SEARCH button, the list of files will come up on
the screen.
2. Insert a USB device into any open USB port.
3. Select BACKUP, the entire list will be exported to your USB device. A message will appear “BACKING UP, DON’T
REMOVE USB!”
Network
The NETWORK SETUP menu is your gateway to viewing your footage online. This menu holds the information you
need to set up online viewing. The DVR is preconfigured to work with most basic network setups and the values
shown on the screen are the values you will be using to set up and view the DVR on a computer.
Note: The Backup format is H.264 and will require the included software to play the video file. Video clips
can also be played back using the web viewer.
CH TYPE DATE START END SIZE BAK