Removing expansion card riser 3
Prerequisites
1 Follow the safety guidelines listed in Safety instructions.
2 Follow the procedure listed in Before working inside your system.
3 Remove the air shroud.
NOTE: If applicable, close the PCIe card holder latch on the air shroud to release the full length card.
4 If installed, remove expansion cards installed on the riser.
5 Disconnect any cables connected to the riser card.
Steps
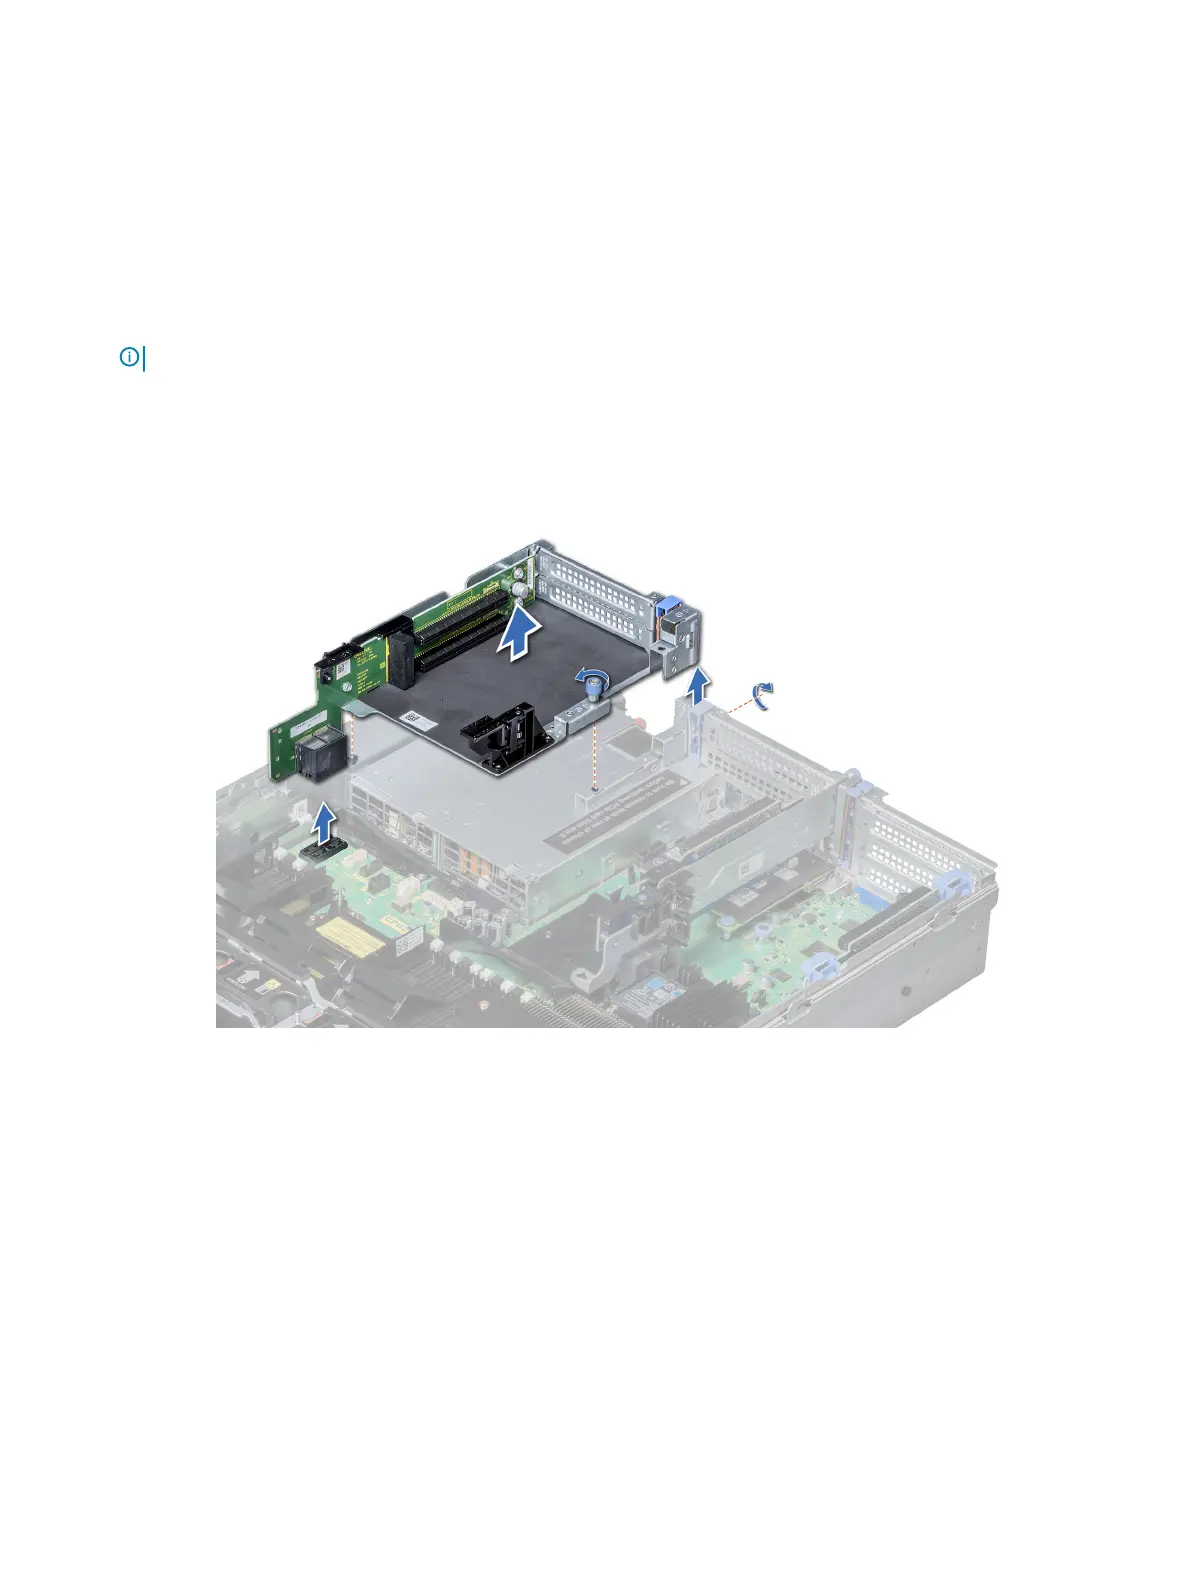
1 Using Phillips #2 screwdriver, loosen the screw that secures the riser to the system.
2 Press the release tab, and holding the riser by its edges, lift the riser from the riser connector on the system board.
Figure 85. Removing expansion card riser 3
Next step
Install expansion card riser 3.
Installing expansion card riser 3
Prerequisite
Follow the safety guidelines listed in Safety instructions.
Steps
1 Align the tab on the riser with the slot on the system, and guide rails on the riser with the standos on the side of the system.
2 Lower the riser into the system until the riser edge connector engages with the connector on the system board.
The riser card edge engages with the riser guide on the system.
134
Installing and removing system components

 Loading...


