1 Follow the safety guidelines listed in Safety instructions.
2 Follow the procedure listed in Before working inside your system.
3 If installed, remove the full length PCIe cards.
4 If applicable, remove the GPU cards.
5 If NVDIMM-N battery is installed, disconnect the cables from the NVDIMM-N battery.
CAUTION: NVDIMM-N battery is not hot swappable. To prevent data loss and potential damage to your system, ensure
that your system, LEDs on system, LEDs on NVDIMM-N and LEDs on NVDIMM-N battery are turned o before
disconnecting the NVDIMM-N battery cables.
Step
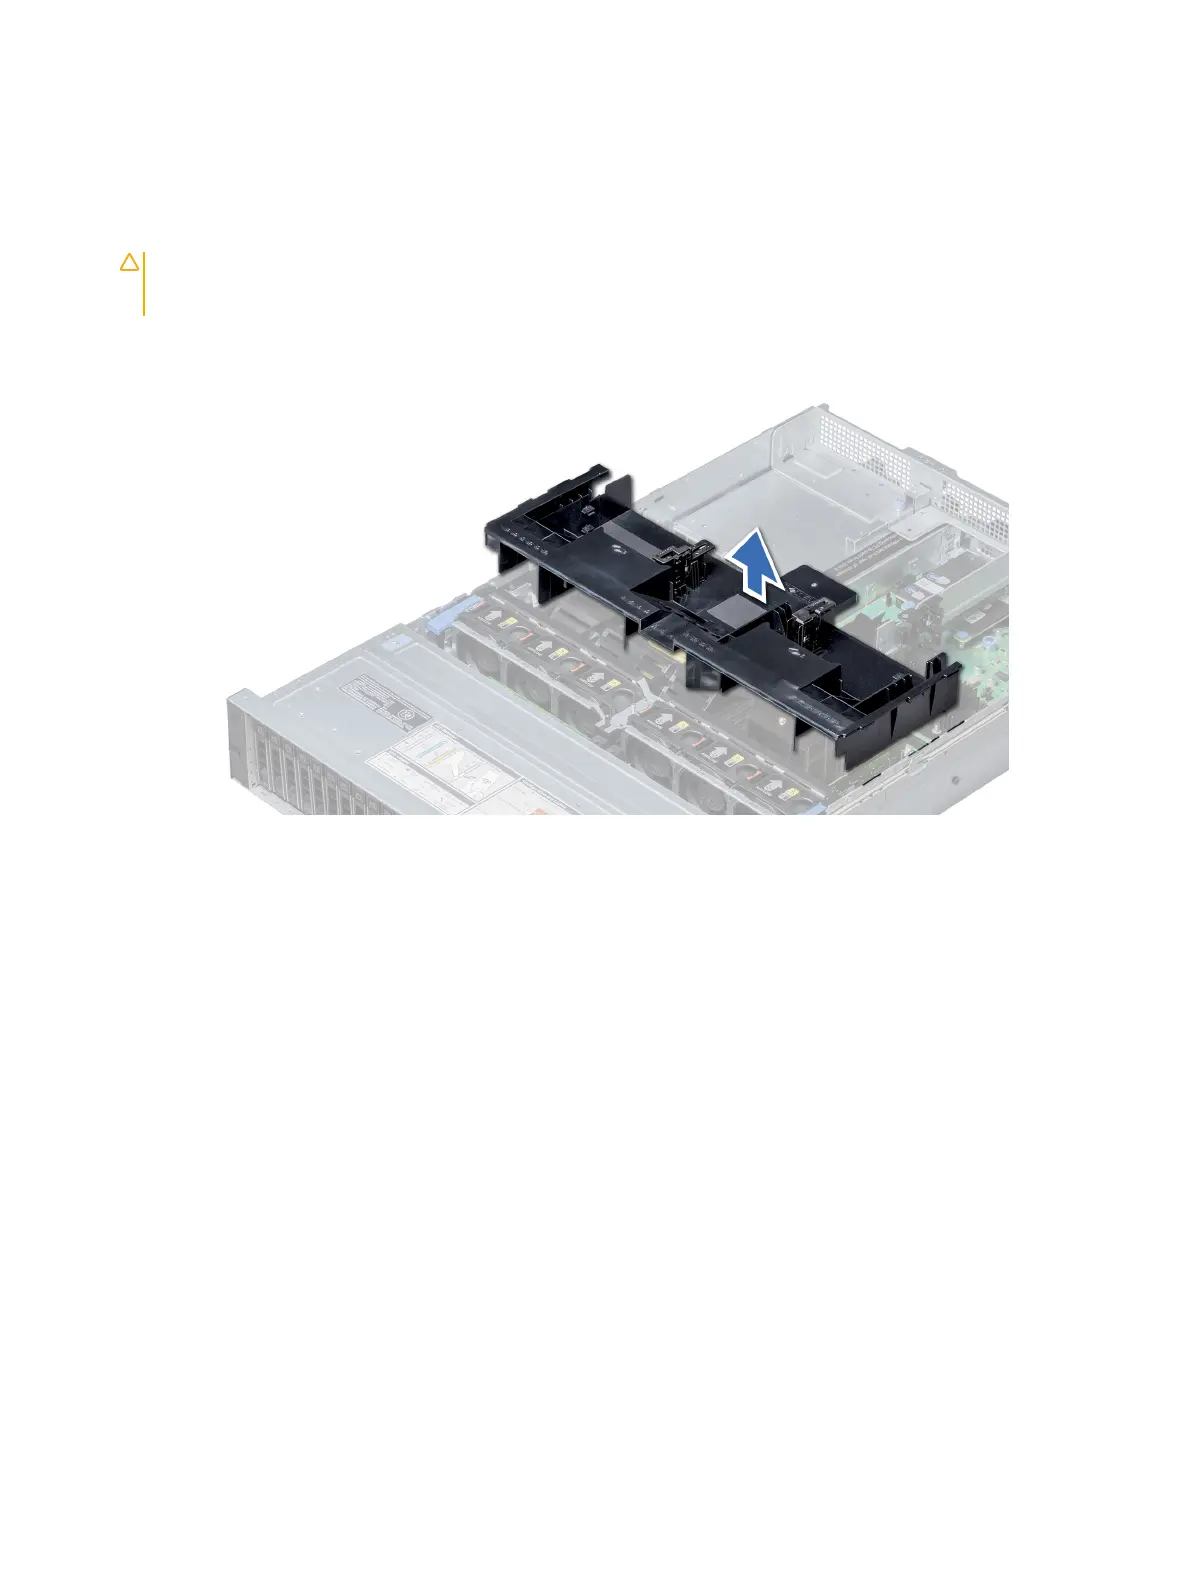
Hold the air shroud at both ends and lift it away from the system.
Figure 32. Removing air shroud
Next step
If applicable, install the air shroud.
Installing the air shroud
Prerequisites
1 Follow the safety guidelines listed in Safety instructions.
2 If applicable, route the cables inside the system along the system wall and secure the cables by using the cable latch.
Steps
1 Align the tabs on the air shroud with the slots on the system.
2 Lower the air shroud into the system until it is rmly seated.
When rmly seated, the memory socket numbers marked on the air shroud align with the respective memory sockets.
Installing and removing system components
79

 Loading...


