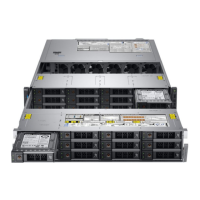
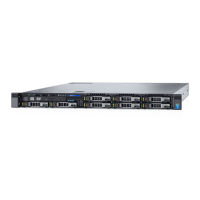
Figure 126. Installing the optional optical drive
Next steps
1 Connect the power and data cables to the optical drive and system board.
NOTE
: Route the cable properly on the side of the system to prevent it from being pinched or crimped.
2 Install the air shroud.
3 Install the backplane cover.
4 Follow the procedure listed in After working inside your system.
Power supply units
Power supply unit details
Your system supports one of the following:
• Two 2400 W, 2000 W, 1600 W, 1100 W, 750 W, or 495 W AC PSUs
• Two 1100 W DC PSUs
• Two 1100 W or 750 W Mixed Mode HVDC PSUs
NOTE
: For more information, see the Technical specications section.
CAUTION: If two PSUs are installed, both the PSUs must have the same type of label. For example, Extended Power
Performance (EPP) label. Mixing PSUs from previous generations of PowerEdge servers is not supported, even if the PSUs have
the same power rating. Mixing PSUs will result in mismatch condition or failure to turn the system on.
NOTE: Titanium PSU is nominally rated for 200 V AC to 240 V AC input only.
Installing and removing system components 169

 Loading...


