Scanning 263
For Mac OS X 10.7, OS X 10.8, and OS X 10.9:
1
Create a folder in the desired directory on your computer (Example of folder name,
MyShare
).
NOTE: Note down the folder name as you need to use this name in the next setting procedure.
2
Select the created folder, and then select
Get Info
from the
File
menu.
3
Select the
Shared folder
check box, and then close the window.
4
Open
System Preferences
, and then click
Sharing
.
5
Select the
File Sharing
check box, and then click
Options
.
6
Select the
Share files and folders using SMB
check box and your account name.
7
Enter your account password, and then click
OK
.
8
Click
Done
.
When Using FTP
For a destination to store the document, contact your system administrator.
Configuring the Printer Settings
You can configure the printer settings to use the Scan to Network Folder feature with the
Dell Printer Configuration Web Tool or Address Book Editor.
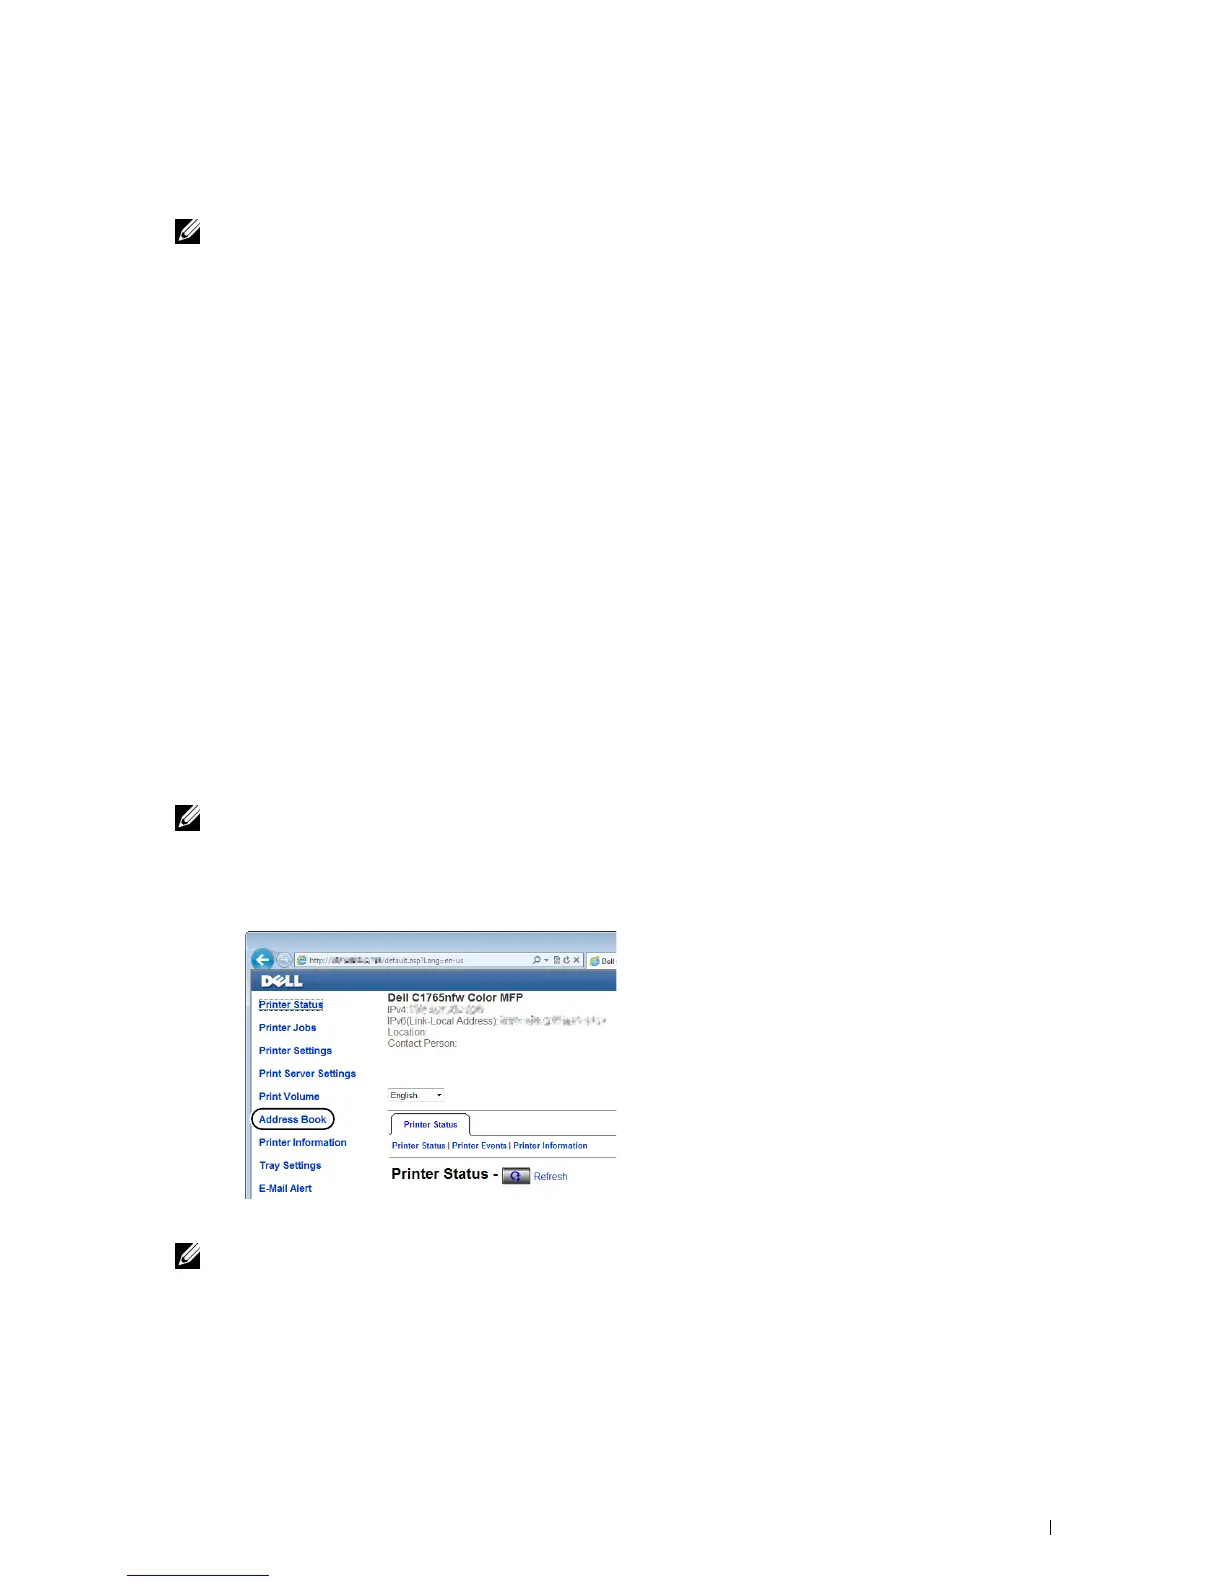
From the Dell Printer Configuration Web Tool
1
Open a web browser.
2
Enter the IP address of the printer in the address bar and click
Go
.
The printer's web page appears.
NOTE: For details on how to check the IP address of the printer, see "Verifying the IP Settings" on page 55.
3
Click
Address Book
.
The login dialog box appears.
4
Enter the correct user name and password.
NOTE: The default user name is admin, and the default password is left blank (NULL).
5
Click the
Server Address
tab.
6
Select any unused number and click
Create
.
 Loading...