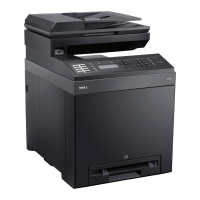
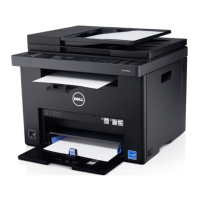
Scanning 269
2
Load the document(s) face up with top edge in first into the ADF.
OR
Place a single document face down on the document glass, and close the document cover.
For details about loading a document, see "Making Copies From the ADF" on page 235 or "Making Copies From
the Document Glass" on page 233.
3
Ensure that
Scan to
is highlighted, and then press the (
Set
) button.
You can also scan documents by the following steps.
a
Press the (
Scan
) button.
b
Ensure that
Scan to USB Memory
is highlighted, and then press the (
Set
) button.
4
Press the button to select the folder to store the scanned file in, and then press the (
Set
) button.
If you do not specify the folder, skip this step.
5
Configure the scan settings as necessary.
Settings such as file format and color mode are available. To configure these settings, press the button until
Preferences
is highlighted, and then press the (
Set
) button. For details about setting items, see "Scan
Defaults" on page 168.
6
Ensure that
Start Scan
is highlighted, and then press the (
Start
) button.
Using the ID Scan
1
Perform steps 1 to 5 in "Basic Scanning Procedures" on page 268.
Be sure to place the ID card on the document glass.
2
Press the until
Start ID Scan
is highlighted, and then press the (
Set
) button.
After the front side of the ID card is scanned, the display prompts you to turn it over.
a
To scan the rear side of the ID card, turn it over, press the until
Continue
is highlighted, and then press
the (
Set
) button.
b
To finish scanning without scanning the rear side of the ID card, press the until
Save Now
is highlighted,
and then press the (
Set
) button.