NOTE: The following illustration does not show the C-clips that are used to attach the cable management arms.
Figure 9. Adding the retaining screws
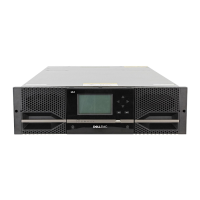
Install the system in the cabinet
In an angled drop-in design, inner (chassis) rails are attached to the sides of the system and then the system slides into the
outer (cabinet) rails that are installed in the rack.
About this task
WARNING:
The system is heavy. To avoid personal injury and/or damage to the equipment, do not attempt to
install the system in a cabinet without a mechanical lift and/or help from another person.
Steps
1. Pull the inner rails out of the rack until they lock into place.
2. Release the inner rail lock by pulling forward on the orange tabs and sliding the inner rail out of the intermediate rails until
they are fully extended.
Figure 10. Pull out the intermediate rail
1. Intermediate rail
Install a new base enclosure and optional expansion enclosure
17

 Loading...