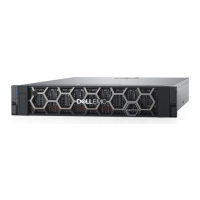
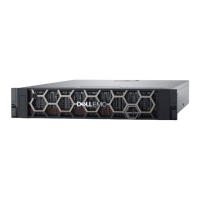
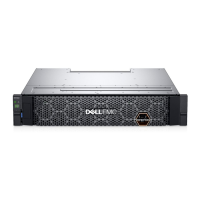
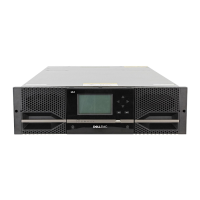
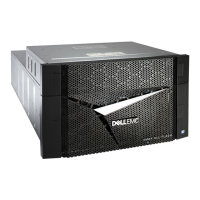
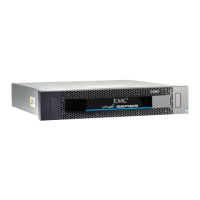
Install a new base enclosure and optional
expansion enclosure
Follow these procedures to add a new base enclosure and an optional expansion enclosure to the system. For a detailed
overview of these components, see the PowerStore Hardware Information Guide.
NOTE: Review the information in Safety precautions for handling replaceable units on page 111 before handling parts.
Topics:
• Install a new base enclosure
• Install an NVMe expansion enclosure
• Add an NVMe expansion enclosure
Install a new base enclosure
Take the following actions to install a new base enclosure into a rack.
Installation power overview
Follow these guidelines for when to power on your system during various installation scenarios.
Table 1. Installing expansion enclosures during the initial system installation
Installation Scenario Order of Operations
Installing just a base enclosure 1. Install the base enclosure.
2. Plug in the power cables.
Installing a base enclosure and expansion enclosures 1. Install the base enclosure and expansion enclosures.
2. Cable the expansion enclosures to the base enclosure.
3. Plug in the power cables.
Table 2. Adding expansion enclosures to a running system
Installation Scenario Order of Operations
Adding the first expansion enclosure 1. Install the expansion enclosure.
2. Cable the expansion enclosures to the base enclosure.
3. Plug in the power cables.
Adding a second expansion enclosure 1. Install the expansion enclosure.
2. Plug in the power cables.
3. Move the loopback cables and then add two new cables.
Adding a third expansion enclosure 1. Install the expansion enclosure.
2. Plug in the power cables.
3. Move loopback cables and then add two new cables.
1
Install a new base enclosure and optional expansion enclosure 9
 Loading...

