Installing Backup Power | 33
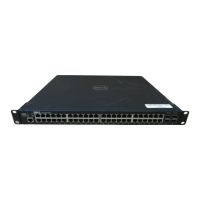
Figure 5-7. DC-DC Cable for S50V PSU
Follow the steps below to connect the S50V switch to the S50V external PSU.
Step Task
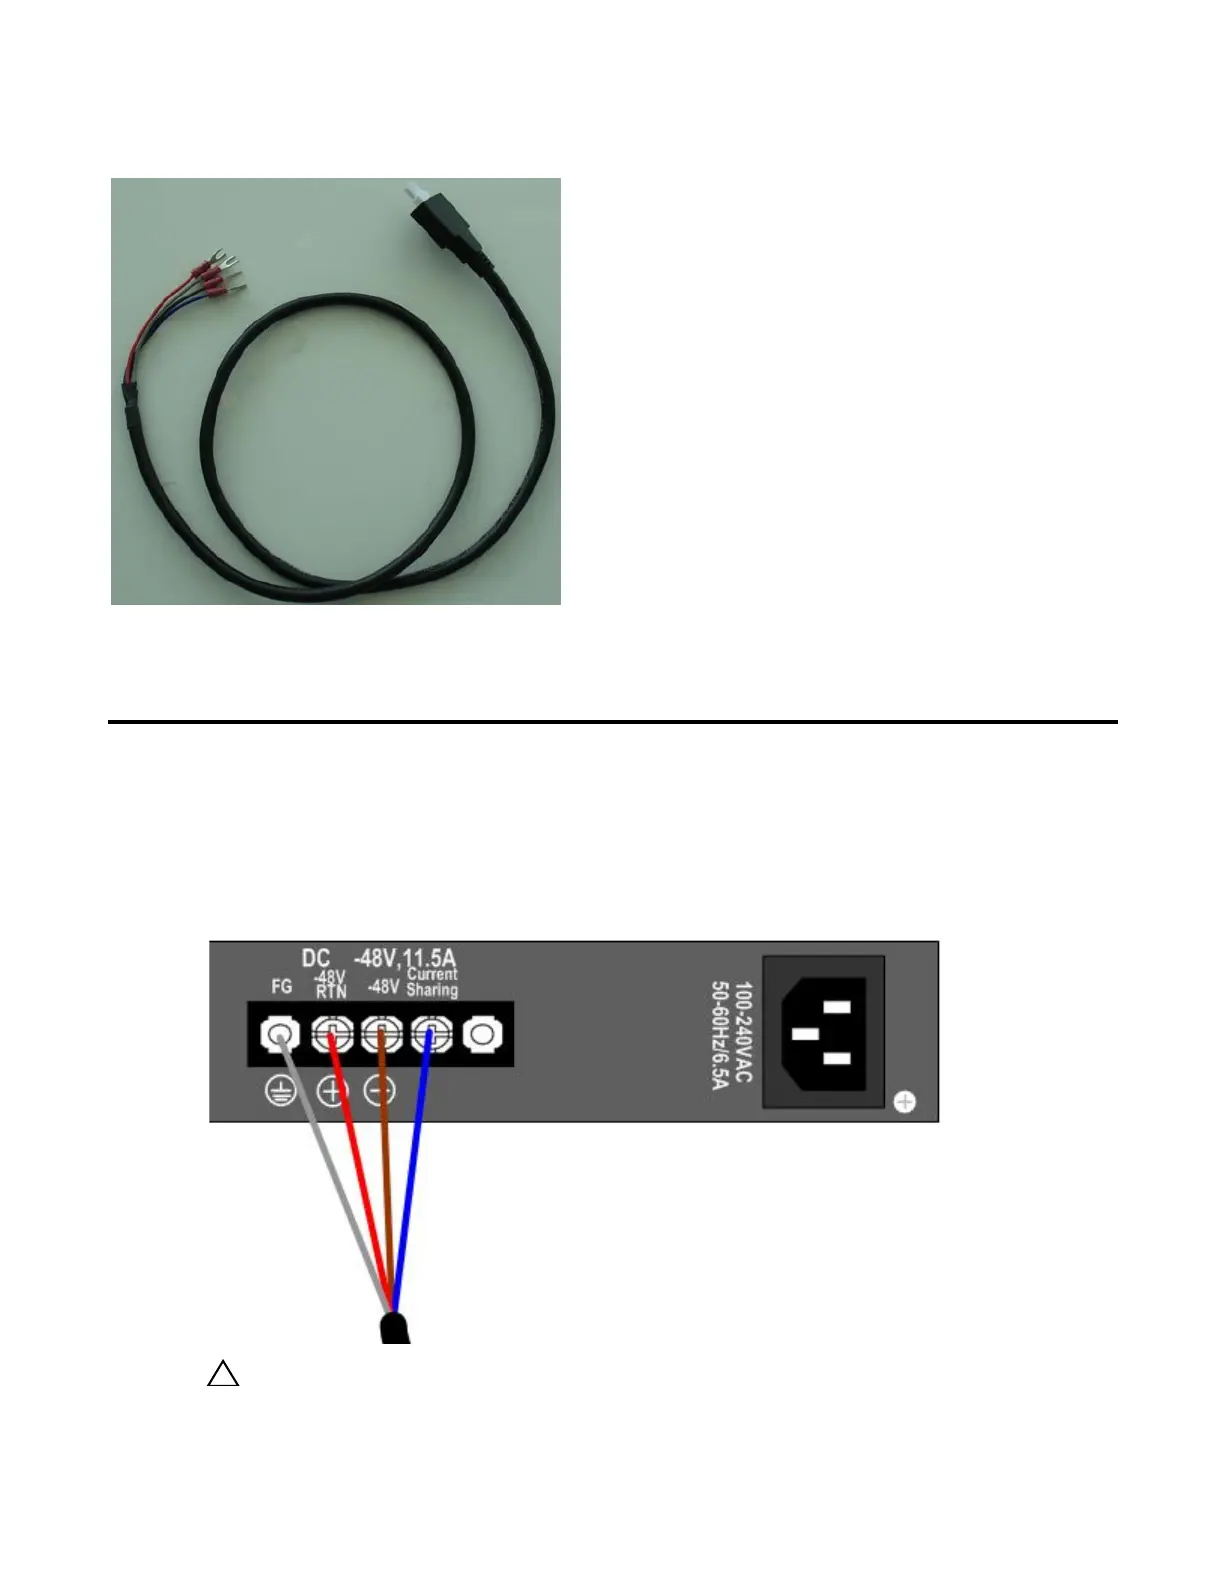
1 With the switch unplugged from AC power, connect the individual leads of the DC-to-DC cable to the DC
terminal lugs of the switch (
Figure 5-8
), with a #2 Phillips screwdriver.
Connect the gray wire to FG, red to RTN, brown to -48V. If you connect the blue lead of the Dell Force10 PSU to
Current Sharing, you put the PSU in load-sharing mode, which helps to enable more PoE ports. Alternatively,
leaving the wire unconnected puts the PSU in backup mode. The downside of selecting load-sharing mode is that,
if either the AC or DC fails, all PoE functionality is lost.
Figure 5-8. DC Terminals of the S50V Connected to the PSU Cable
CAUTION: Use only -48V DC. Using a higher voltage causes the DC source to take precedence over the
internal AC PSU, causing the AC PSU to continually attempt to boot up. The symptom is a clicking noise.
 Loading...