EasyManuals Logo

Dell Force10 S50N Series User Manual

Dell Force10 S50N Series
64 pages
To Next Page IconTo Next Page
To Previous Page IconTo Previous Page
Page #36 background imageLoading...
Page #36 background image
36 | Installing Backup Power
www.dell.com | support.dell.com
continue, as above.
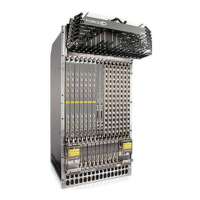
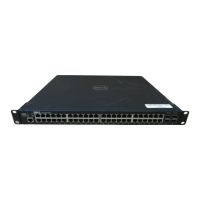
Figure 5-12 on page 36
shows the typically-used screw hole locations circled in
red.
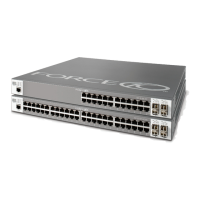
Figure 5-12. EPS Rear-Mounted (shown fully populated with PSUs)
3
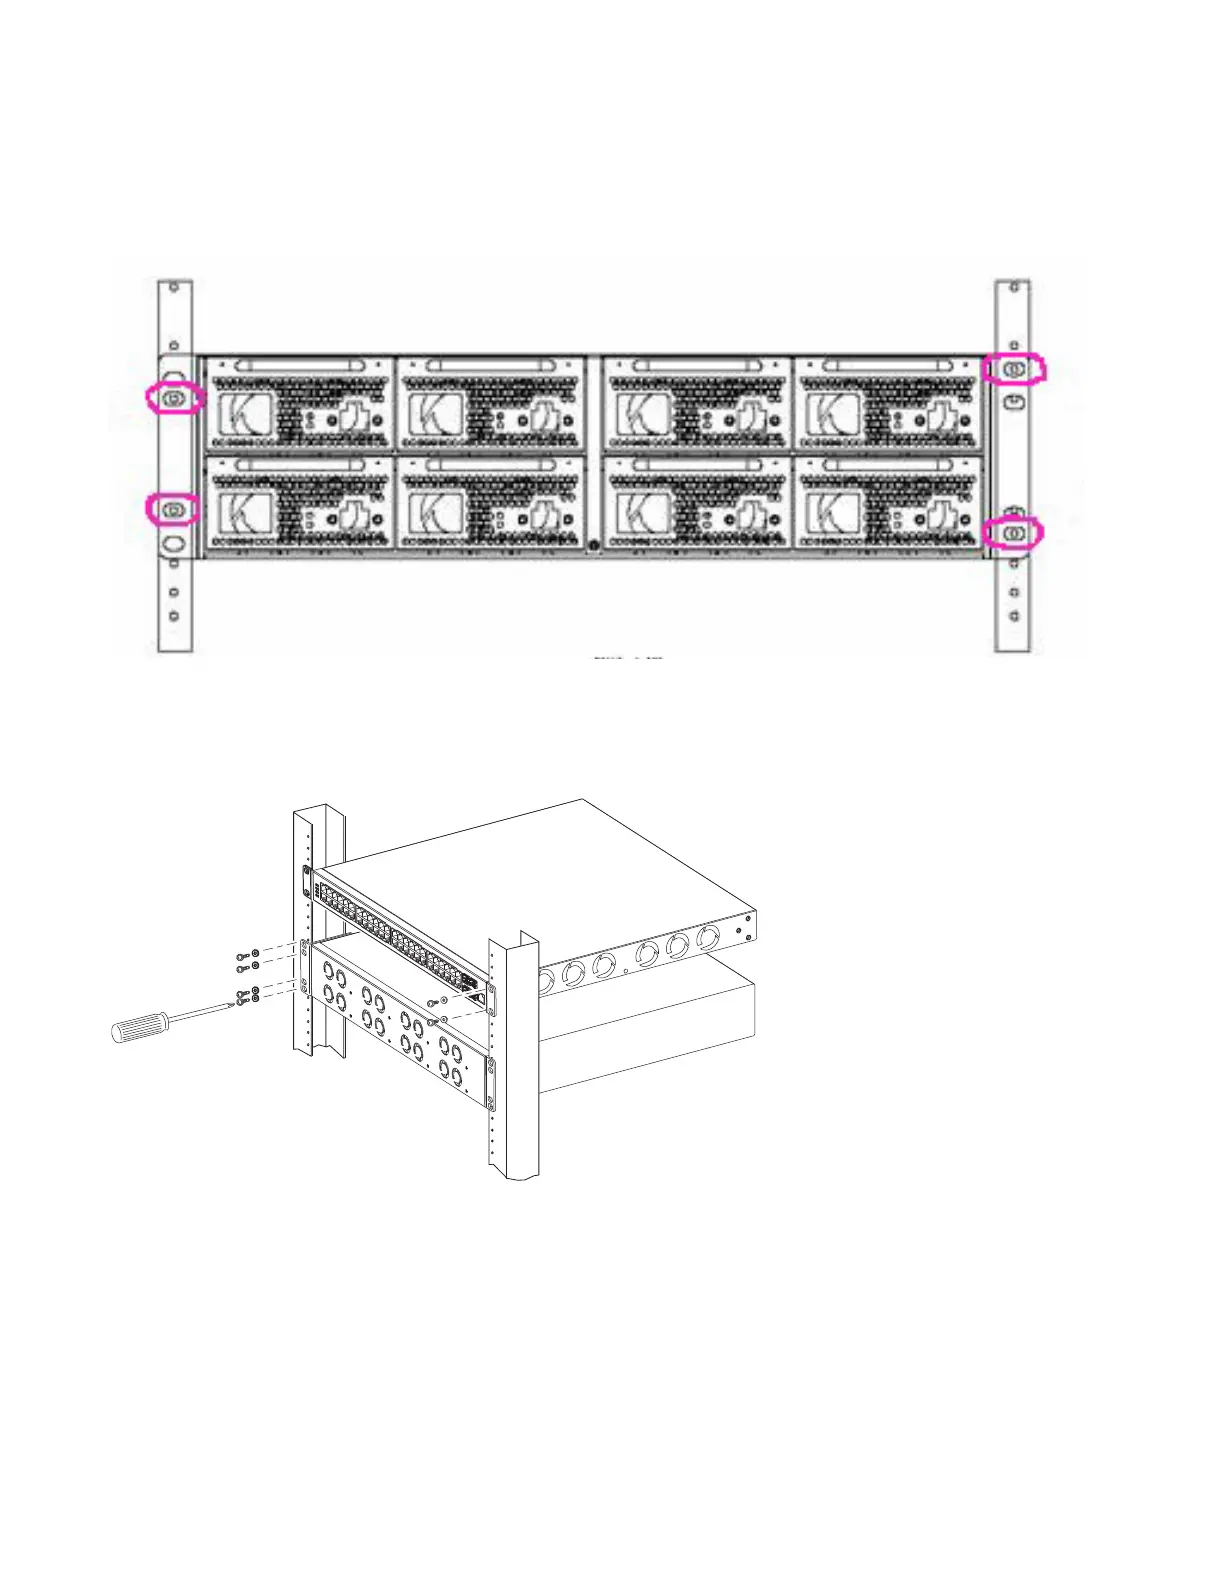
Insert a PSU into a bay of the PSE so that the captive screws align with the screw holes in the PSE,
and then tighten the screws.
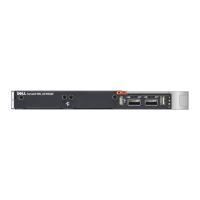
Figure 5-13. EPS Front-Mounted (shown below an S50)
Inserting an S50N PSU into the EPS
The Power Supply Unit (PSU) that supports both the S50 and S50N is an optional, external AC/DC
rectifier that provides 180W DC at 48V.
fn00155s50

Table of Contents

Questions and Answers:

Question and Answer IconNeed help?

Do you have a question about the Dell Force10 S50N Series and is the answer not in the manual?

Dell Force10 S50N Series Specifications

General IconGeneral
Rack Units1U
Jumbo FramesUp to 9216 bytes
Product TypeSwitch
Form FactorFixed
Power SupplyDual redundant power supplies
VLAN SupportYes
Operating Temperature0°C to 40°C (32°F to 104°F)
Storage Temperature-40°F to 158°F (-40°C to 70°C)
ModelDell Force10 S50N Series

Related product manuals