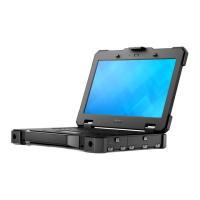
c. Remove the screws that secure the connector to the computer [3].
d. Lift the connector in an upward direction [4].
e. Lift the latch [5] and disconnect the optical drive connector cable from the connector on the
system board [6].
4.
Lift the optical drive connector away form the computer.
Installing the optical drive connector
1. Place the optical drive on to the computer.
2. Connect the optical drive connector cable.
3. Press the locking tab.
4. Tighten the screws that secure the optical drive connector to the computer.
5. Flip the optical drive connector and seat it.
6. Tighten the screws to secure the optical drive connector to the computer.
7. Install the:
a. base cover
b. optical drive
c. hard drive
d. battery
8. Follow the procedure in After working inside your computer.
Hard drive tray
Removing the hard drive tray
1. Follow the procedure in Before working inside your computer.
2. Remove the:
22
 Loading...

