Display Assembly: Dell Latitude E4300 Service Manual
file:///C|/Biz%20Client/2015/Lola%20(Defect%20Fix)/display.htm[5/25/2015 11:14:10 AM]
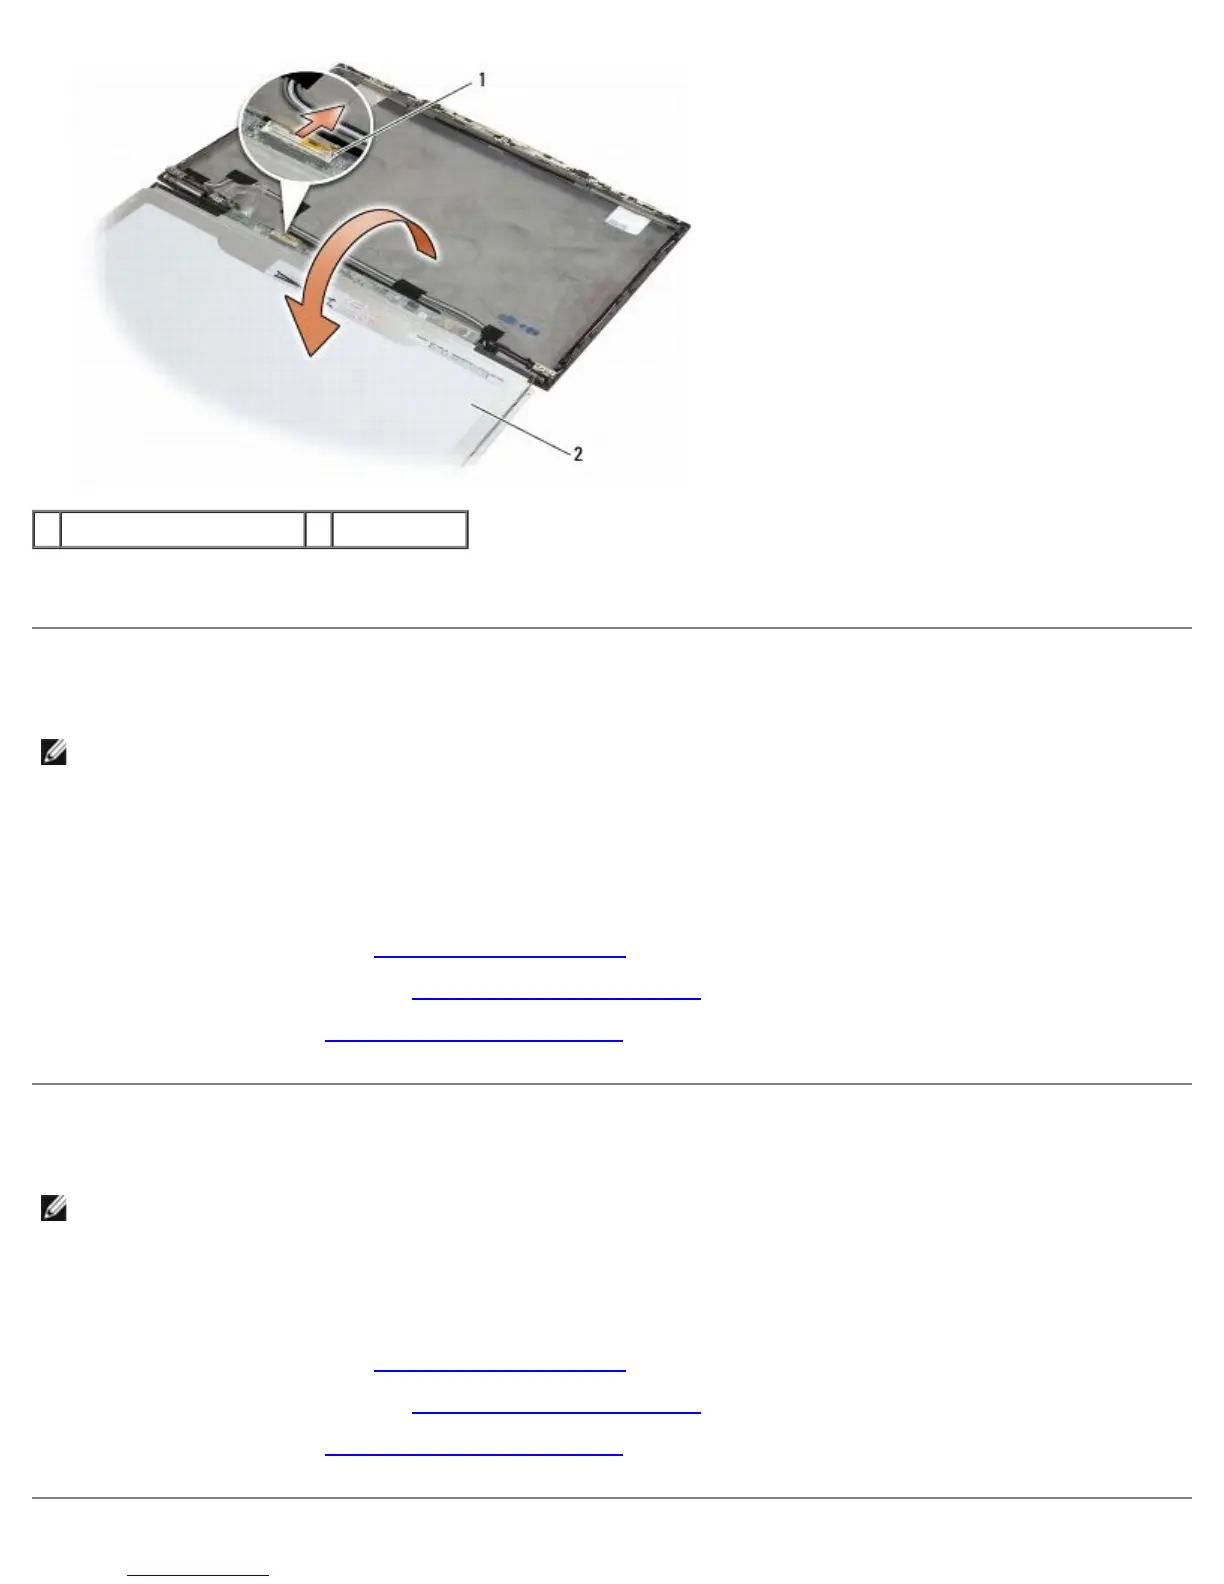
1 LCD flex-cable connector 2 display panel
7. Use the pull-tab to disconnect the LCD flex-cable connector from the inverter connector.
Replacing the Display Panel
NOTE: This procedure assumes that you have completed the removal procedure first.
1. Reconnect the LCD flex-cable connector to the inverter connector.
2. Replace the display panel inside the display back cover.
3. Replace each display panel bracket (one on each side of the panel), and then secure it by replacing the two M2 x 3-
mm screws.
4. Replace the display bezel (see Replacing the Display Bezel
).
5. Replace the display assembly (see Replacing the Display Assembly
).
6. Follow the instructions in After Working on Your Computer
.
Replacing the Display Hinges
NOTE: This procedure assumes that you have completed the removal procedure first.
1. Re-thread the display cables through the hinges.
2. Reseat the hinges, and then replace the four M2.5 x 5-mm screws (two per side) that secure the display hinges to the
display cover.
3. Replace the display bezel (see Replacing the Display Bezel).
4. Replace the display assembly (see Replacing the Display Assembly
).
5. Follow the instructions in After Working on Your Computer
.