Installing, Removing, and Replacing
file:///T|/htdocs/stor-sys/ML6000/en/html/ch08.htm[9/17/2012 1:50:35 PM]
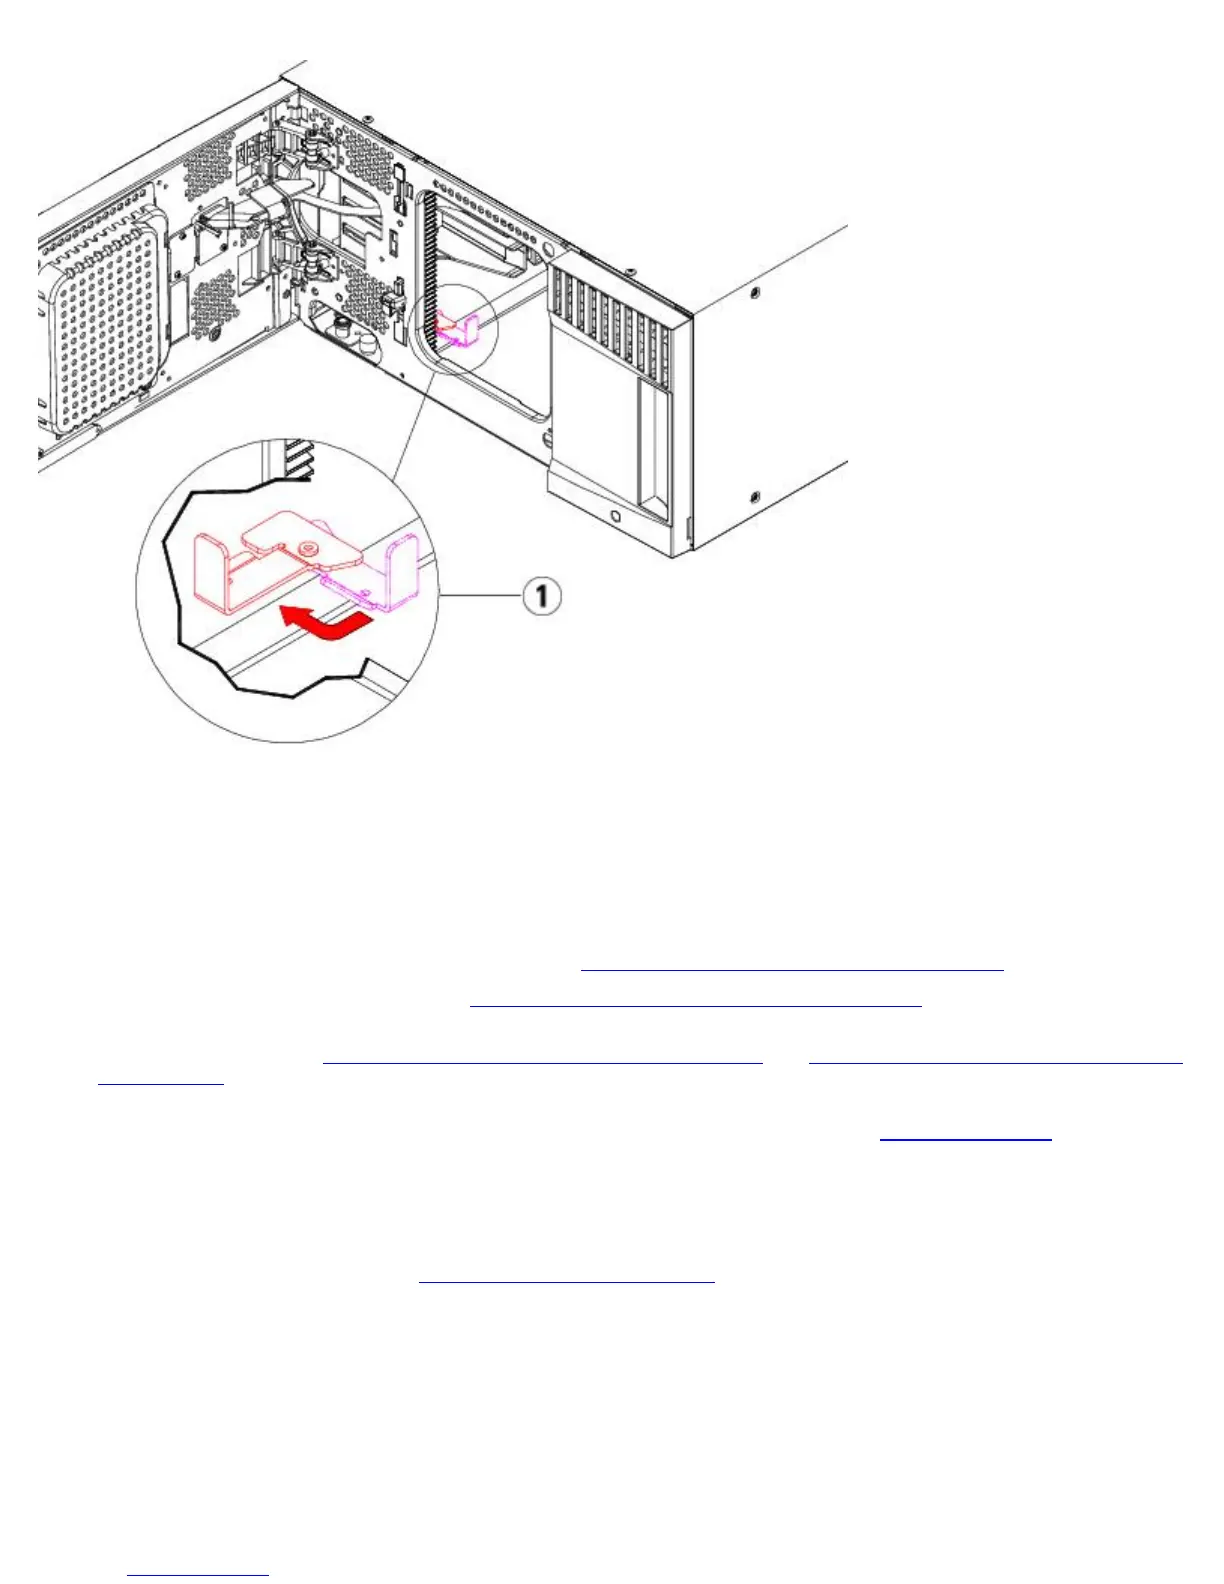
1 Parking tab in "unparked" position
Preparing to Use the 9U Expansion Module
1 Close the library's I/E station and access doors.
2 Add the tape drives to the modules. For details, see Adding, Removing, and Replacing Tape Drives.
3 Add the power supplies. For details, see Adding, Removing, and Replacing Power Supplies.
4 If your library contains FC I/O blades, install both the I/O blades and the accompanying fan blades in the expansion
module. For details, see
Adding, Removing, and Replacing FC I/O Blades and Adding, Removing, and Replacing the FC
I/O Fan Blade.
5 Connect all power cords, network data cables, and module-to-module cables. Make sure the module terminators are
installed at the top and bottom of the stack of modules. For cabling instructions, see
Cabling the Library.
6 Power on the library.
7 Re-create partitions, cleaning slots, and I/E station slots as desired.
8 Import tape cartridges to the correct partitions as needed.
9 Save the library configuration (see Saving the Library Configuration).
10 If the host application inventories the location of each tape cartridge in the library, open the host application and
reinventory in order to sync its logical inventory with the physical inventory of the library.
Removing and Replacing the Library Control Blade and LCB
Compact Flash Card
The library control blade (LCB) manages the entire library, including the operator panel and picker assembly, and is
responsible for running system tests to ensure that the library is functioning properly.