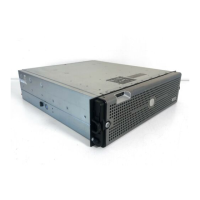
5. Attach the left ▌1▐ and right ▌2▐ rear brackets to the left ▌5▐ and right ▌6▐ front rails with 2
round-head screws ▌10▐ on each side (Figure 20).
Important: Do NOT tighten these screws completely.
6. Slide in the rear rails ▌7▐ from back to front, to create the rail assemblies. Ensure that the screw holes
face outwards (Figure 21 on page 25).
Figure 19. Attaching the front brackets to the library chassis
Figure 20. Attaching the rear brackets to the rails
24 Dell PowerVault TL1000 Tape Autoloader: User's Guide
 Loading...
