8. Slide the library chassis into the rack. The heads of the large screws ▌11▐ appear through the oval
openings on each side of the bezel. Use a Phillips screwdriver to attach these screws to the rack
(Figure 23).
9. Secure the rear of the library to the rack with a round-head screw ▌10▐ on each rear bracket
(Figure 24). Tighten the other rear bracket screws to secure the library to the rack.
10. Run the SAS cable, power cable, and Ethernet cable through the hook-and-loop fastener strap ▌12▐.
Leave enough slack to reach the corresponding connectors, then tighten the strap (Figure 25 on page
27).
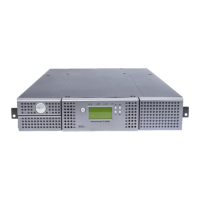
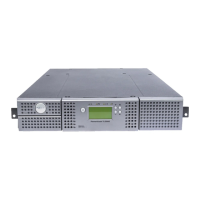
Figure 23. Securing the front of the library in the rack
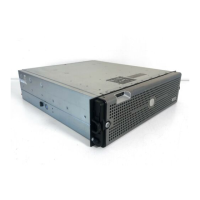
Figure 24. Securing the rear of the library in the rack
26 Dell PowerVault TL1000 Tape Autoloader: User's Guide

 Loading...