Note: For information about converting and relocating the library, see “Removal and replacement
procedures” on page 113.
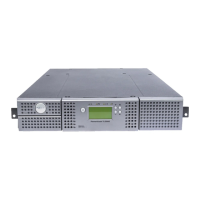
Removing the accessor locking screw
Important: The accessor locking screw prevents the library accessor from moving during shipment and
must be removed before the library is powered ON.
Remove the accessor locking screw, located on the rear panel of the library (▌1▐ in Figure 26).
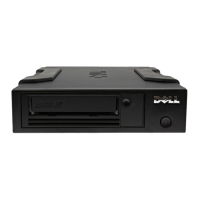
Attaching the library to a server
The drive is attached to a server with the Serial Attached SCSI (SAS) interface. The Web User Interface
accesses the library with an ethernet interface.
Connecting the Host Interface cables
To connect the host interface cable to the library:
Note: It is recommended that you shut down and turn OFF the associated server before you connect the
SAS interface cable. Turn ON the associated server after the SAS interface cable is connected to the
library and server, the library is powered ON, and the library completed the initialization.
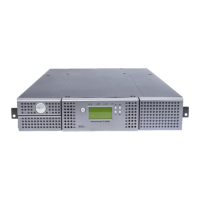
Figure 25. The cables at the rear of the library
Figure 26. accessor locking screw
Installation and configuration 27

 Loading...