EasyManuals Logo

Dell Precision 390 User Manual

Dell Precision 390
138 pages
To Next Page IconTo Next Page
To Previous Page IconTo Previous Page
Page #110 background imageLoading...
Page #110 background image
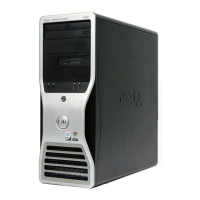
1. Slide the sliding-plate lever to the right, pivot the drive panel outward, and lift to remove the panel.
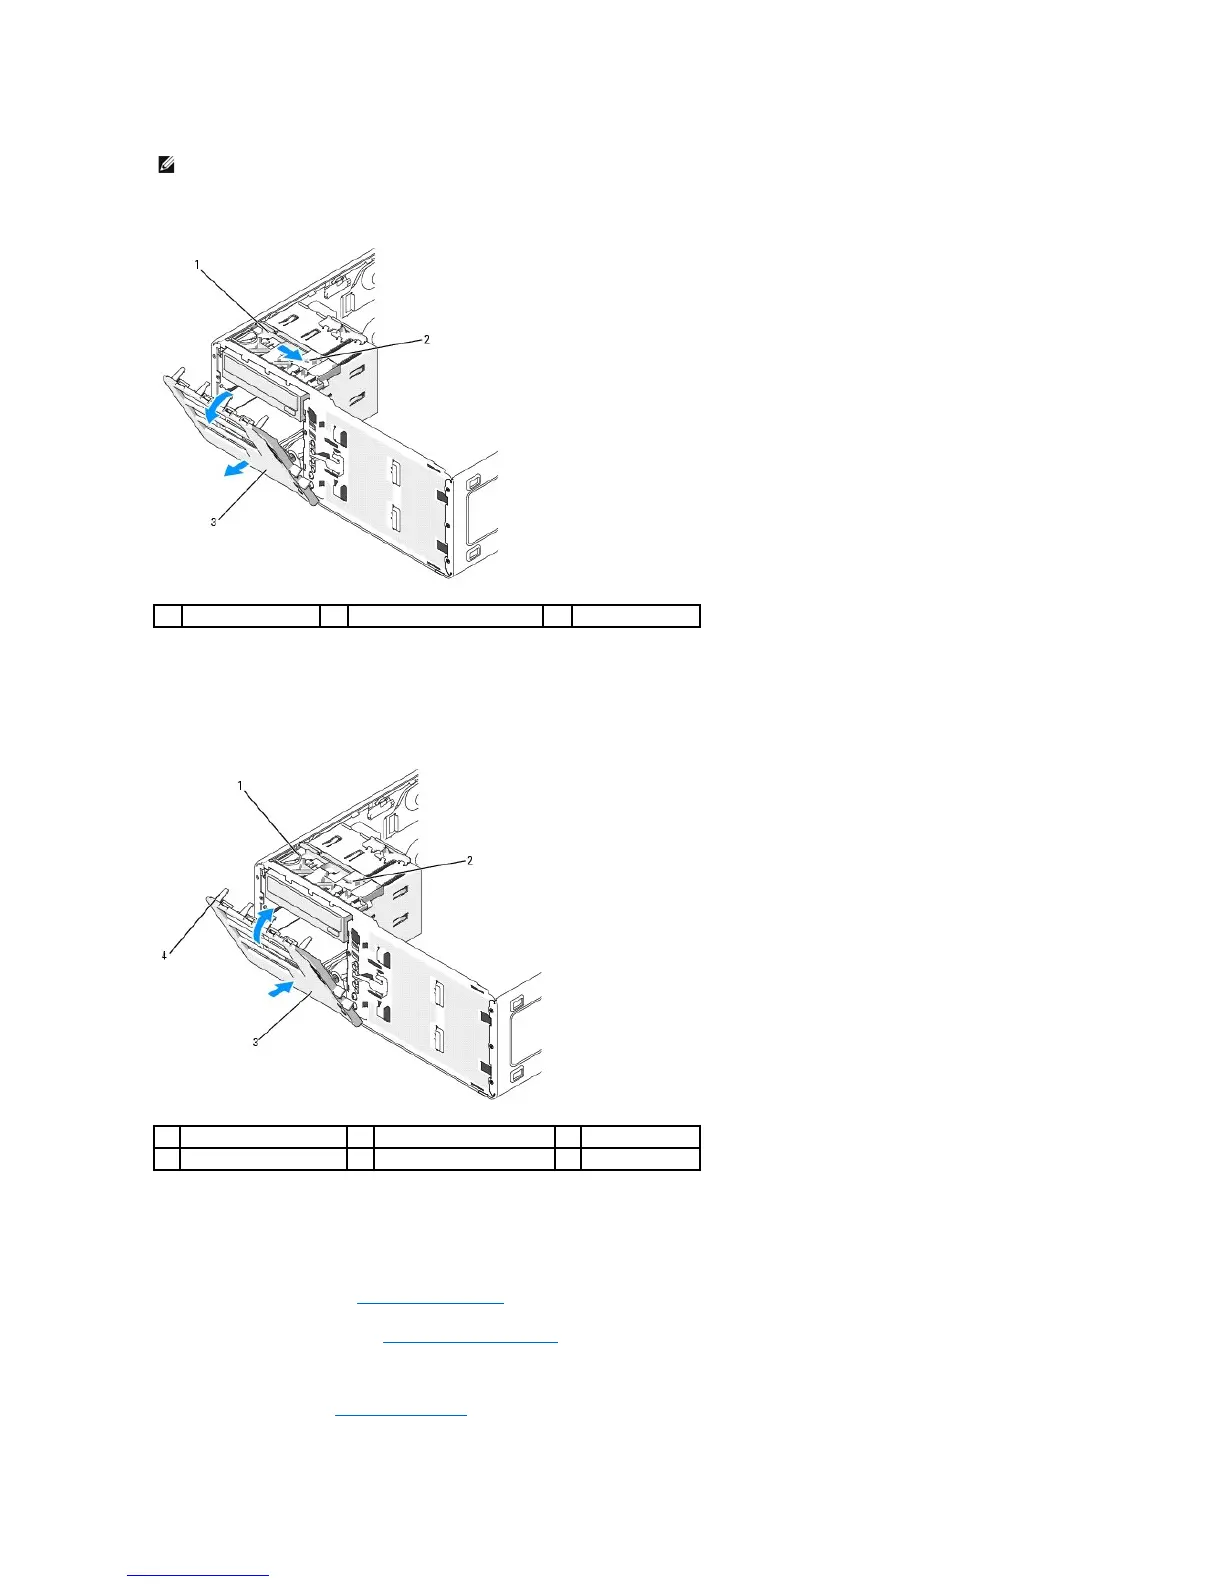
Replacing the Drive Panel (Desktop Computer)
1. Align the drive-panel tabs with the side-door hinges.
2. Rotate the drive panel toward the computer until it snaps into place on the front panel.
3. To rotate the Dell badge on the front panel, place fingers around the outside of the badge, press in, and turn the badge. You can also rotate the
badge using the slot provided near the bottom of the badge.
4. Replace the front panel. See Replacing the Front Panel.
5. Replace the computer cover. See Replacing the Computer Cover.
See the documentation that came with the drive for instructions on installing drive operation software.
6. Enter system setup (see Entering System Setup) and select the appropriate Diskette Drive option.
NOTE: The desktop drive panel is an optional item that can be purchased separately if your original system is a tower computer.
1
sliding plate
2
sliding-plate lever
3
drive panel
1
sliding plate
2
sliding-plate lever
3
drive panel
4
drive-panel tabs

Table of Contents

Other manuals for Dell Precision 390

Questions and Answers:

Question and Answer IconNeed help?

Do you have a question about the Dell Precision 390 and is the answer not in the manual?

Dell Precision 390 Specifications

General IconGeneral
MemoryUp to 8GB DDR2 SDRAM
NetworkIntegrated Gigabit Ethernet
ProcessorIntel Core 2 Duo
ChipsetIntel 975X Express
GraphicsATI FireGL
StorageSATA 3.0Gb/s
Optical DriveDVD-ROM, DVD+/-RW
Operating SystemMicrosoft Windows XP Professional, Red Hat Linux
Power Supply375W
Expansion Slots1 PCI Express x1 slot, 3 PCI slots
PortsUSB 2.0, serial, parallel

Related product manuals