EasyManuals Logo

Dell Precision 390 User Manual

Dell Precision 390
138 pages
To Next Page IconTo Next Page
To Previous Page IconTo Previous Page
Page #81 background imageLoading...
Page #81 background image
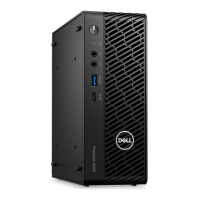
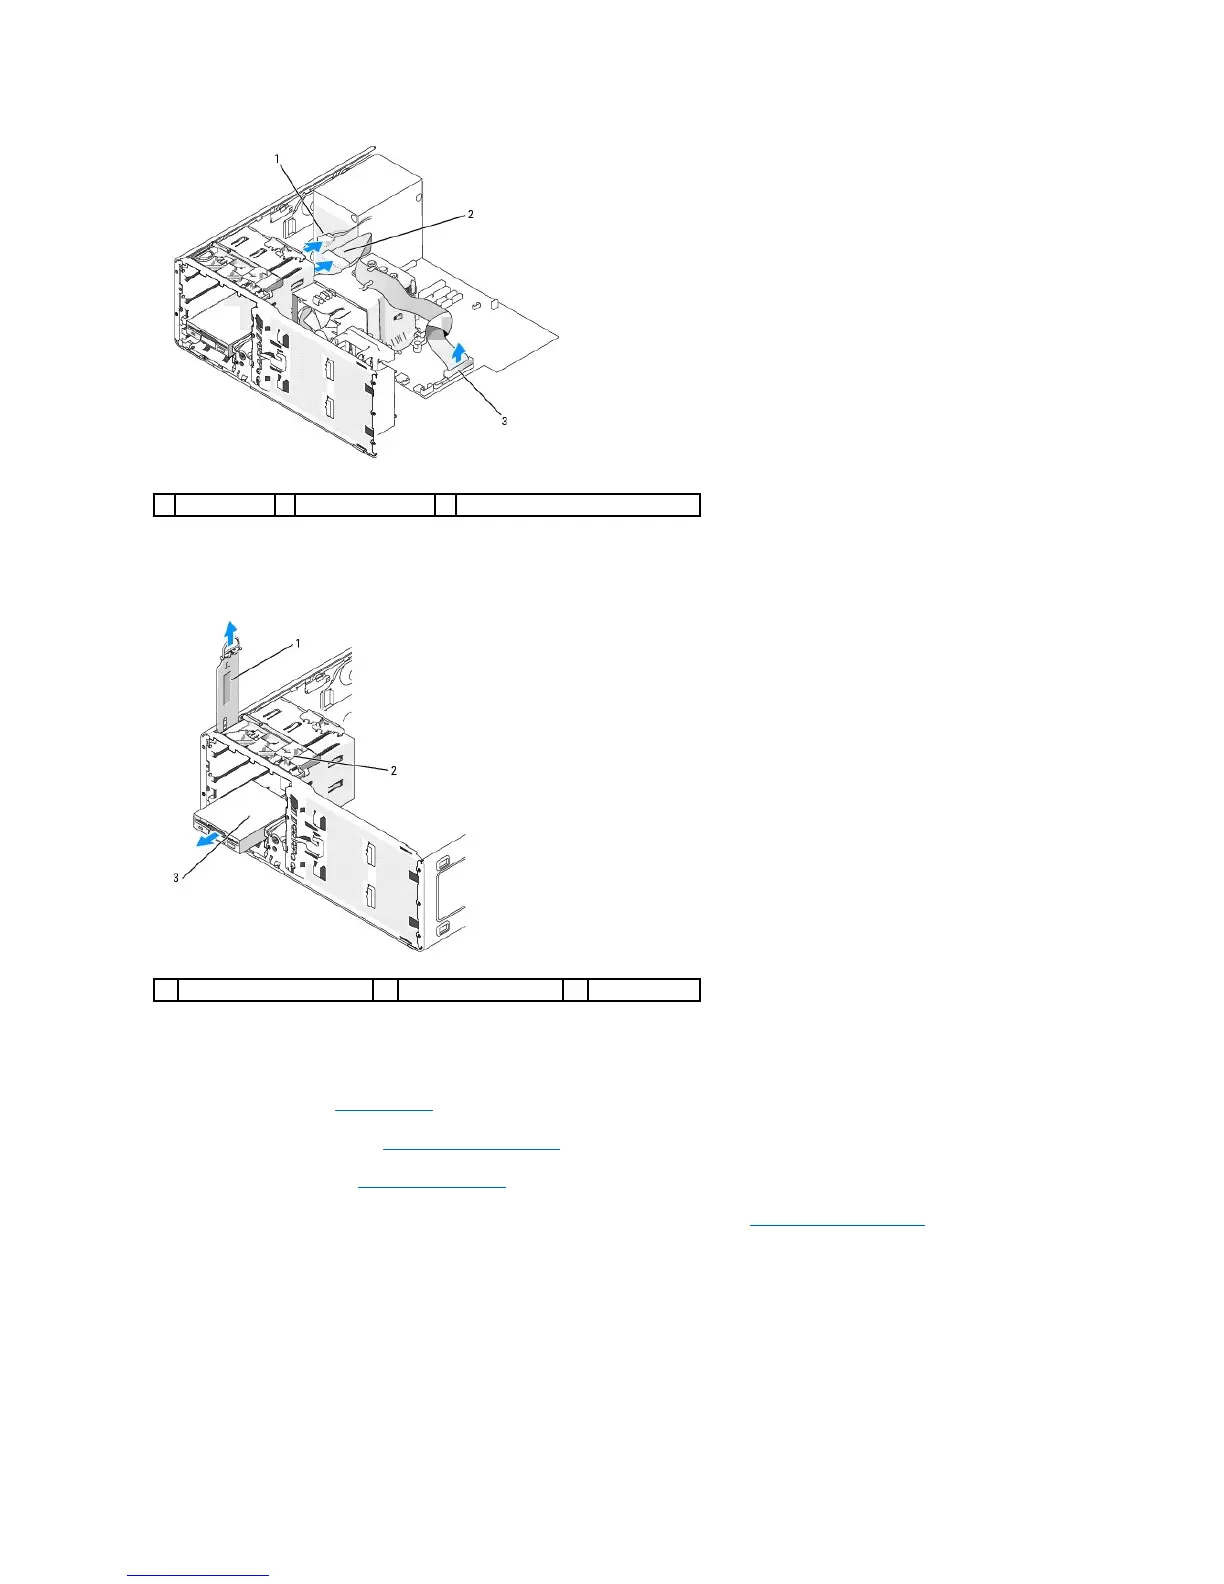
6. Pull the desktop drive retention insert by the handle and set it aside in a safe place.
7. Slide the sliding-plate lever to the right to release the shoulder screw and slide the drive out of the 3.5- inch drive bay.
Installing a Floppy Drive or Media Card Reader (Desktop Computer)
1. Follow the procedures in Before You Begin.
2. Remove the computer cover (see Removing the Computer Cover).
3. Remove the front panel. See Removing the Front Panel.
4. If you are installing a new floppy drive or Media Card Reader, remove the drive-panel insert (see Removing a Drive-Panel Insert) and remove the
shoulder screws from the inside of the drive-panel insert and attach the screws to the new drive.
1
power cable
2
floppy-drive cable
3
floppy-drive connector (FLOPPY)
1
drive retention insert
2
sliding-plate lever
3
floppy drive

Table of Contents

Other manuals for Dell Precision 390

Questions and Answers:

Question and Answer IconNeed help?

Do you have a question about the Dell Precision 390 and is the answer not in the manual?

Dell Precision 390 Specifications

General IconGeneral
MemoryUp to 8GB DDR2 SDRAM
NetworkIntegrated Gigabit Ethernet
ProcessorIntel Core 2 Duo
ChipsetIntel 975X Express
GraphicsATI FireGL
StorageSATA 3.0Gb/s
Optical DriveDVD-ROM, DVD+/-RW
Operating SystemMicrosoft Windows XP Professional, Red Hat Linux
Power Supply375W
Expansion Slots1 PCI Express x1 slot, 3 PCI slots
PortsUSB 2.0, serial, parallel

Related product manuals