2. Disconnect the power cable from the back of the hard drive.
3. Disconnect the serial ATA cable from the back of the hard drive and from the SATA connector on the system board.
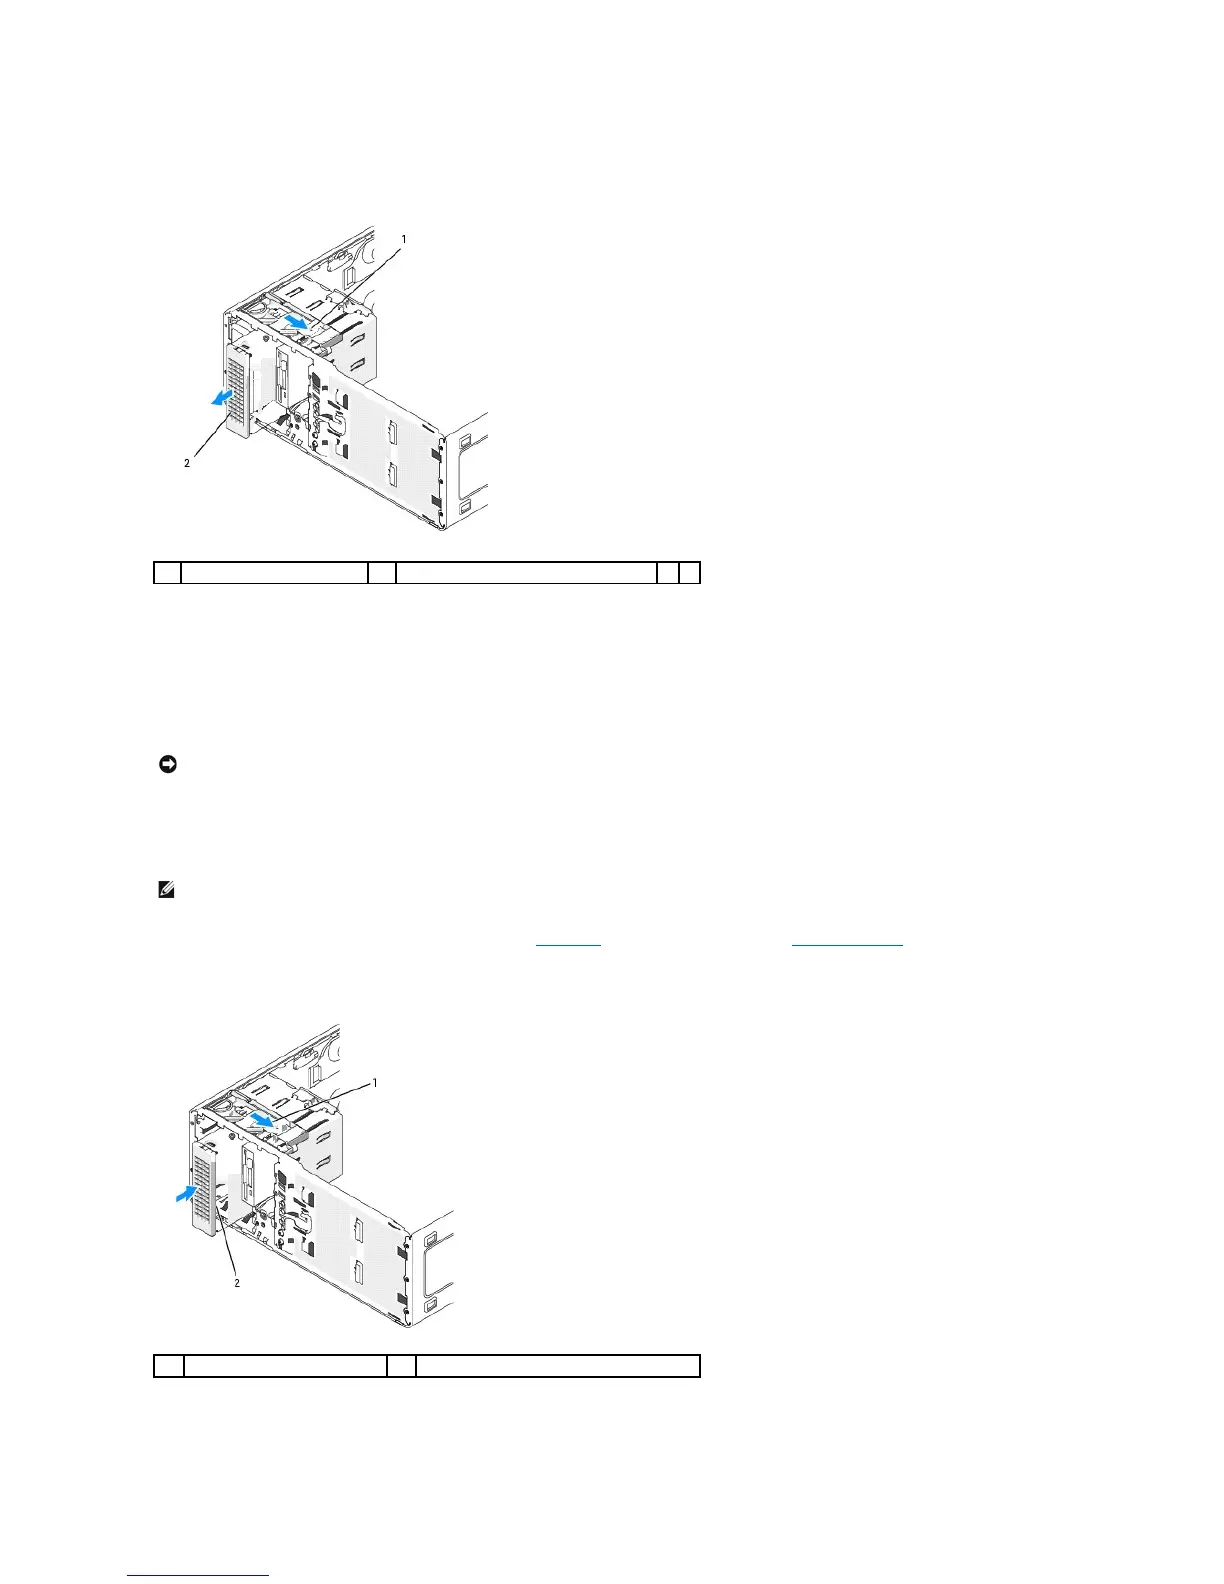
4. Slide the sliding-plate lever to release the shoulder screw and slide the drive out of the lower 5.25-inch drive bay.
5. Set the drive aside in a secure location.
Installing an Optional Fourth Hard Drive (Tower Computer)
1. If you are installing a new drive, unpack the drive and prepare it for installation.
Check the documentation for the drive to verify that it is configured for your computer.
2. If you are installing a new drive, remove the drive panel (see Drive Panel) and the drive-panel insert (see Drive-Panel Inserts) from the lower 5.25-inch
drive bay. Use the screws provided with the new drive to install the drive into the drive bay.
3. Slide the sliding-plate lever and hold it in place as you guide the drive into the lower 5.25-inch drive bay and gently slide it in until it is securely seated.
4. Connect a power cable to the hard drive and to the power supply.
NOTICE: In a tower configuration with multiple optional drives, there can only be one floppy drive or Media Card Reader- which must be installed in the
lower 3.5-inch drive bay. The 3rd hard drive must occupy the upper 3.5-inch drive bay. The fourth hard drive must occupy the lower 5.25-inch drive bay.