EasyManua.ls Logo

Dell Precision 490 Desktop - Removing a Drive-Panel Insert

Dell Precision 490 Desktop
170 pages
To Next Page IconTo Next Page
To Previous Page IconTo Previous Page
Loading...
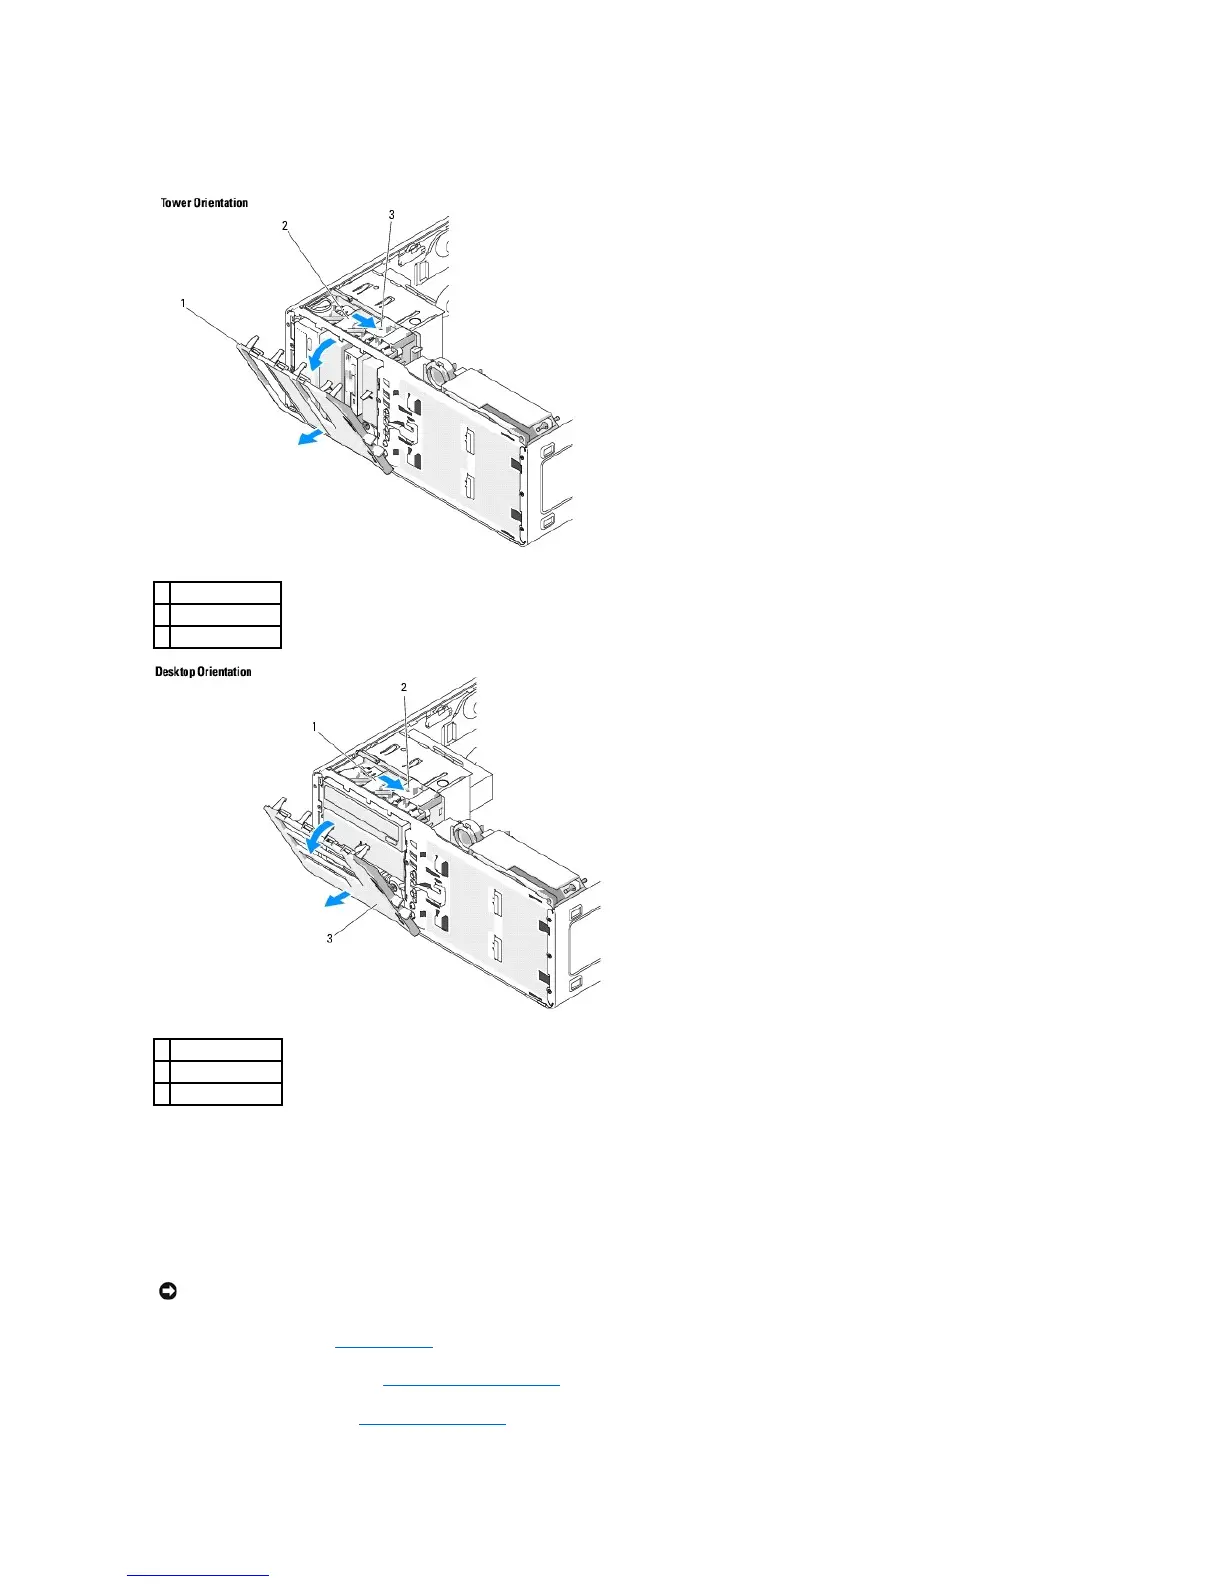
3. Grasp the sliding plate lever and push it towards the base of the computer until the drive panel snaps open.
4. Pivot the drive panel outward and lift it from its side hinges.
5. Set the drive panel aside in a secure location.
Removing a Drive-Panel Insert
1. Follow the procedures in Before You Begin.
2. Remove the computer cover (see Removing the Computer Cover).
3. Remove the drive panel (see Removing the Drive Panel).
1
drive panel
2
sliding plate
3
sliding plate lever
1
sliding plate
2
sliding-plate lever
3
drive panel
NOTICE: Drive-panel inserts may contain screws on the inside. You can attach the screws to new drives that do not have any screws.

Table of Contents

Related product manuals