Removing a Floppy Drive (Desktop Computer)
1. Follow the procedures in Before You Begin.
2. Remove the computer cover (see Removing the Computer Cover).
3. Remove the drive panel (see Removing the Drive Panel).
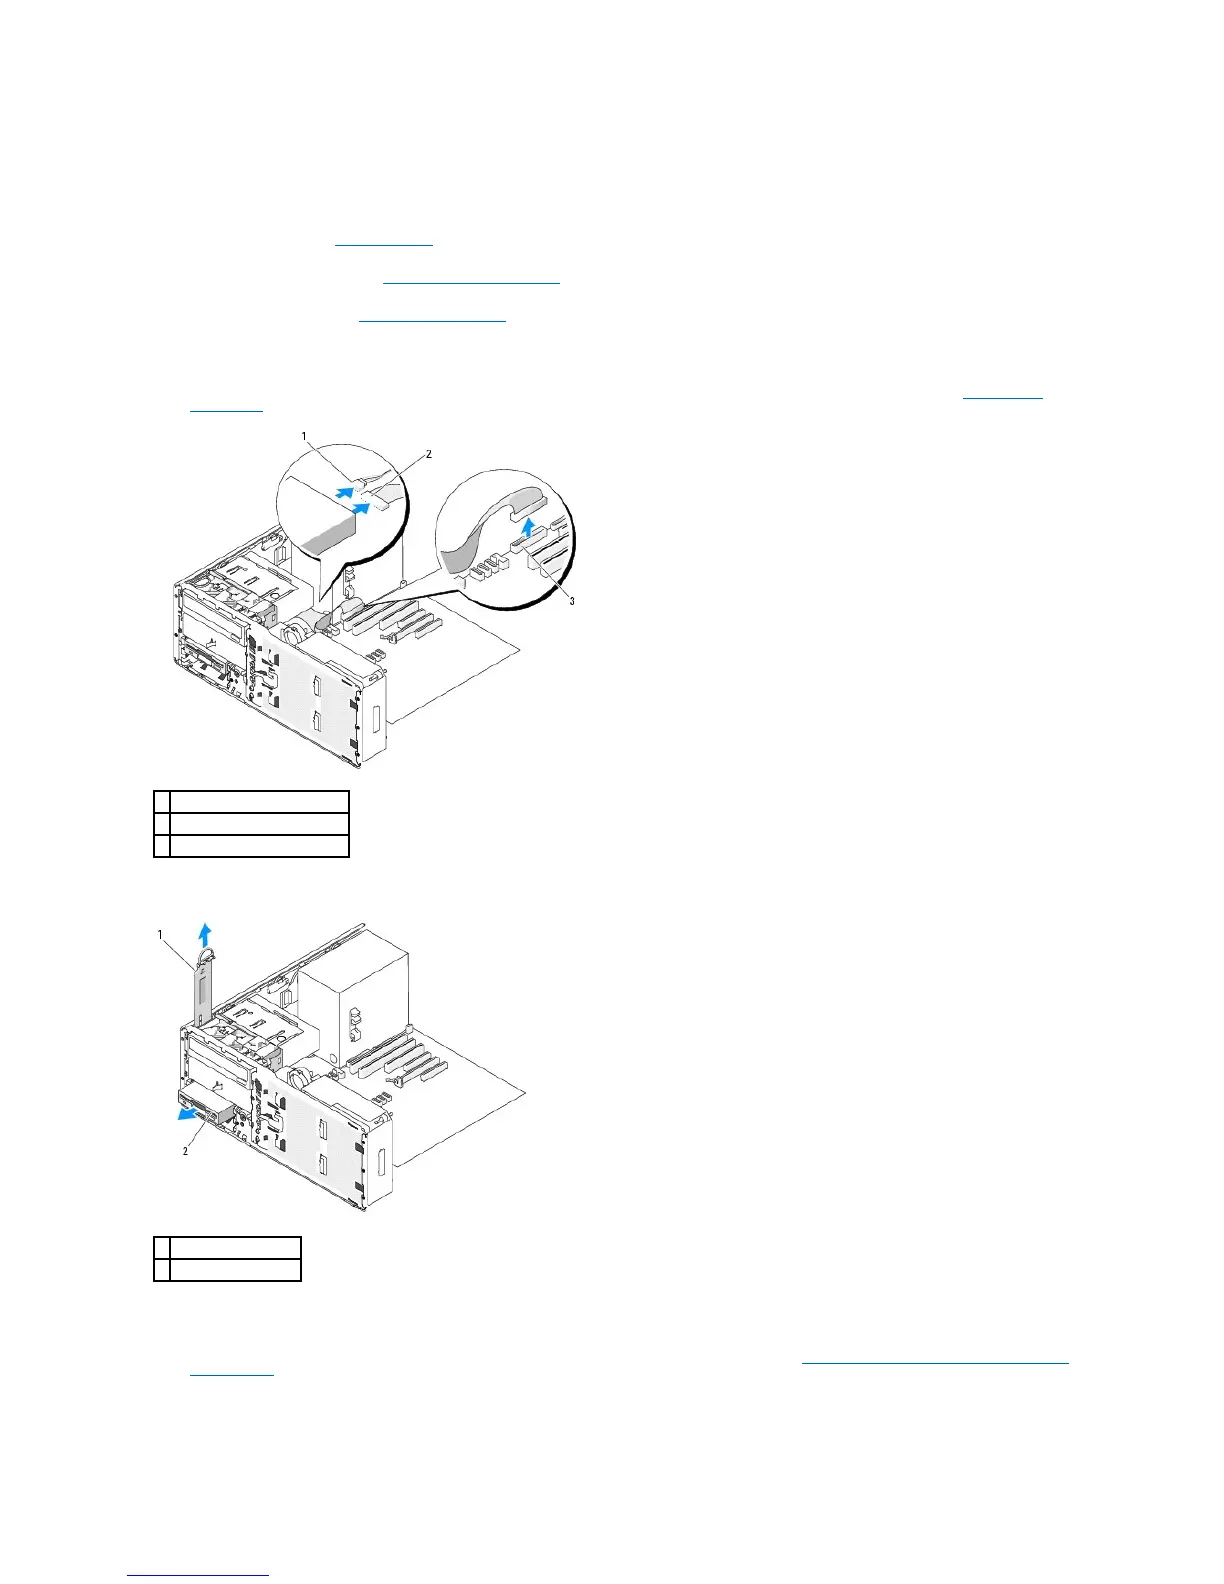
4. Disconnect the power and data cables from the back of the floppy drive.
5. Disconnect the other end of the drive cable from the system board connector labeled "DSKT." To locate system board connectors, see System Board
Components.
6. Pull the desktop drive retention insert by the handle and set it aside in a safe place.
7. Remove the floppy drive from the FlexBay.
8. If you are not installing another drive in the FlexBay, and metal shields are present in your computer (see About the Metal Shields Present in Some Drive
Configurations), install the vented metal insert over the FlexBay and the empty space beneath it:
a. Holding the metal insert at an angle, insert its two upper screws into the slot that runs along the inside of the FlexBay.
b. Rotate the bottom of the vented metal insert down and insert its two bottom screws into the slot in the open area beneath the FlexBay.