Getting Started Connections Playback Remote Control Multi-Zone Information Troubleshooting
ENGLISH
Option Setup
Make various other settings.
F Menu tree F
Manual Setup
Option Setup
a Amp Assign
s Volume Control
d Source Delete
f GUI
g Quick Select Name
h Trigger Out 1
j Trigger Out 2
k Digital Out
l Remote ID
A0 2Way Remote
A1 Dimmer
A2 Setup Lock
A3 Maintenance Mode
A4 Firmware Update
The places where the surround amplifi er and surround back amplifi er
are used can be set freely according to the usage environment. This
makes it possible to output sound to rooms other than the room
(the main zone) where surround playback is performed (multi-zone
playback) or play the sound with high quality using the front speakers
(bi-wiring/bi-amp connections).
a
Amp Assign
Defi ne how the amplifi er for the surround and/or surround
back speaker channels is used.
For details, see “Amp Assign / Multi-Zone Connections and Operations”
(vpage 73 ~ 76).
[Selectable items]
7.1CH
ZONE2
ZONE3
ZONE(MONO)
Bi-Wiring
Bi & ZONE2
Bi & ZONE3
Bi & ZONE(MONO)
Bi-Amp
ZONE2/3
ZONE2/3(MONO)
2CH Bi-Wiring
2CH Bi-Amp
s
Volume Control
Set the main zone volume setting.
Volume Limit
Make a setting for maximum volume.
[Selectable items] OFF
–20dB
–10dB
0dB
Power On Level
This sets the volume set when the main zone’s power is turned on.
[Selectable items] Last
– – –
–80dB ~ +18dB
Mute Level
This sets the amount of attenuation of the volume when the mute
mode is set in the main zone.
[Selectable items] Full
–40dB
–20dB
d
Source Delete
Remove input sources that are not used from the display.
[Selectable items] ON
Delete
NOTE
• Input sources being used in the various zones cannot be deleted.
• Input sources set to “Delete” cannot be selected from GUI menu
“Source Select” or using the SOURCE SELECT knob on the main unit
or SOURCE SELECT button on the remote control unit.
f
GUI
Make GUI related settings.
Screensaver
Make screensaver settings.
Use the screensaver to prevent burn-in on the monitor screen.
When set to “ON”, the screensaver is activated if there is no activity
for about 3 minutes.
[Selectable items] ON
OFF
Wall Paper
Change the GUI background.
[Selectable items] Picture
Black
Gray
Blue
Format
Select the video output signal format to match the monitor.
[Selectable items] PAL
NTSC
NOTE
When a format other than the video format of the connected monitor
is set, the picture will not be displayed properly. Use the procedure
described below to change the video format.
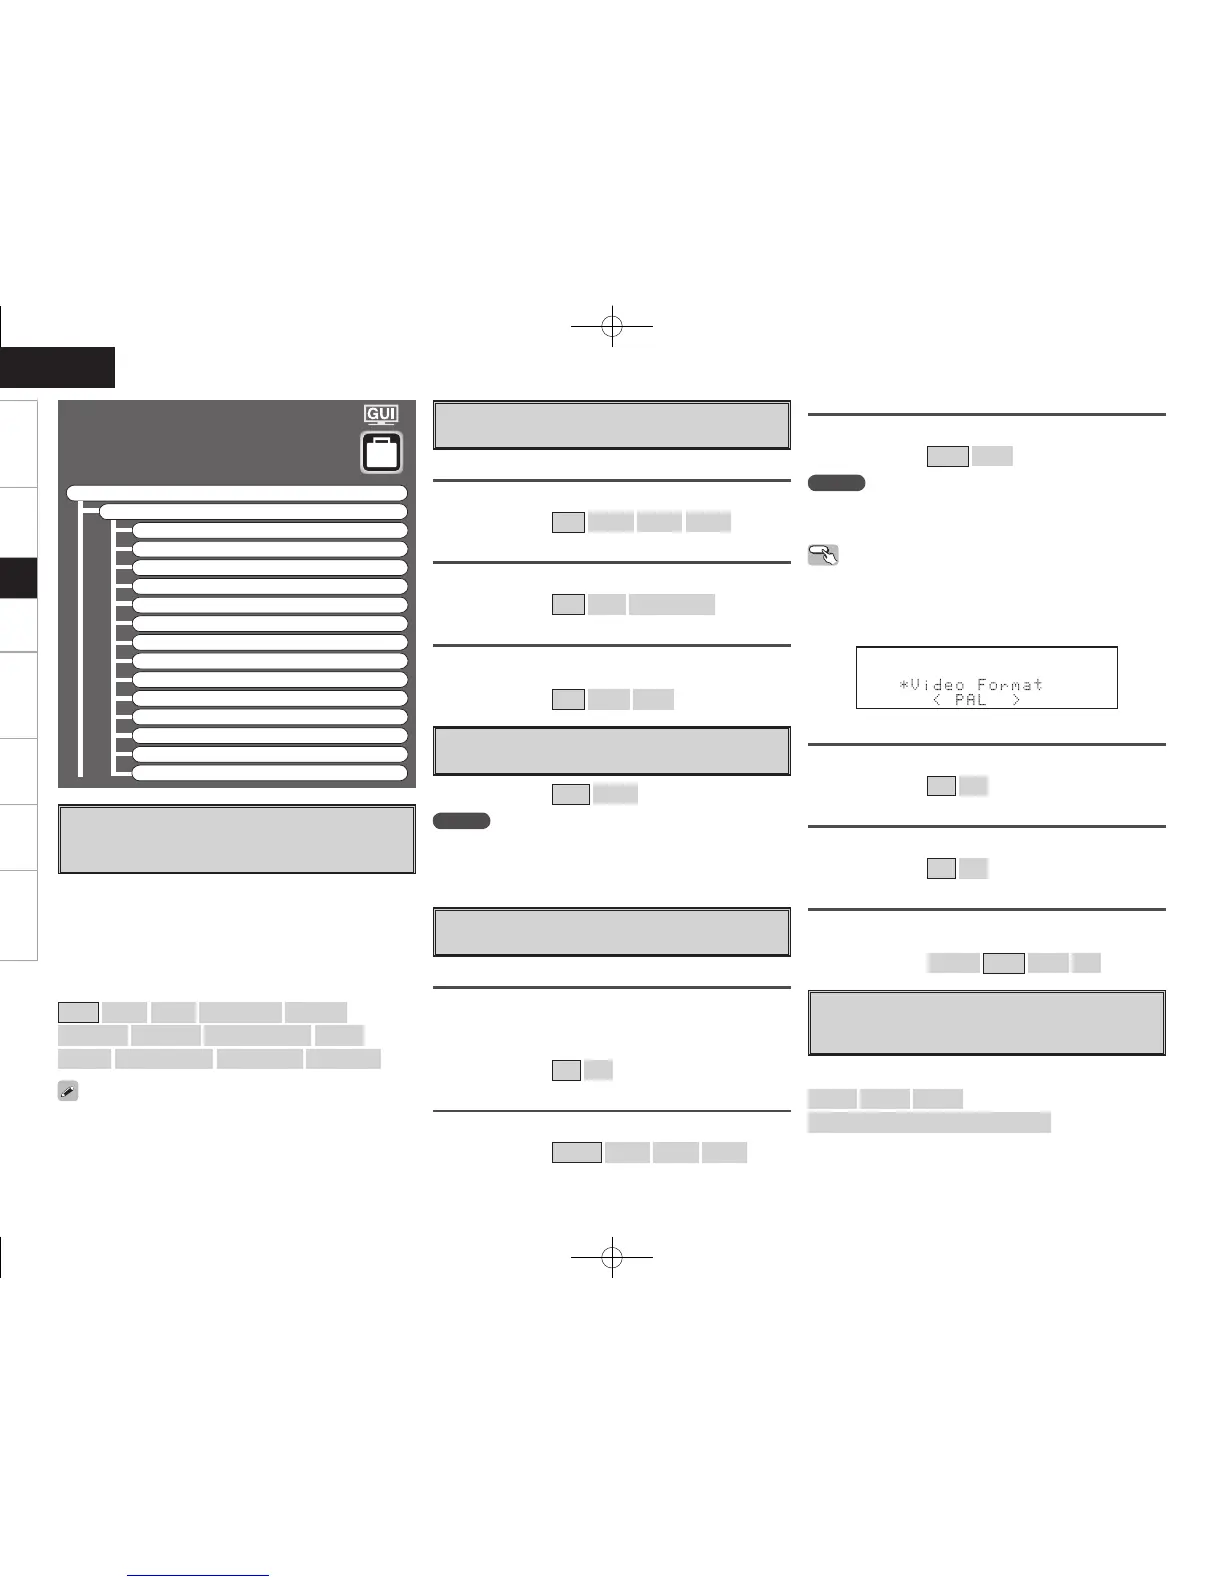
Operating from the main unit
q Press and hold the STATUS and RETURN buttons for at least 3
seconds.
“Video Format” appears on the display.
w Use the o p button to make the setting.
e Press the ENTER, MENU or RETURN button to complete the setting.
Text
Text information display.
[Selectable items] ON
OFF
Master Volume
Master volume display during adjustment.
[Selectable items] ON
OFF
NET/USB / iPod / Tuner
This sets the time the on-screen display is displayed when an operation
is performed.
[Selectable items] Always
30s
10s
OFF
g
Quick Select Name
Change the Quick Select name.
Up to 16 characters can be input.
[Input characters]
A ~ Z
a ~ z
0 ~ 9
! “ # % & ’ ( ) * + , - . / : ; < = > ? @ [ \ ] (space)
Setup
 Loading...