Getting Started Connections Setup Remote Control Multi-Zone Information Troubleshooting
ENGLISH
NOTE
• Depending on the type of iPod and the software version, some
functions may not operate.
• DENON will accept no responsibility whatsoever for any loss of iPod
data.
• With the default settings, the iPod can be used connected to the VCR
(iPod) connector.
• Use the RESTORER mode to expand the low and high frequency
components of compressed audio fi les and achieve a richer sound.
The default setting is “Mode3”.
• Press <ON/STANDBY> or [POWER OFF] and set the AVR-4308’s power
to the standby mode before disconnecting the iPod. Also switch
the input source to one to which the GUI menu “iPod dock” is not
assigned before disconnecting the iPod.
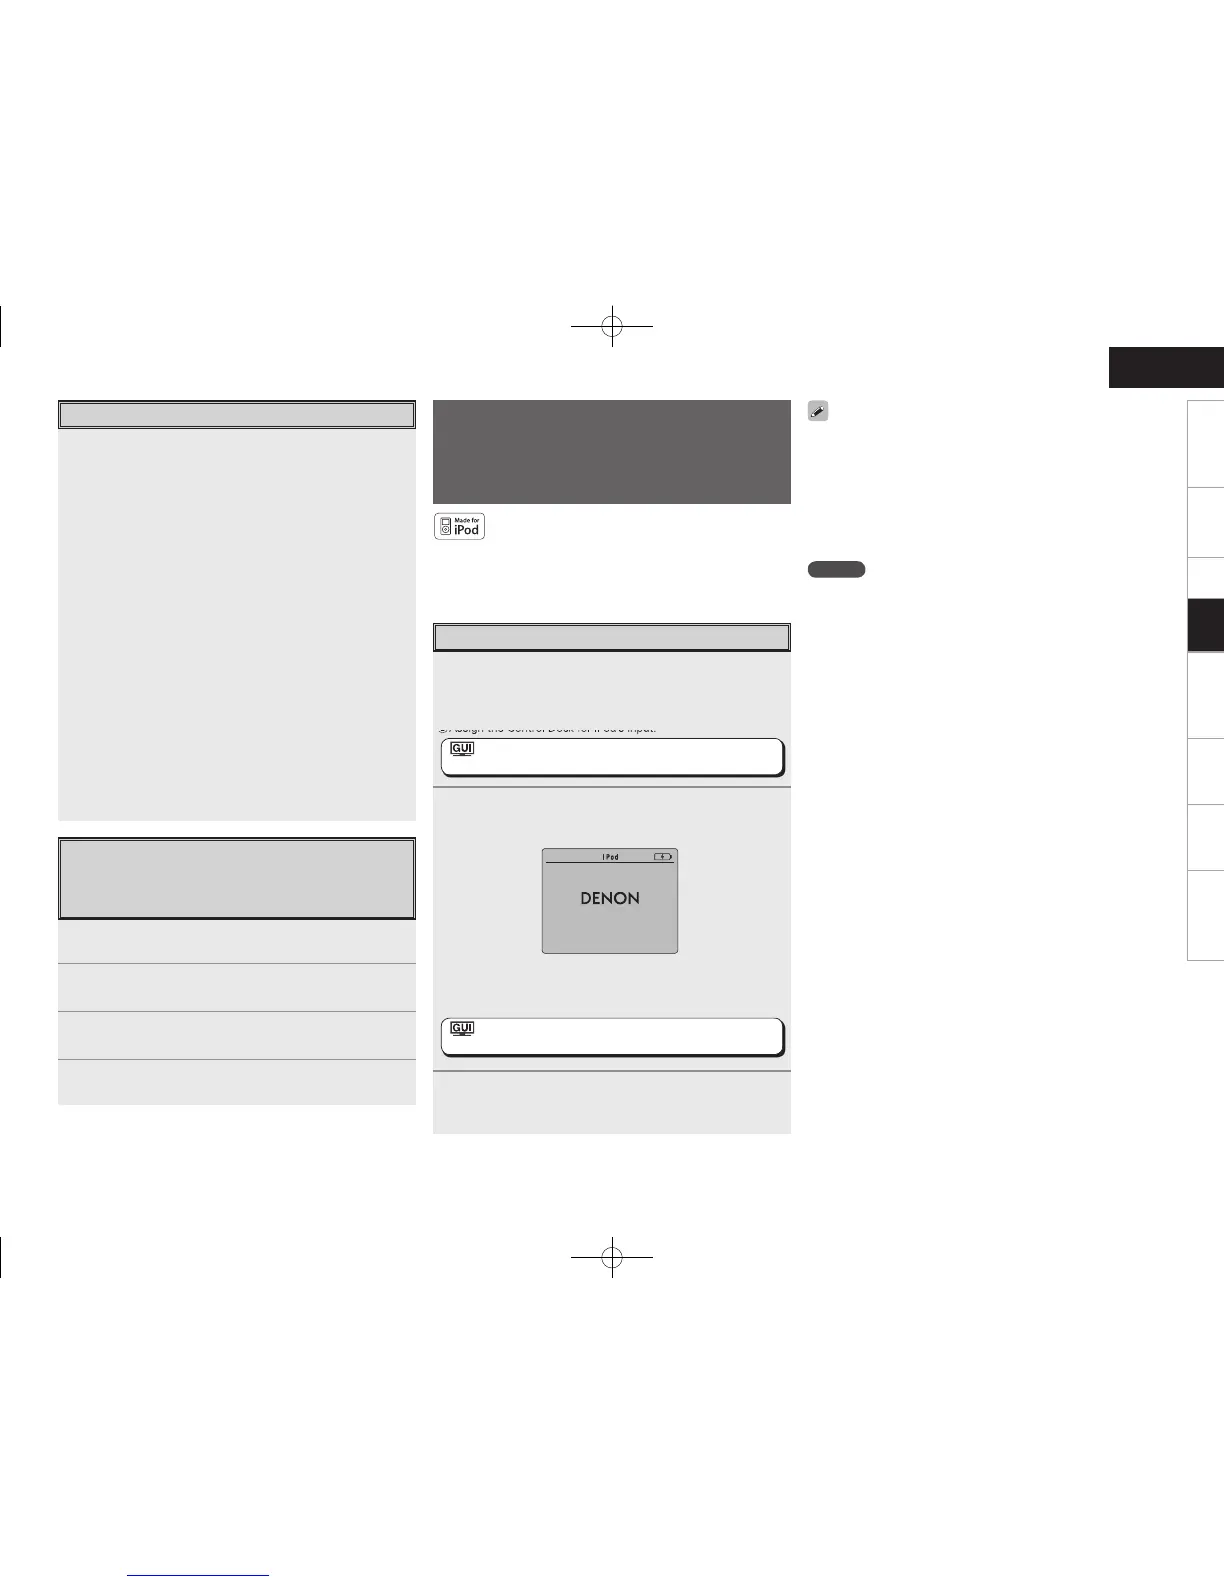
iPod
®
Playback
The music on an iPod can be played by using the Control
Dock for iPod (ASD-1R, sold separately).
The operation can also be performed using the buttons on
the main unit or remote control unit while watching the GUI
menus.
iPod is a trademark of Apple Inc., registered in the U.S.
and other countries.
b The iPod may only be used to copy or play contents that are not
copyrighted or contents for which copying or playback is legally
permitted for your private use as an individual. Be sure to comply
with applicable copyright legislation.
1
Make the necessary preparations.
q Set the iPod in the DENON Control Dock for iPod.
(vSee the Control Dock for iPod’s operating instructions.)
w Assign the Control Dock for iPod’s input.
: ”Source Select” – “(input source)” – “Assign”–
”iPod dock” (vpage 41)
2
Either turn <SOURCE SELECT> or press [iPod] (AMP
mode) to select the input source assigned in step 1-w
above.
(iPod screen)
b If the screens above are not displayed, the iPod may not be
properly connected. Try connecting again.
: ”Source Select” – “(input source)” – “Play”
(vpage 39)
3
To operate using the main remote control unit, set the
remote control unit to the iPod mode.
(vpage 64 “Remote Control Unit Operations”)
OK to disconnect.
Basic Operation
Press <STATUS> to switch the DAB reception
information.
b The display switches as shown below each time <STATUS> is
pressed.
q DLS (Dynamic Label Segment) :
The text data included in the broadcast scrolls.
↓
w PTY (Programme Type) :
The category of the broadcast being received is displayed.
↓
e Ensemble Name :
The ensemble name is displayed.
↓
r Channel and Frequency :
The frequency is displayed.
Audio Information :
The bit rate and mode of the broadcast being received is
displayed.
↓
t Time and Date :
The current time and date are displayed.
Signal Quality :
The reception signal sensitivity is displayed (0 to 100).
b If the reception signal sensitivity is 80 or greater, the
program can be received without noise.
Check the DAB Reception Information
1
Tune off the power using <POWER>.
2
Press <POWER> while simultaneously pressing
<DIMMER> and <RETURN>.
3
After the “Initialize” procedure is performed, the
“Auto Tune” procedure is conducted automatically.
4
Once the “Auto Tune” procedure is completed,
receivable channels are played.
Playback
DAB Initialize
When the “DAB Initialize” procedure is performed, all the
preset memory settings for the stations and DABs are
reset.
 Loading...