72
7.3. Setting the Remote control unit
(1) Press and hold RC SETUP for at least 3 seconds.
“SETUP” and indicator ashes twice on the remote control unit.
(2) Use
ui
to display “RC-ID” on the remote control unit and press ENTER.
(3) Use ui to set the remote ID and press ENTER.
“OK” ashes four times on the remote control unit and the normal operation mode is restored.
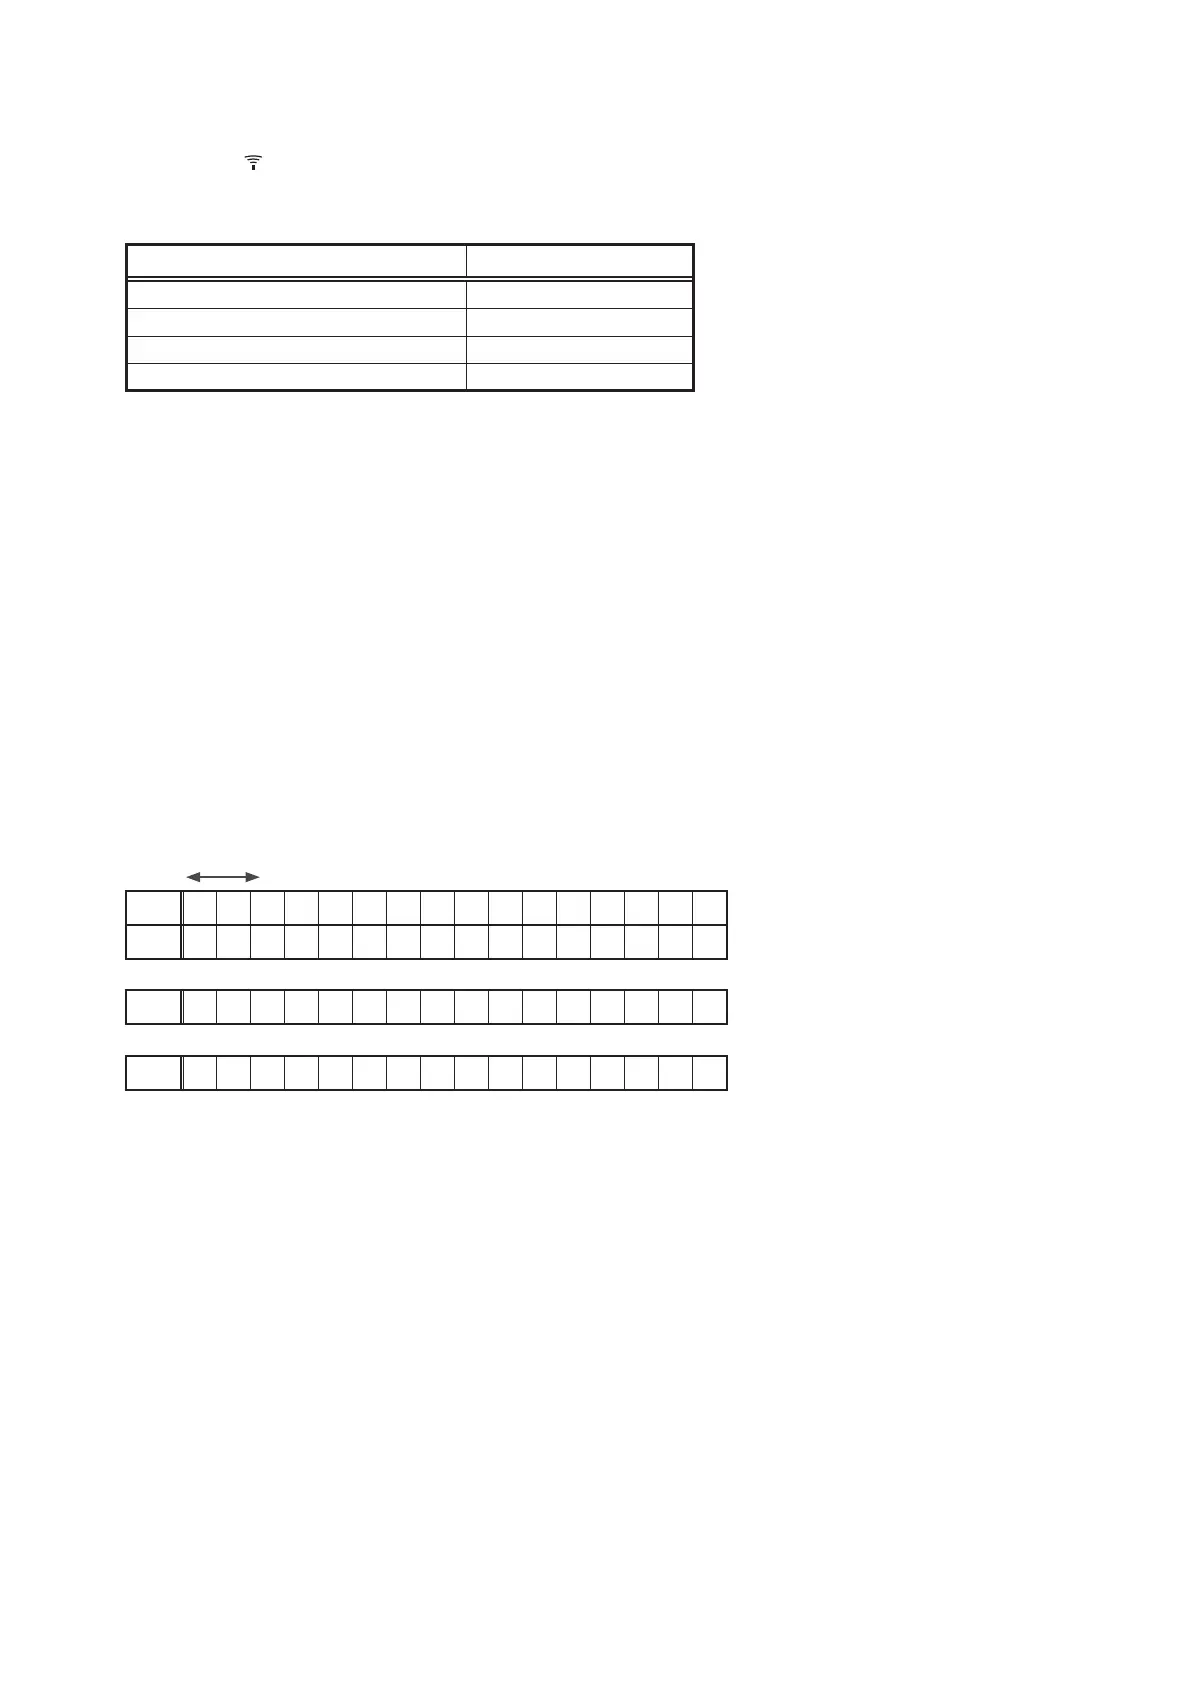
Remote control unit display Remote ID
ID-1 1
ID-2
2
ID-3 3
ID-4 4
NOTE:
If the IDs do not match, "AVAMP
z
" (
z
is the main unit's remote control ID) appears on the display when the remote
control unit is operated.
8. ZONE4 HDMI mode
8.1. Specications
When "ZONE4 HDMI mode" is set to "Follow ZONE2", you can use ZONE4 HDMI OUT as ZONE2.
You can assign ZONE2 for Amp Assign to play back speaker audio and HDMI video in ZONE2.
8.2. Operation
(1) Press the "Power Operation (
X
)" button while pressing "ENTER" and "INFO" buttons on the set to turn the power on.
(2) After the POWER ON sequence is displayed, FLD displays the indication for the ZONE4 HDMI mode.
(3) Press the "Cursor
0
"/"Cursor
1
" buttons to select the setting.
Discrete
Follow ZONE2
Upper
Z O N E 4 H D M I
Lower
< D i s c r e t e >
• "Discrete"(ZONE4) is selected
Lower
< D i s c r e t e >
• "Follow ZONE2" is selected
Lower
< F o l l o w Z O N E 2 >
4. Press the "ENTER" button to conrm the setting.
AVR will restart.
Notes when Follow ZONE2 is set:
• The backup in this mode is initialized by Factory Initialization, not by User Initialization.
• ZONE4 HDMI OUT is linked with Power ON/OFF and source selection in ZONE2.
• ZONE4 ON/OFF or source selection is not available.
• The CEC function does not work.
• With ZONE2 Power ON, the InstaPrevue function is not available.
d
 Loading...