102
ENGLISH
Setting items Setting details
Network Connecting
(Continued)
r Use
o p to select the proxy server input method, and then press i.
Address : Select when inputting by address.
Name : Select when inputting by domain name.
t Use
uio p or 0 – 9 to input the proxy server
address or domain name and press
ENTER.
When “Address” is selected in step r : Input
the address
When“Name” is selected in step r : Input the
domain name
• For character input, see page 78.
y Use uio p or 0 – 9 to input the proxy server port number and press
ENTER.
u Use
i to select “Exit” and press ENTER.
Setup is complete.
Other
Network function on/off
setting during standby, and
PC language setting.
Network Standby : Set the network function on/off during standby.
• ON : Network is on during standby. Main unit operable with a network
compatible controller.
• OFF : Suspend network function during standby.
Set to “ON” when using the web control function.
NOTE
When “Other” – “Network Standby” is set to “ON”, it consumes
more standby power.
Character : When characters are not displayed correctly, set the MP3 ID3-
Tag character code type reproduced by the USB memory device.
• Auto : Auto-select character code.
• Latin : Select ISO 8859-1 Latin-1.
• Japanese : Select Shift-JIS.
If the characters are not properly displayed when set to “Auto”, set to
“Latin” or “Japanese”.
PC Language : Select computer environment language.
• ara / chi (smpl) / chi (trad) / cze / dan / dut / eng / fin / fre / ger / gre /
heb / hun / ita / jpn / kor / nor / pol / por / por(BR) / rus / spa / swe / tur
Friendly Name Edit : The Friendly Name is the name of this unit displayed
on the network. Up to 63 characters can be input. The default Friendly
Name on first use is “DENON:[AVR-A100]”.
• For character input, see page 78.
Default : Restores Friendly Name, which you had changed, to the default
setting.
• Yes : Reset to the defaults.
• No : Do not reset to the defaults.
Party Mode Function : Set the Party Mode function.
• ON : Enable party mode function.
• OFF : Disable party mode function.
Refer to page 68, “Party mode function” for more information on the
party mode function.
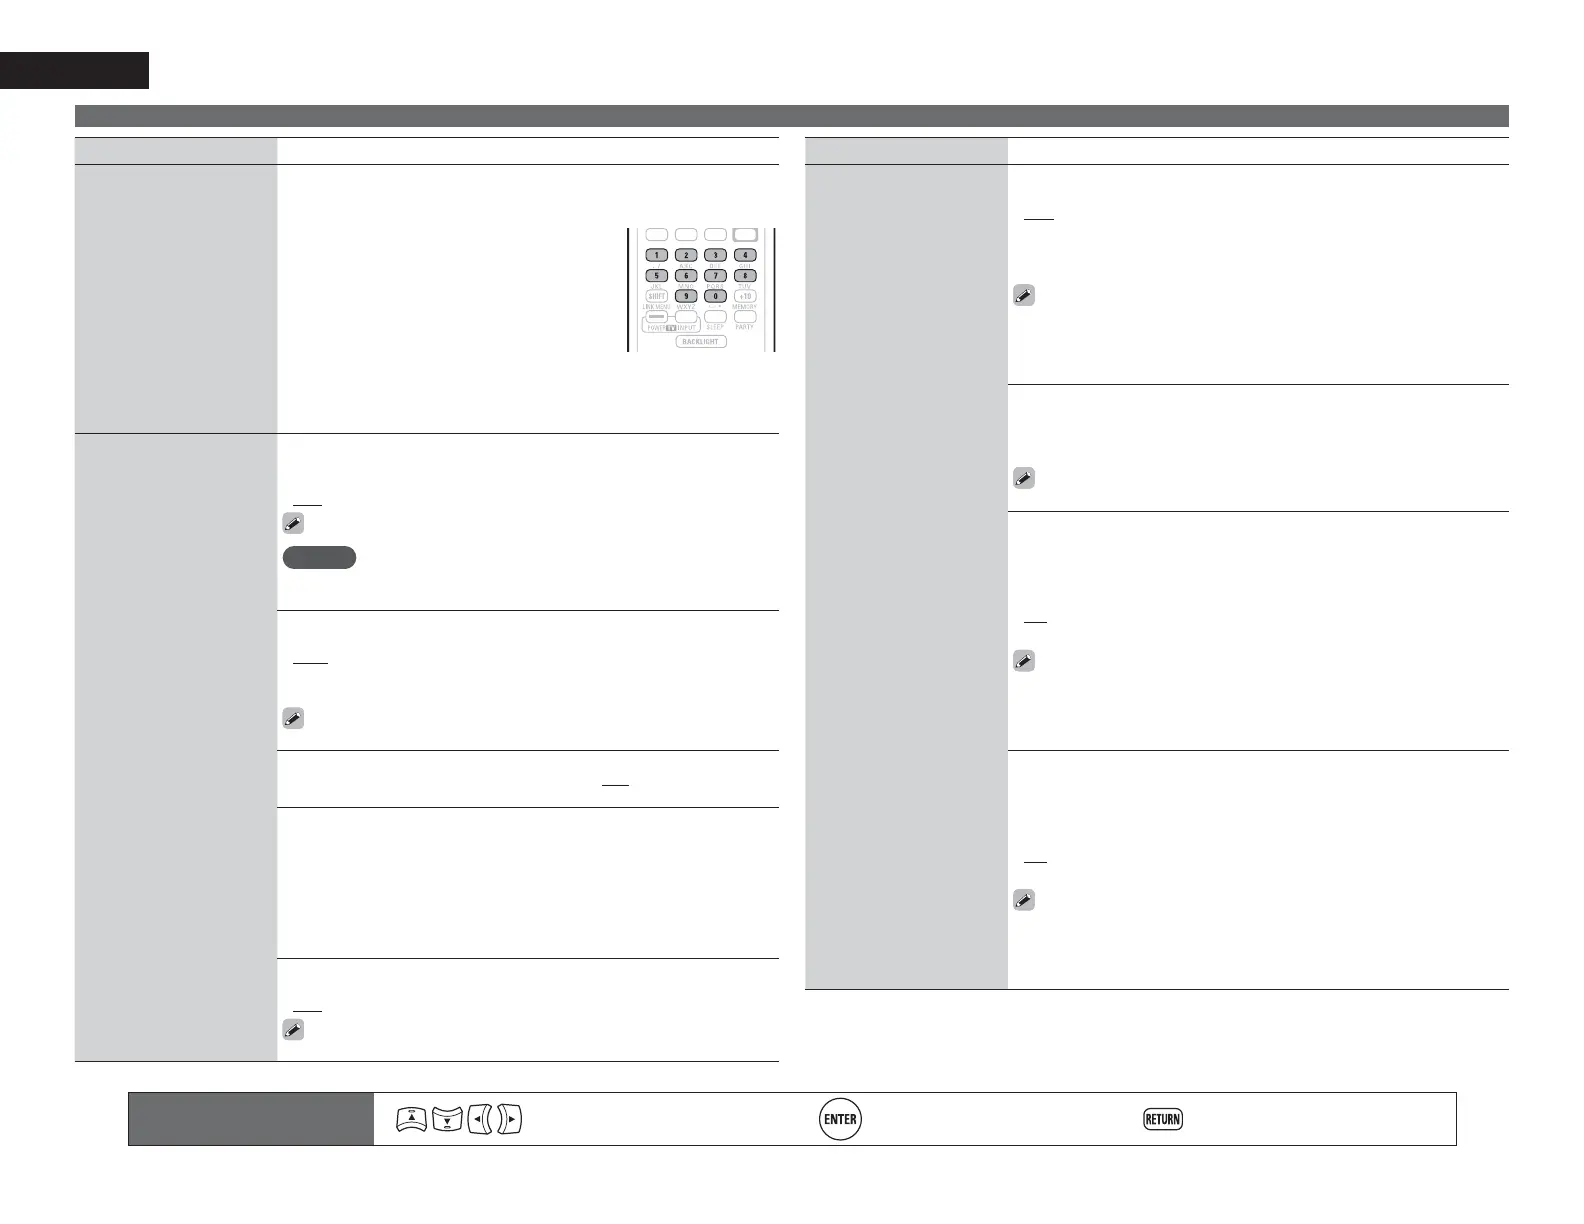
Remote control operation
buttons
Move the cursor
(Up/Down/Left/Right)
Confirm the setting Return to previous menu
MANUAL SETUP
Setting items Setting details
Other
(Continued)
Party Start Level : Make settings for volume level when the party mode
is started.
• Last : The same volume as set before the party mode was started.
• – – –dB (0) : Always use the muting on condition when the party mode
is started.
• –80dB – 18dB (1 – 99) : Start party mode with your preferred volume.
• This can be set when “Party Mode Function“ is set to “ON“.
• This is displayed from 0 to 99 when “Volume Display” (vpage104) is set
to “Absolute”.
• You can set to the upper limit set with “Volume Limit” (vpage104) .
Network Status : Displays up to a maximum of 10 DENON products
connected on the same network.
• Friendly Name / Party Mode Status / Model Name /
Power ON/Standby / Select Source / Volume Level
“Network Status” is only displayed for DENON products supporting
the Network Status function.
Update Notification : Displays a notification message on this unit’s menu
screen when the latest firmware is released with “Firmware Update”. The
notification message is displayed for about 20 seconds when the power
is turned on. Connect to broadband Internet (vpage26) when using this
function.
• ON : Display update message.
• OFF : Do not display update message.
• When you press ENTER during display of the notification message,
the “Check for Update” screen is displayed. (Refer to page 106 for more
information on “Firmware Update”)
• Press
RETURN to erase the notification message.
Upgrade Notification : Display a notification message on this unit’s
menu screen when downloadable firmware is released with “Add New
Feature”. The notification message is displayed for about 20 seconds
when the power is turned on. Connect to broadband Internet (vpage26)
when using this function.
• ON : Display upgrade message.
• OFF : Do not display upgrade message.
• When you press ENTER during display of the notification message,
the “Add New Feature” screen is displayed. (Refer to page 106 for more
information on “Add New Feature”)
• Press
RETURN to erase the notification message.

 Loading...