18
Wall Mounting Installation
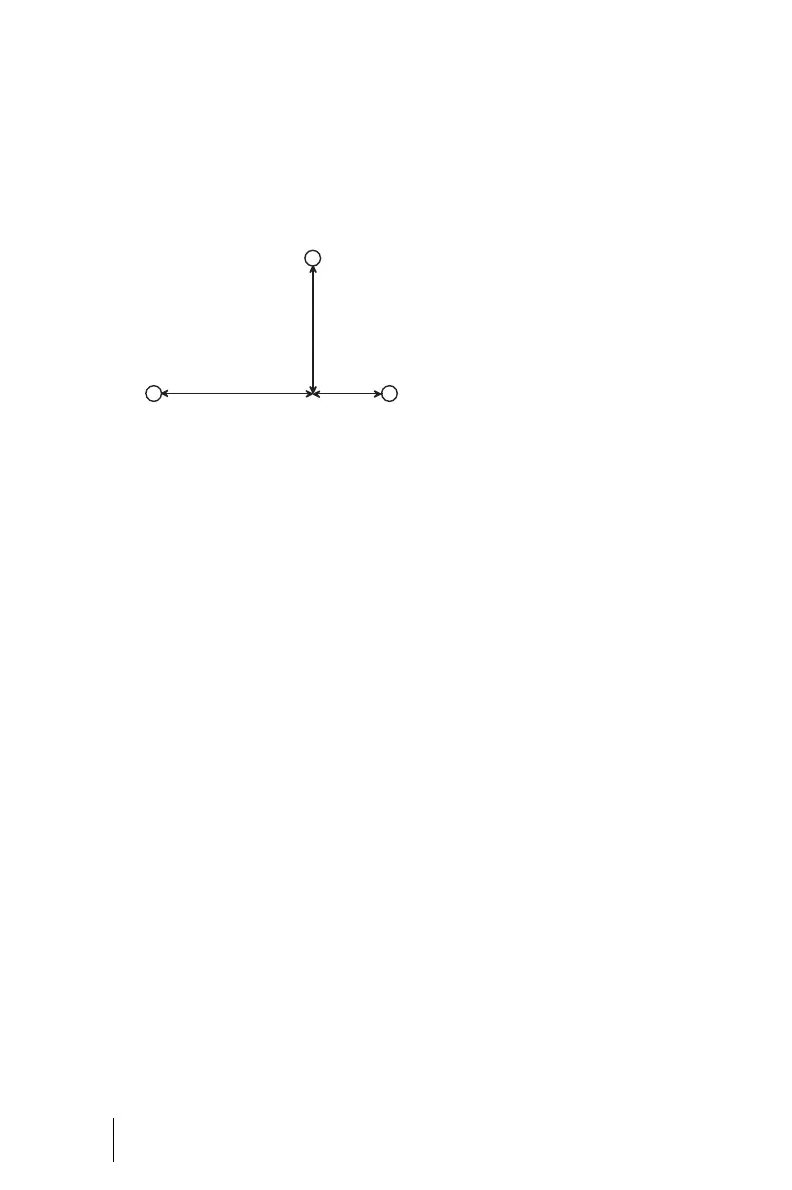
Wall Mounting
The OpenCom 100 is mounted on
the wall with three screws as shown
in this diagram:
Mounting plan
To fasten the screws at points B and
C, remove the cover of the
OpenCom 100 and insert the screws
in the holes provided for this pur-
pose. The OpenCom 100 is sus-
pended from the screw at point A, so
there must be a space of 3 mm be-
tween the screw and the wall.
Available Ports
The OpenCom 100 has the following
ports (see also Positions of the Ports
starting on page 22):
OpenCom 107
■ Four analogue a/b ports, de-
signed as pressure terminals (a/
b1 to a/b4)
■ One actor ports for connection
to a door opener, designed as
pressure terminals (Actor)
■ One S
0
port for connection to an
external S
0
bus (usually the
NTBA), designed as an RJ45
socket (S
0
1)
■ Two switchable S
0
ports (S
0
2
and S
0
3), which can be con-
nected to either an internal or
an external S
0
bus. The internal
port is designed as a pressure
terminal, the external port as an
RJ45 socket
■ One S
0
port for an internal S
0
bus, designed as a pressure ter-
minal (S
0
4). S
0
4 can also be
wired externally (as a master)
when networking two
OpenCom 100 communications
systems in a Q.SIG trunk (also re-
fer to PBX Networking starting
on page 73).
A
BC
D
184
134
332