75
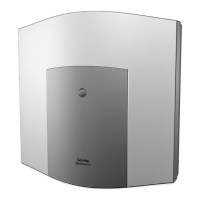
PBX Networking PBX Cascading
The master system then initial-
ises the slave system. This may
involve transfer of firmware (op-
erating software) from the mas-
ter system to the slave system.
This can take a few minutes.
7. Configure the system telephone
connected to the slave system
for testing purposes in the Con-
figurator. In the
PBX Configuration: Ports: Upn
dialogue, click on one of the ad-
ditionally displayed entries of
the type Upn 1/n (1: slave sys-
tem, n: U
pn
port number).
Note: Changes to the configura-
tion while initialising the slave system
may trigger error reports referring to
the ongoing initialisation.
You can see that the initialisation
has been completed from the dis-
play on the system telephone con-
nected to the slave system.
Notes
Observe the following when operat-
ing a cascaded PBX system:
■ All U
pn
, S
0
and a/b ports of the
slave system can be used with
appropriate telephones. All fea-
tures of system telephones on
U
pn
ports are available without
restriction.
■ The S
0
ports of the slave system
can also be used for trunk lines
or for PBX networking (see PBX
Networking starting on
page 76).
■ It is not possible to operate a
DECT base station on one of the
U
pn
ports of the slave system.
■ The COM, actor/sensor and –if
present– LAN2 ports of the slave
system cannot be used.
■ The two communications sys-
tems must have a direct Ether-
net connection or be connected
via a hub in order to exchange
data. They cannot be connected
through a router.
■ The slave system cannot be ad-
dressed directly through a LAN.
For configuration, always use
the Web console of the master
system.
■ A memory card installed in the
slave system (OpenVoice, Open-
Attendant) cannot be used.
■ To operate the slave system
again normally, you must reset it
to its factory settings (refer to
Resetting the System Data start-
ing on page 60).