Maintenance and Registering
D/38
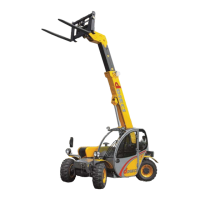
Mod. Apollo
- ATTENTION: - Read the SAFETY REGULATIONS (contained in this manual) carefully for the safety of all personnel and your vehicle.
(g.82/D)
(g.83/D)
(g.84/D)
(g.85/D)
1
2
1
C3
2
3
2
3
1
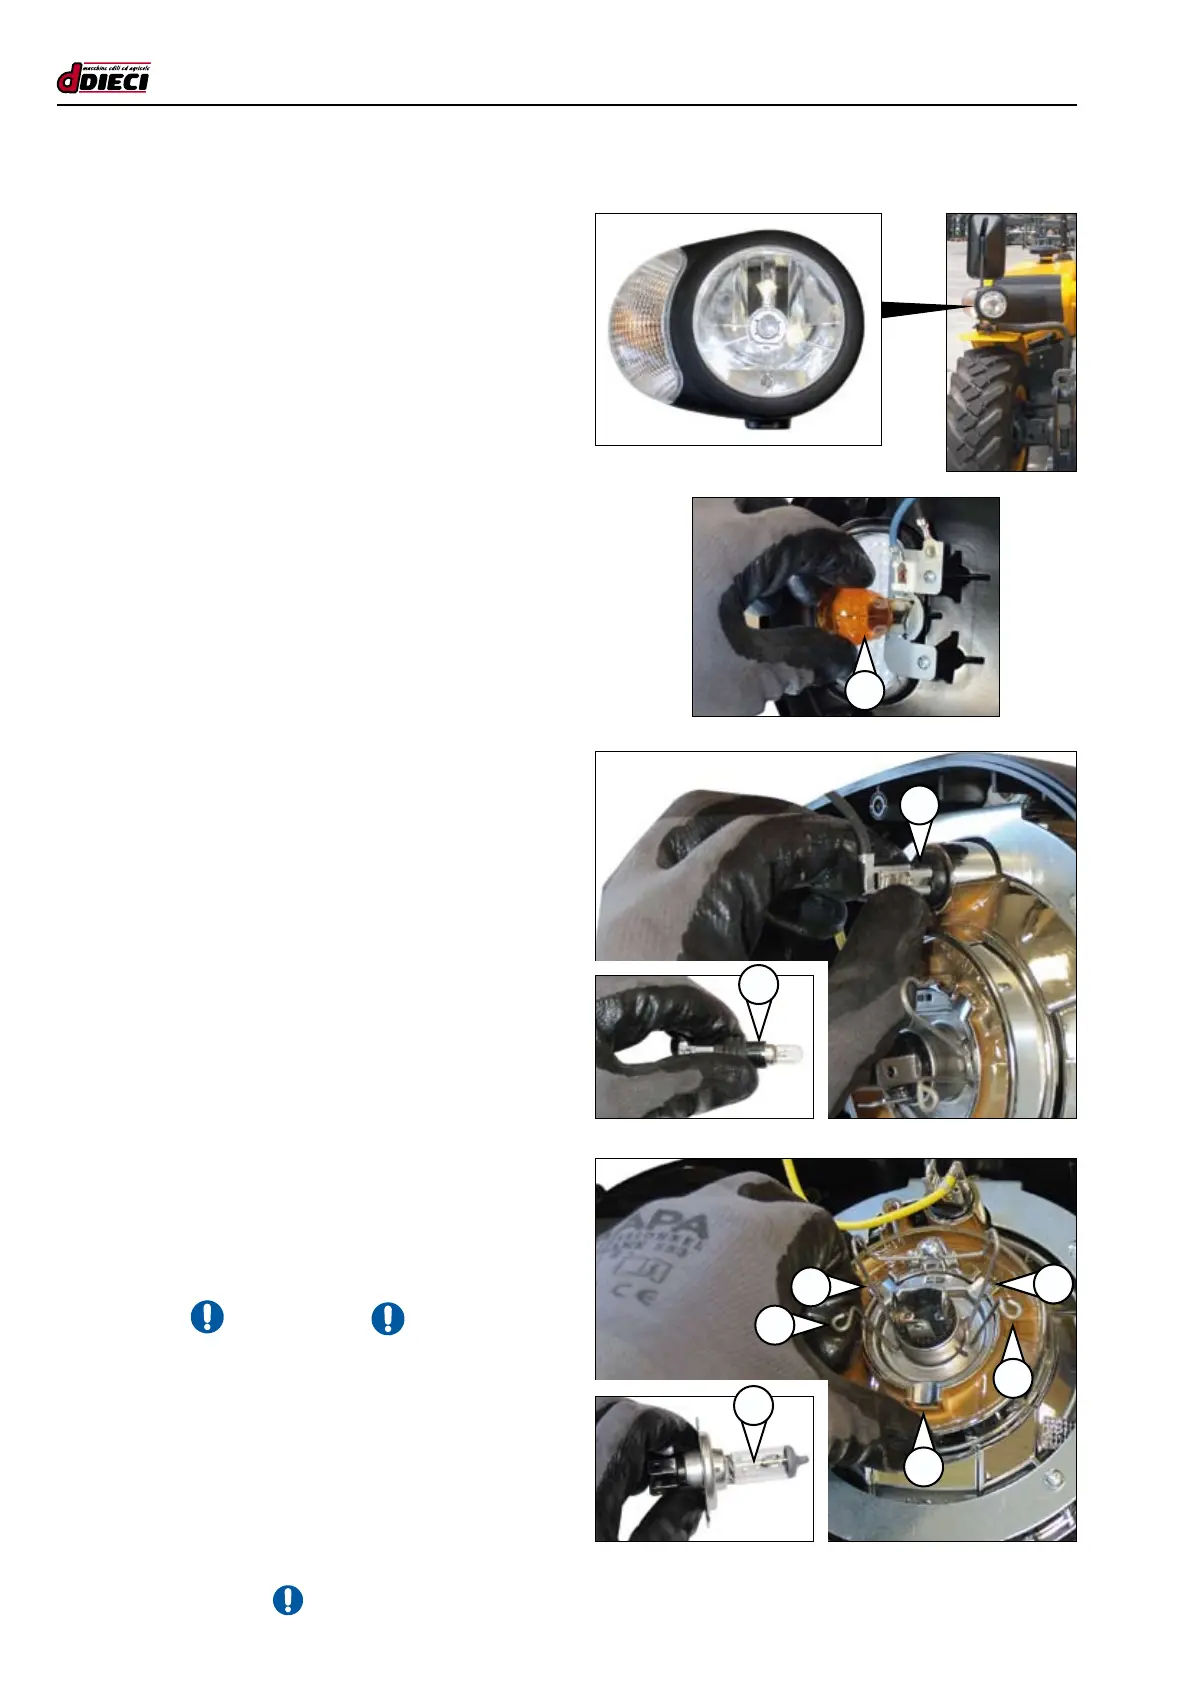
LIGHTING
Vehicle lighting must always be efcient and functioning prop-
erly. Proper lighting function must be checked daily. If the light-
ing body is damaged in any way, replace the damaged part
immediately. Burnt light bulbs should be replaced immediately.
FRONT LIGHT
(g.82/D)
The front light is composed of a direction indicator, a posi-
tion light, dipped light/headlight.
To access the bulbs:
- Switch off the vehicle and use the battery isolator to cut-
out electrical power.
- Remove the power connection of the rear light.
- Remove the front part of the light by loosening its screws
located in the rear cap.
To close the light back up, carry out these steps in the oppo-
site order, being careful to position the seal correctly.
Replacing direction indicator bulbs
(g.83/D Pos.”1”) (21w)
- Press the upper part of the bulb.
- Turn and hold down the bulb to free it from the lock.
Carry out the same steps to insert the new bulb.
Replacing position light bulbs
(g.84/D Pos.”1”) (4w)
- Take hold of the rear part where the electrical connec-
tions are located (g.84/D Pos.”2”).
- Turn and pull the rear part towards you.
- Remove the support and press the upper part of the bulb.
- Turn and hold down the bulb to free it from the lock.
Carry out the same steps to insert the new bulb. Reinsert
the support inside its housing.
Replacing a dipped light/headlight bulb
(g.85/D Pos.”1”) (60/55w H4)
- Remove the electrical connector by pulling it towards you.
- Raise the locking tabs (g.85/D Pos.”2”), moving them
laterally to free the bulb.
- Replace the bulb and proceed in the opposite order to
lock and reconnect it. Respect bulb closing mechanisms
(g.85/D Pos.”3”) for proper insertion.
- ATTENTION -
The bulbs are very fragile. Handle them with care.
The dipped beam bulbs must not
be handles with bare hands.