5. General Engine Information
70
EAMD090I
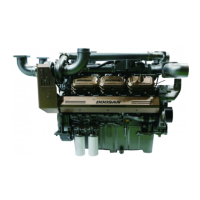
4) Make sure not to install the piston rings upside down. The
"Y" or "TOP" mark on top of the ring connection should
face up.
EE2OM071
5) Insert the pistons into the cylinders by hand or with a
wooden stick.
(Take care not to damage the piston and rings.)
6) Push the piston while rotating the crankshaft approx.
180° to install the bearing cap on the connecting rod.
7) Tighten the connecting rod bolts 2 ~ 3 threads; then,
tighten them to the specified tightening torque (10 kgf·m
(72.33 lbf·ft) + 90° + 10°).
EDX22190121
< Connecting rod bolt tightening sequence >
• Step 1: Tighten the bolts 2 ~ 3 threads by hand
• Step 2: Use a wrench to tighten them to approx. 7 kgf·m
(50.6 lbf·ft)
• Step 3: Tighten them to 10 kgf·m (72.3 lbf·ft) with a torque
wrench
• Step 4: Tighten them one last time to 90°+10° with the
rotating angle method
Tighten the bolts in several stages according to the bolt
tightening sequence above.
EE2OM073
• Standard bolt length and allowable limit
From the seat of the head to the end of the bolt
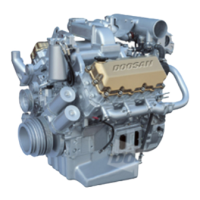
Top ring
Second
ring
Oil ring
Standard length Allowable limit
67.5
-0.3
mm (2.66
-0.012
in.)
69 mm (2.7165 in.)
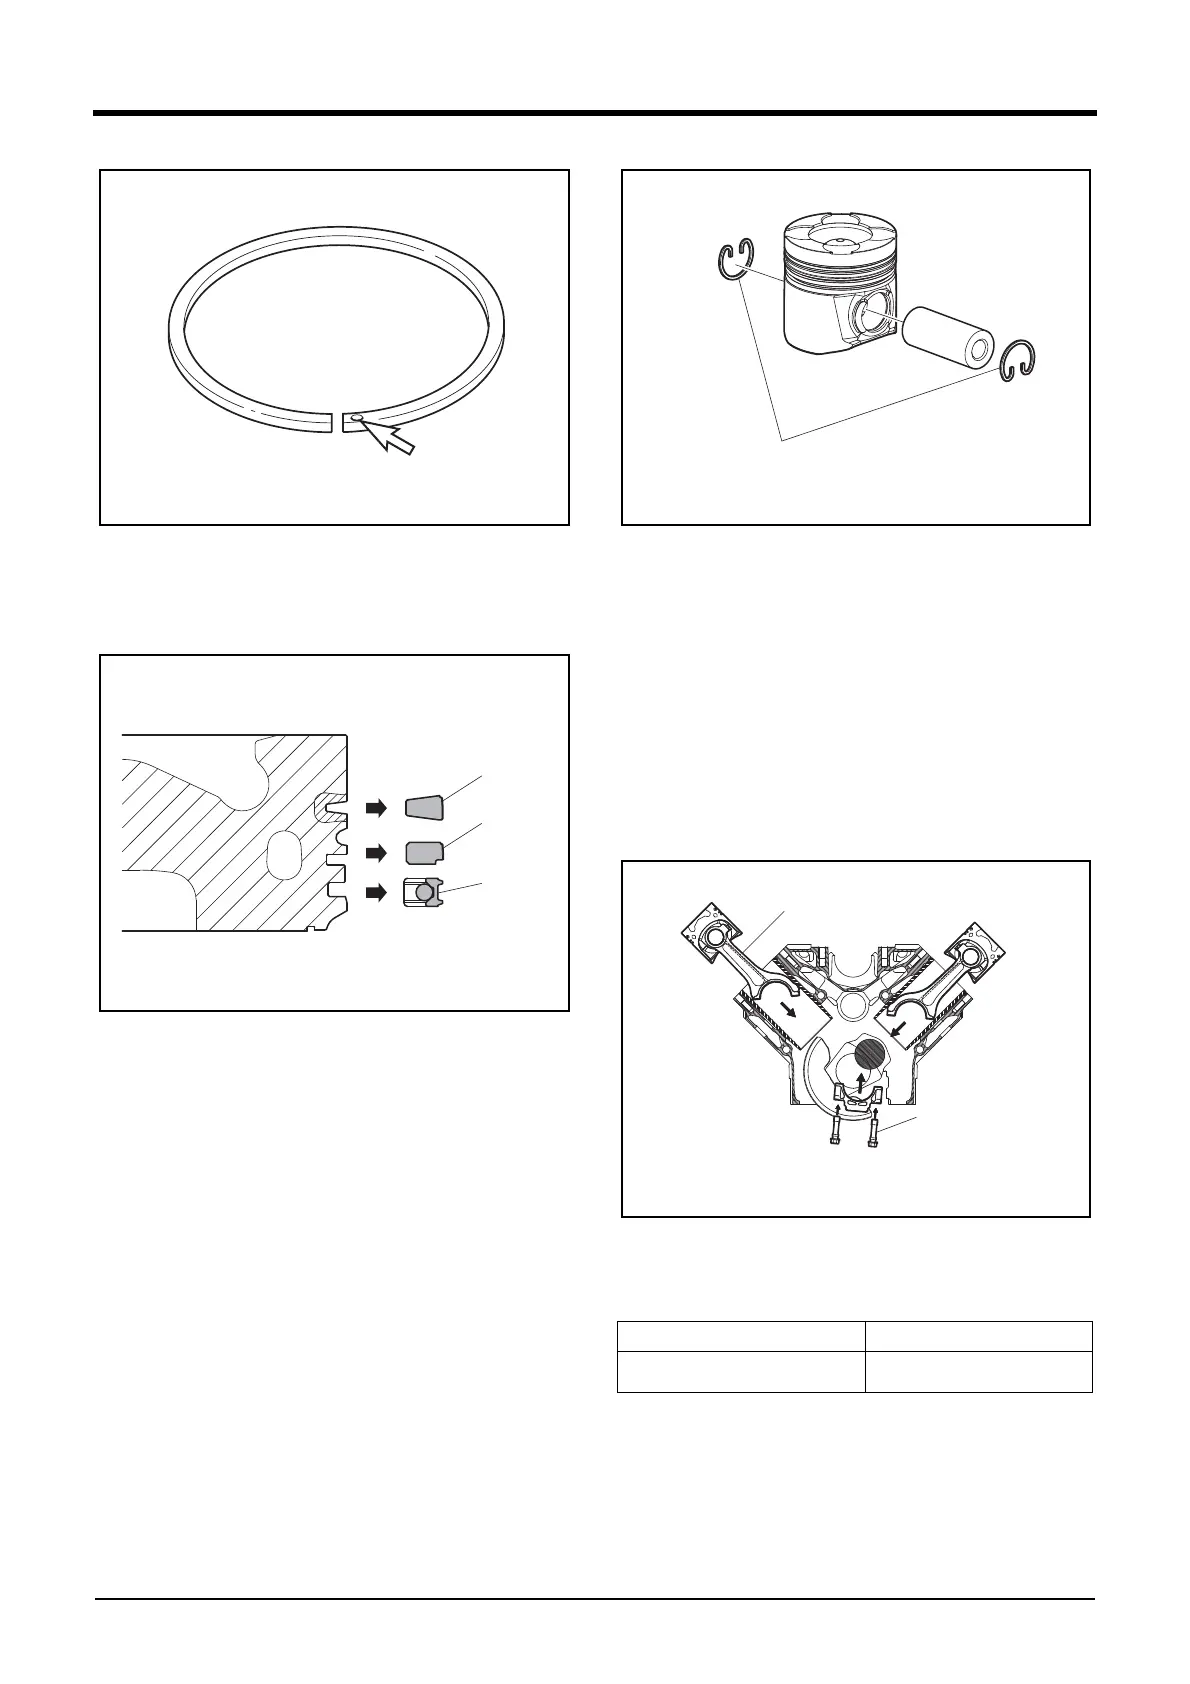
Assemble in the opposite
direction of the snap ring
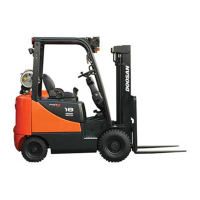
Oil delivery hole
When seen from
the crankshaft pulley
Connecting rod bolt