14 Saffire LX PK3704_T 02-19
4 Installation Steps
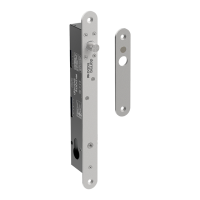
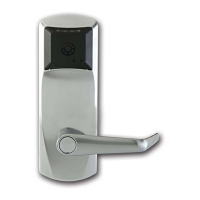
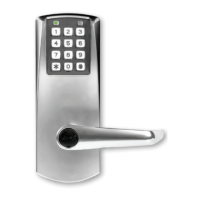
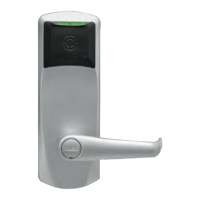
4.7. Install the cylindrical latch models (if applicable)
IMPORTANT
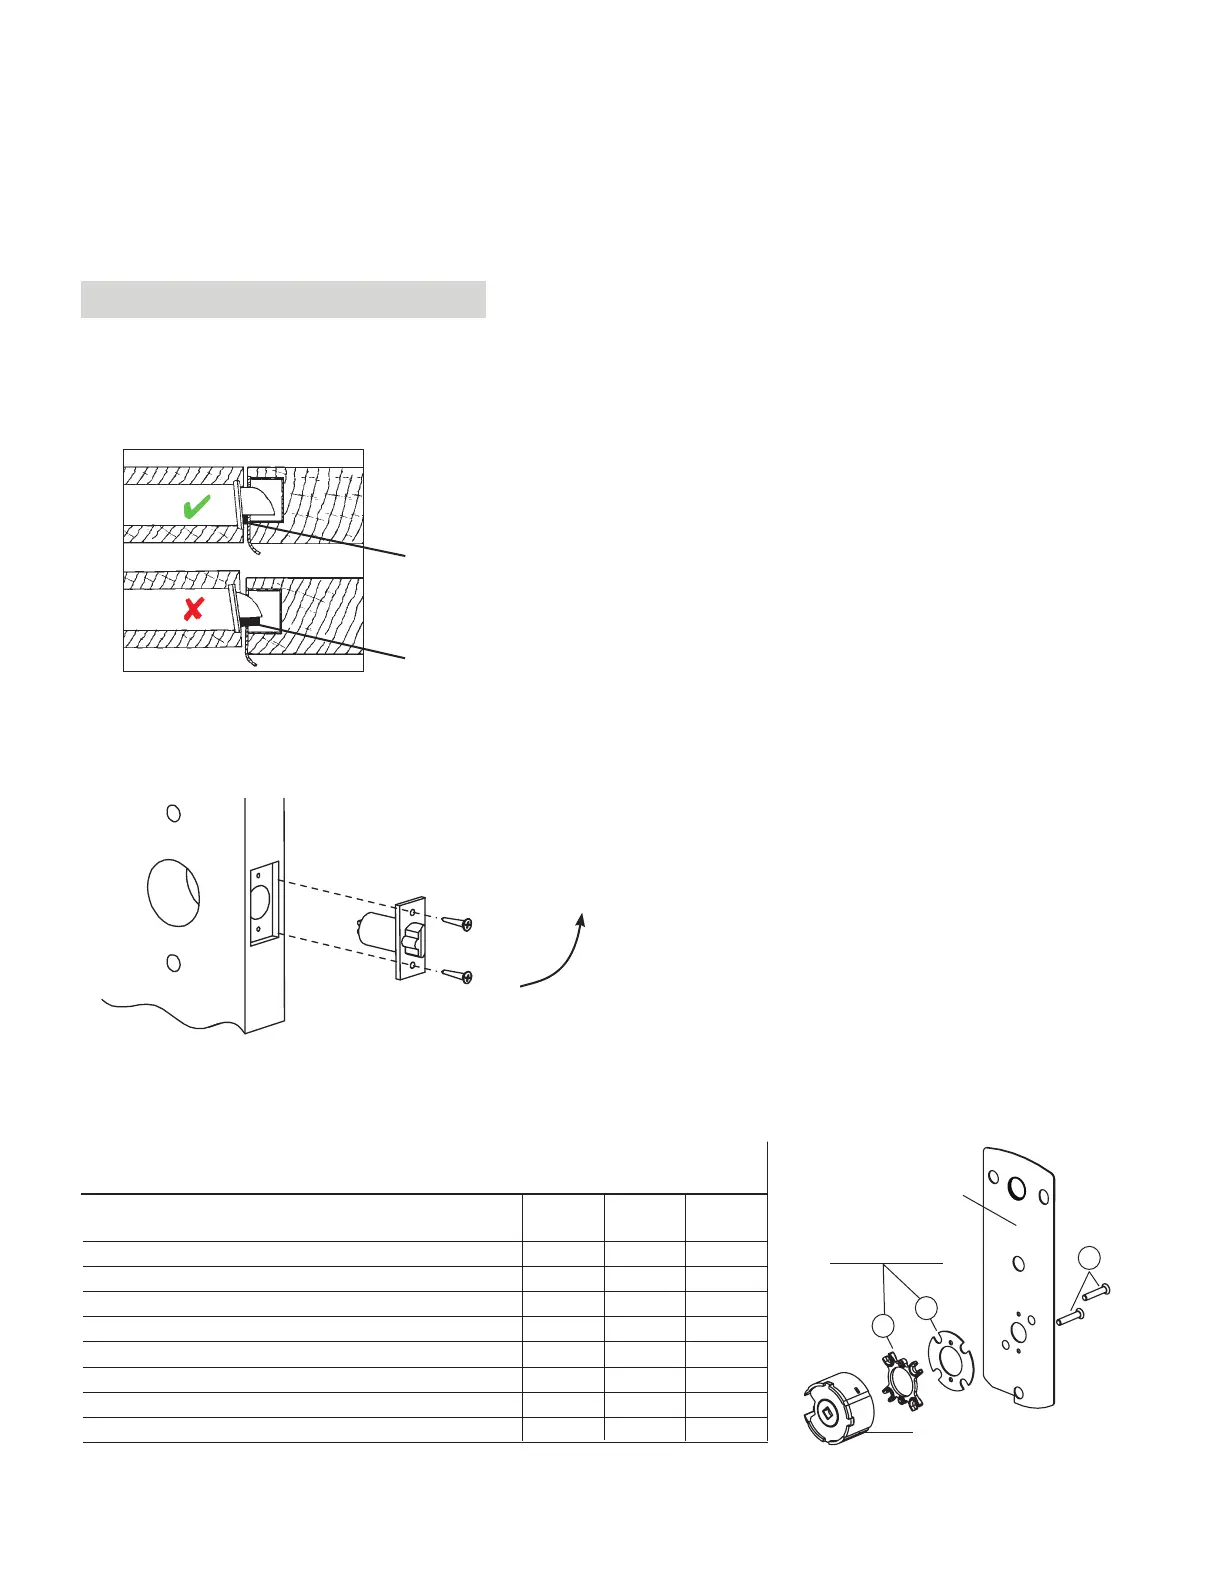
For cylindrical latch models, ensure the dead-locking pin stops against the strike when the door is closed (see figure below).
An incorrect installation that permits the pin to slip inside the strike may result in a total lockout and will void the warranty
of the complete lock mechanism.
Correct
Dead-locking pin
Dead-locking pin
Incorrect
• Insert the latch in the hole in the edge of the door, orienting the latch bolt head as per closing direction
• Tighten the two screws.
Closing
Direction
• Verify the door thickness. The lock is assembled at the factory for door thickness of 1 ¾”. If the door thickness is differ-
ent, refer to table 3 below to adjust the spacers. Extra spacers and screws are provided in the hardware bag.
Door Thickness Spacer Spacer Screw
07 08 06
1-3/8" (35mm) to 1-9/16" (40mm) 2 - 3/8 (10mm)
1-5/8" (41mm) to 1-11/16" (43mm) 1 1 1/2 (13mm)
1-3/4" (44mm) to 1-13/16" (46mm) 2 1 5/8 (16mm)
1-7/8" (48mm) to 1-15/16" (49mm) - 2 5/8 (16mm)
2" (51mm) to 2-1/16" (52.5mm) 1 2 3/4 (19mm)
2-1/8" (54mm) to 2-3/16" (56mm) 2 2 3/4 (19mm)
2-1/4" (57mm) to 2-5/16" (59mm) - 3 7/8 (22mm)
2-3/8" (60mm) to 2-1/2" (64mm) 1 3 7/8 (22mm)
Door Thickness Table 3
See 2
Screws
Attachement Plate
Cylindrical Unit Assembly
07
08
06

 Loading...