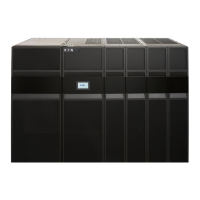
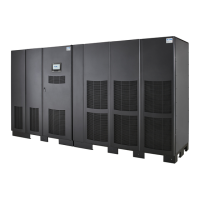
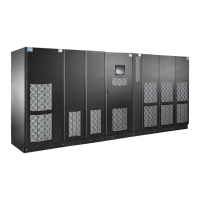
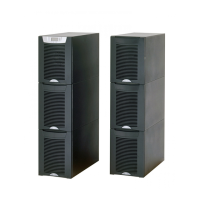
15 Eaton® 9390 (100–160 kVA) UPS Installation and Operation Manual 164201604—Rev F
NNOOTTEE Verify that the forklift or pallet jack is rated to handle the weight of the cabinet (see Table
A of Figure 80 for cabinet weight).
2. Unfasten the front door latch and swing the door open (see Figure 3).
3. Remove the doors. Remove the retaining screws located inside each door at the top and bottom hinge
pivot points, then lift the door off. Retain the hardware for later use.
4. Ensure that the leveling feet are fully retracted.
5. Remove the four bolts securing the front shipping bracket to the cabinet and four bolts securing the
bracket to the pallet (see Figure 3). Remove the front shipping bracket. Retain the shipping bracket and
securing hardware for later use.
6. Remove the four bolts securing the rear shipping bracket to the pallet. Do NOT remove the four bolts
securing the bracket to the cabinet (see Figure 4).
7. Remove the four bolts securing the removable skid and remove the skid (see Figure 3).
NNOOTTEE In the following step, the pallet tilts and acts as a ramp once the cabinet is rolled beyond
the center of the pallet. Be sure to restrain the cabinet as it continues to roll down the
pallet/ramp. The rear shipping bracket will act as a brake to assist restraining the cabinet.
DO NOT stand directly in front of the pallet while unloading the cabinet. If unloading instructions are not closely
followed, the cabinet may cause serious injury.
8. Slowly roll the cabinet toward the front of the pallet. Once the pallet tilts, continue rolling the cabinet down
the pallet until the cabinet is clear of the pallet.
9. Remove the four bolts securing the rear shipping bracket to the cabinet (see Figure 4). Retain the shipping
bracket and securing hardware for later use.
10. Roll the cabinet to the final installation location.
11. Secure the UPS cabinet in position by lowering the leveling feet until the cabinet is not resting on the
casters and the cabinet is level.
12. Using the retained hardware, reinstall the shipping brackets to the front and rear of the UPS cabinet with
the angle facing outward (see Figure 3 and Figure 4).
13. Secure the cabinet to the floor with contractor-supplied hardware.
14. If installing battery and distribution cabinets, proceed to 4.3 Battery Cabinet Installation and
4.4 Integrated Distribution Cabinet (Distibuted Bypass) Installation; otherwise, proceed to
4.7 Installing UPS External and Battery Power Wiring.
Installing the UPS System

 Loading...

