necessary. Once placed, hand tightens all four nuts, taking care to do so
evenly. Do not use a wrench yet!
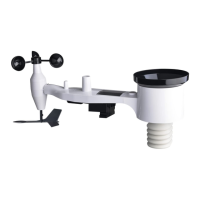
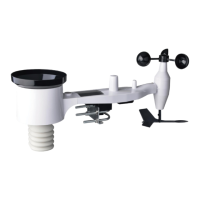
Now you will need to align the whole package in the proper direction by
rotating it on top of the mounting pipe as needed. Locate the arrow labeled
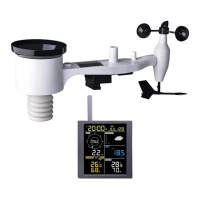
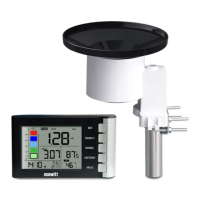
“NORTH” that you will find on top of the transparent cover on the sensor
package (Item 8 ). You must rotate the whole sensor package until this
arrow points due north. To achieve proper alignment, it is helpful to use a
compass (many cell phones have a compass application). Once rotated in the
correct orientation, lightly tighten the bolts a little more (use a wrench) to
prevent further rotation.
Note: The orientation to NORTH is necessary for two reasons. The most
important one is to position the solar panel and light sensor in the
most advantageous position for recording solar radiation and
charging internal capacitors. Secondly it causes a zero reading for
wind direction to correspond to due NORTH, as is customary.
Make sure the sensor package is installed vertically. If it is not, wind
direction and speed readings may not operate correctly or accurately. Adjust
the mounting pipe as necessary.
Make sure you check, and correct if necessary, the north orientation as the
final installation step, and now tighten the bolts with a wrench. Do not over
tighten, but make sure strong wind and/or rain cannot move the sensor
package.
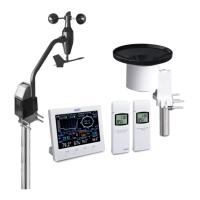
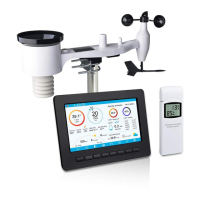
4.2.6 Reset Button and Transmitter LED
In the event the sensor package is not transmitting, reset the sensor.
Using a bent-open paperclip, press and hold the RESET BUTTON (item 10)
to affect a reset: the LED turns on while the RESET button is depressed, and
you can now let go. The LED should then resume as normal, flashing
approximately once every 16.5 seconds.