you keep the assembled rain gauge sensor nearby (although preferably not
closer than 5 ft. from the display console). This will make any
troubleshooting and adjustments easier and avoids any distance or
interference related issues from the setup.
After setup is complete and everything is working, return here for outdoor
mounting. If issues show up after outdoor mounting they are almost
certainly related to distance, obstacles etc.
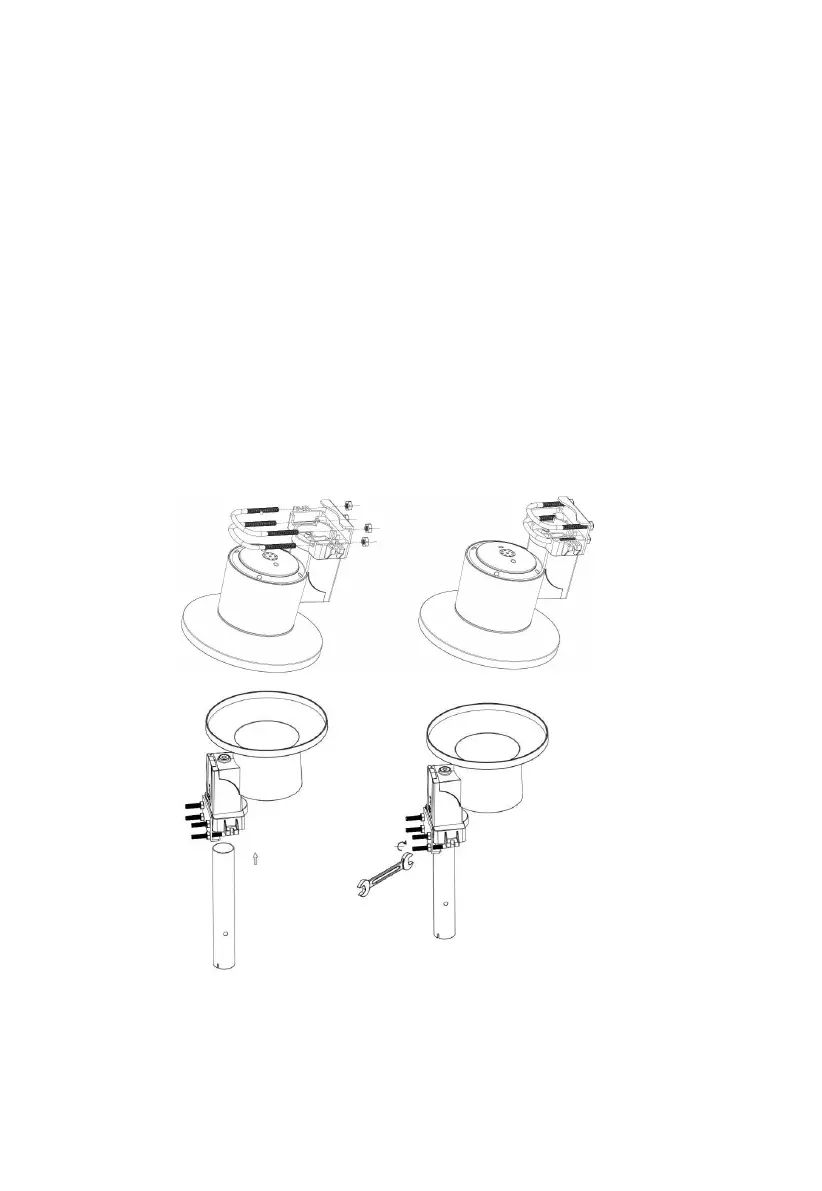
Mount with U-bolts
The mounting assembly includes two U-Bolts and a bracket that tightens
around a 1" to 2" diameter pole (package included a D32*H200mm
stainless steel tube) using the four U-Bolt nuts.
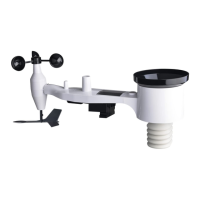
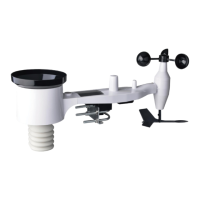
Figure 16: Rain gauge sensor mounting with u-bolts installation diagram
Note: Use the bubble level beside the rain sensor as a guide to verify
that the sensor is leveled.