14
support@edgeovens.com Technical Support: +1 (724) 628 3050
INSTALLATION
OVEN ASSEMBLY
UNPACKING YOUR OVEN
1. Begin by identifying your BOTTOM oven. The bottom oven will have the oven based strapped or screwed
to the underside of the oven deck and the oven legs (single and double oven only) bolted to the skid.
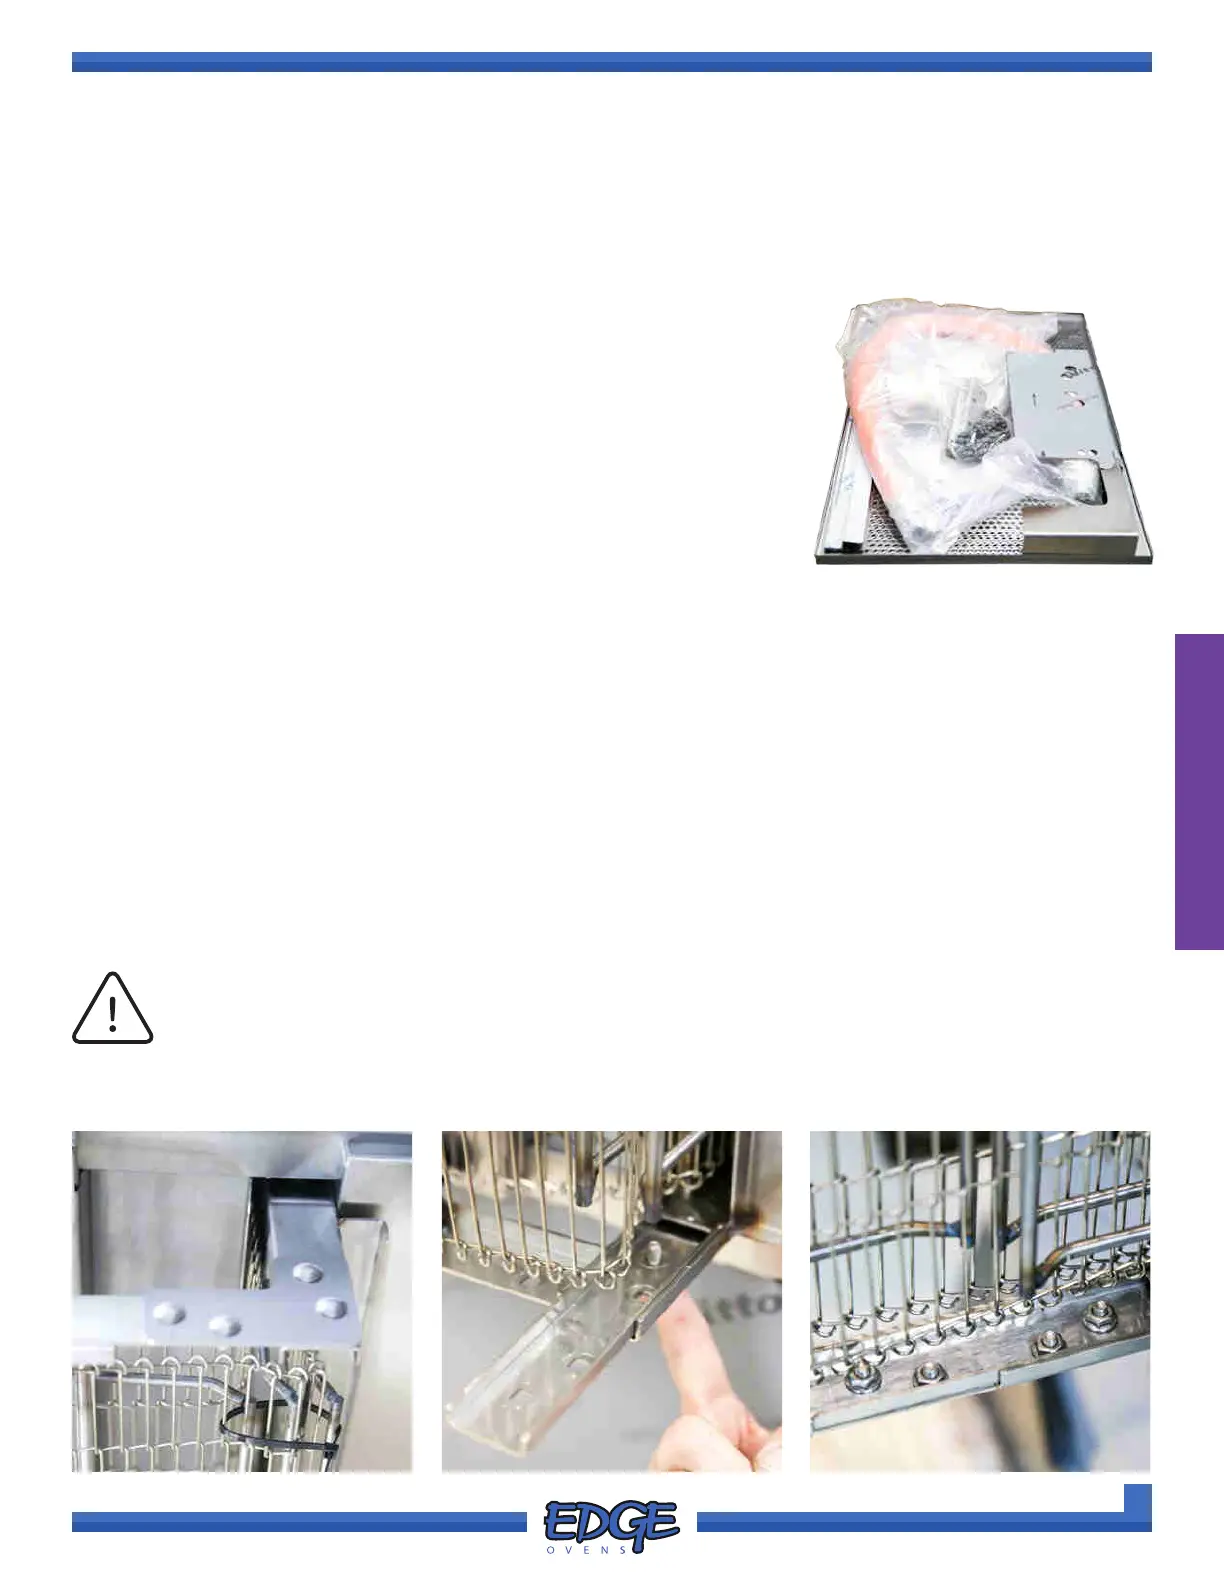
2. Remove and retain all attached documentation and oven assembly hardware:
• bolts • washers
• split locking washers • conveyor frame mating plates
• gas hose (domestic ovens only) • chain guard
• crumb pans • conveyor drive chain(s)
• conveyor end stops • heat shield
• end panel bafes (optional) • restraint eyelet bracket
• control cabinet heat shield (double & triple ovens only)
BELT ASSEMBLY
1. Snip the securing cable ties from belting. (Figure 2-2)
2. Using the 7/16" wrench or remove the four (4) 1/4-20 carriage bolts and 7/16" nuts from the top ‘L’ right
angle conveyor frame shipping bracket, retain removed bolts and nuts for later use.
3. Replace the shipping bracket with one of the supplied belt mating plates, aligning the carriage bolt holes
and installing two (2) of the previously removed 1/4-20 carriage bolts and 7/16" nuts afxing to the internal
oven section of the conveyor frame. (Figure 2-3)
4. Repeat the same process on the bottom belt shipping bracket.
5. The newly installed mating plates can now be connected to the unfolded section of the conveyor frame.
Install the remaining four (4) 1/4-20 carriage bolts and 7/16" nuts to secure the end section of the conveyor
frame. (Figure 2-4)
6. Repeat the belt assembly process on the opposing end of the oven.
FIGURE 2-2 FIGURE 2-3 FIGURE 2-4
The belt should remain in the oven during the oven spinning process.
NOTICE
3. Remove all shrink wrap from the oven and protective insulation from
folded belt ends and control cabinet side.
4. DO NOT cut any banding or remove any ratchet straps at this point, the
oven must remain attached to the cart or pallet.
5. Inspect the oven for any concealed shipping damage before continuing.
FIGURE 2-1