5
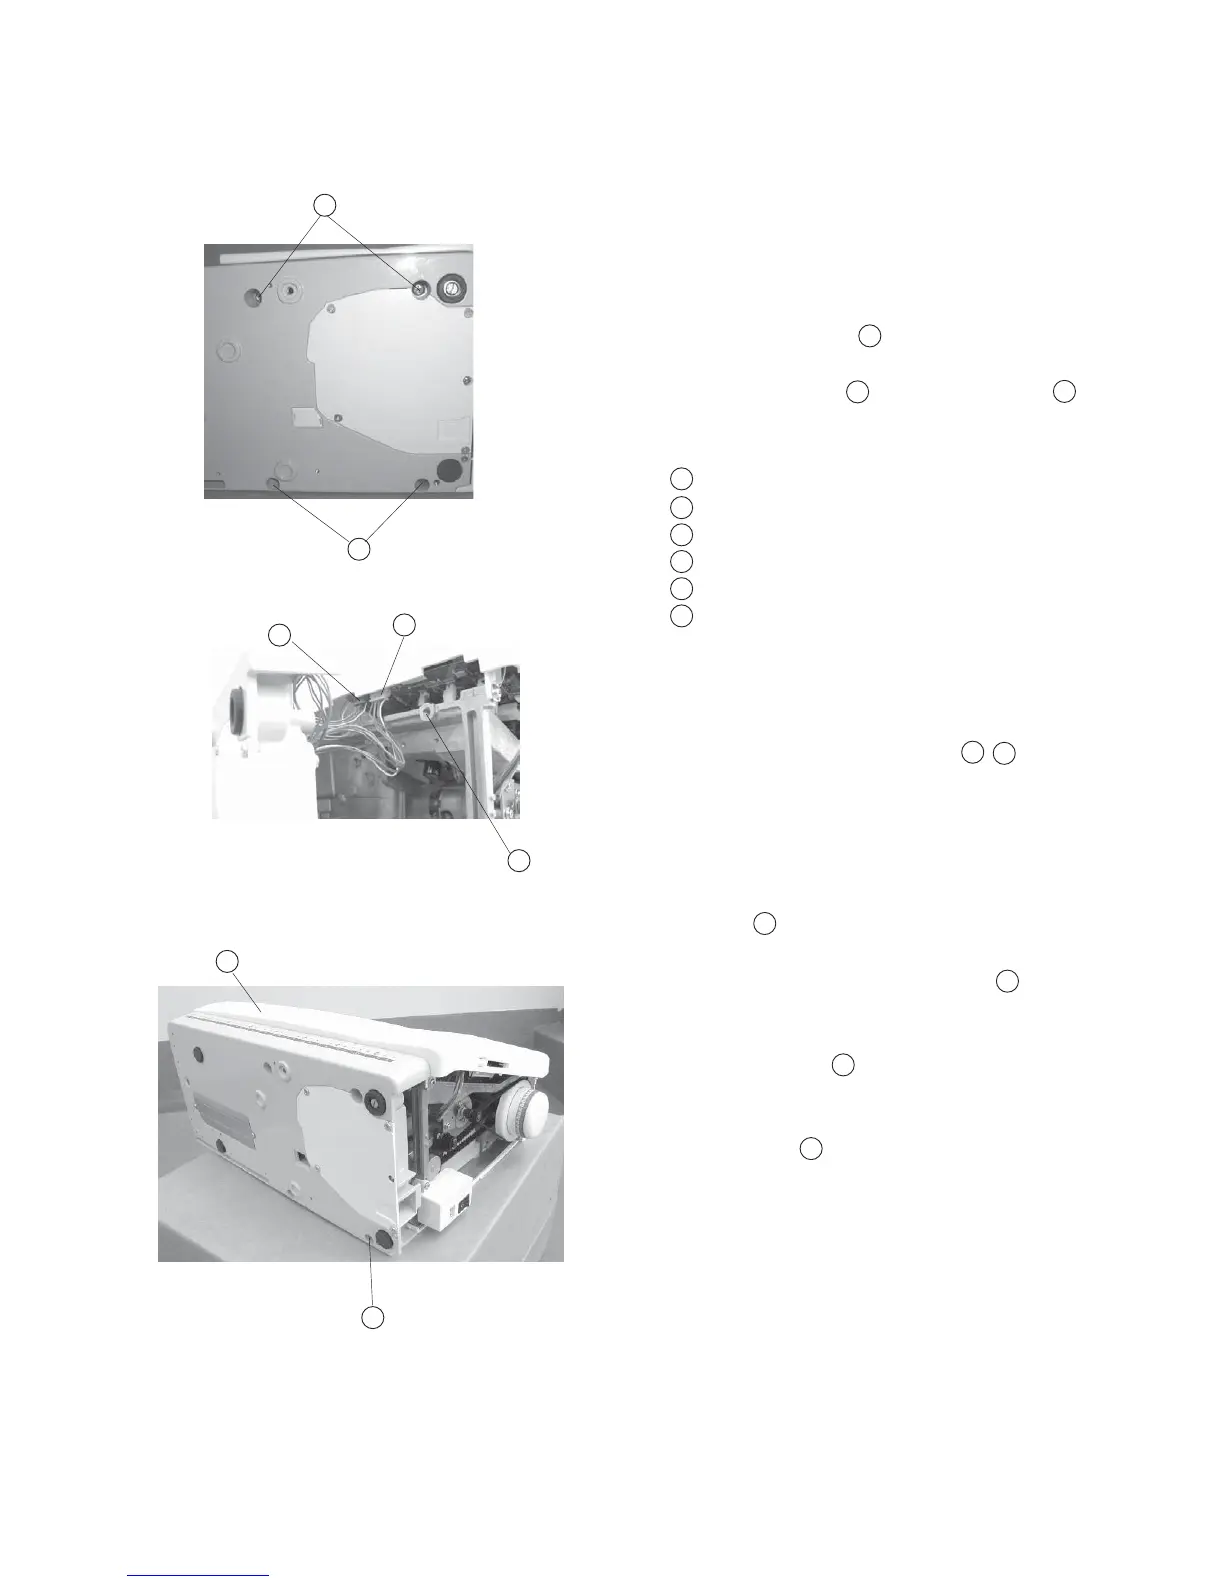
Changing External Parts (5) Base Unit
Base
To remove:
1 Remove the Belt cover. (See page 2)
2Remove Setscrew (A) (4 pcs.), and remove
the base unit .
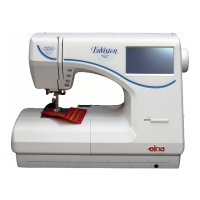
3Remove the X Motor , Y Motor Connectors
from the printed circuit board (A).
Screw (A)
X-motor connector (Blue)
Y- motor connector (White)
Connecting Bushing
Extension table (Accessory)
Screw (B)
To attach:
4Attach the X, Y - Motor Connectors , into
the printed circuit board (A)
5 Insert the X, Y - Motor Cords between the printed
cuircuit board (A) and Arm without touching the jointing
points between arm and base, then tighten Screws
(4 pieces) temporarily.
6Attach the Extension (Accessory) table .
7 Tighten Screws (B) while aligning the extension
table, base unit and free Arm.
8 Tighten Screws while aligning the extension table.
9 Attach the belt cover.
1
2
3
4
1
2
3
1
1
2
3
4
5
6
1
5
6
1
2
3
5
6