Do you have a question about the eMachines D732 and is the answer not in the manual?
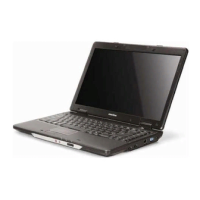
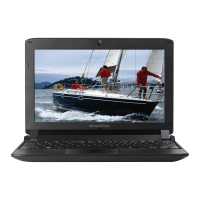
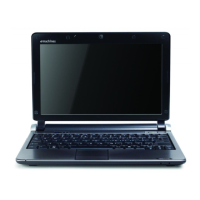
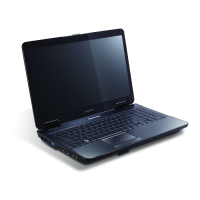
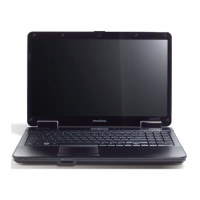
| Hard Drive Interface | SATA |
|---|---|
| Graphics | Intel GMA 4500M |
| Display Resolution | 1366 x 768 |
| Wireless | 802.11b/g/n |
| Ports | 3 x USB 2.0, VGA, Ethernet, Headphone |
| Battery | 6-cell Li-ion |
| Weight | 2.3 kg (5.07 lbs) |
Procedure to remove the laptop's lower cover by unscrewing it.
Steps to safely remove RAM modules from their motherboard sockets.
Procedure for disconnecting cables and removing the Wireless LAN card.
Steps to disconnect the USB FFC and remove the USB board assembly.
Guide to disconnecting and removing the Hard Disk Drive module.
Instructions for detaching the LCD module from the laptop chassis.
Steps to disconnect the fan and remove the thermal module assembly.
Procedure for unlocking and removing the Central Processing Unit.
Guide to disconnecting cables and removing the main circuit board.
Procedure to disconnect the Bluetooth cable and remove the module.
Instructions for prying and releasing the LCD screen bezel from the panel.
Procedure to disconnect the cable and lift the camera module from its mount.
Steps to remove screws and disconnect the LVDS cable from the LCD panel.
Procedure to remove screws and detach hinges from the LCD panel.
Guide to removing protective tape and disconnecting the LVDS cable from the panel.
Steps to remove antenna cables from the LCD cover cable guides.
Connect Bluetooth cable and attach mylar holder to the module connector.
Place mainboard onto upper cover and secure it with the designated screw.
Position CPU in socket, align Pin1, and rotate the locking screw clockwise.
Apply thermal grease, align module to posts, and tighten captive screws.
Place upper cover onto LCD module and align/secure hinges with screws.
Attach HDD carrier, secure it, and then slide HDD into its bay.
Place RTC battery onto mainboard and connect its corresponding cable.
Place USB board, secure with screw, and connect the USB FFC.
Insert WLAN board into socket, secure with screw, and connect antenna cables.
Insert DIMM module into socket and press down to lock it in place.
Place the lower cover onto the device and secure it with twenty-three screws.
Attach ODD bracket, press bezel into tray, and secure module with screw.