Unpack your system
9
Unpack your system
Unpacking the shipping boxes
You will have received your system either fully assembled and cabled in an EMC cabinet, or in
shipping boxes to be unpacked and installed into your own cabinet.
If your system was shipped fully assembled and cabled in an EMC cabinet:
1. Follow the unpacking instructions on the outside of the box.
2. Go directly to “Cable your system” on page 17 of this installation guide to verify the cabling.
If your system was shipped in separate boxes and needs to be assembled in your own cabinet:
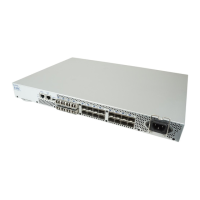
1. Verify that you have received all of the system components, including cables, bezels, rails,
and screws. Table 3 below lists the shipping contents.
For damaged or missing components, notify your Sales associate immediately for replacements.
2. Start the unpacking and assembly process with “Assemble components in your cabinet” on
page 11.
Note: Ensure that you have the latest version of the install guide and any other associated
documentation. To download the most recent version of the installation guide, go to
https://mydocs.emc.com/VNX/ and select Install VNX.
Table 3 Shipping contents
Components Accessories
❏
Standby power supply (SPS) • Mounting screws
•Bezel
•Bezel brackets
• Management cable
•Power cable
• Rail kit
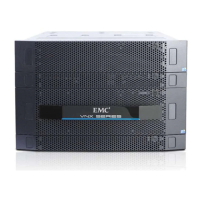
❏
Disk Processor Enclosure (DPE) • Mounting screws
•Bezel with key
• Power cables
• Rail kit
❏
Cable label kit (for customer cabinet) Cable labels for SAS cables to DAEs
❏
Documentation Documentation kit, including:
• this installation guide
• Environmental Compliance information
and notices
• Right-to-Use (RTU) notices, as appropriate
for the system
 Loading...