ROC800-Series Instruction Manual
2-16 Installation and Use Revised July-2017
internal Analog to Digital Converter (A/D). The A/D monitors the
supply voltage and board temperature (refer to “Automatic Self-Tests”
in Chapter 1, General Information).
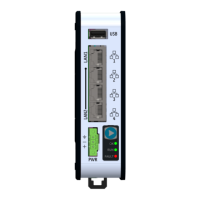
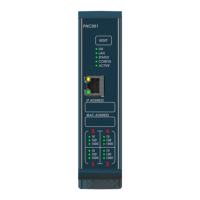
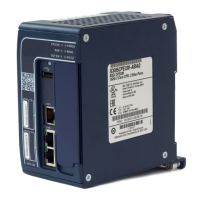
The CPU has two buttons, LED and Reset (see Figures 2-7 or 2-8):
RESET:
o To reset all comm ports, stop user programs, stop FSTs, and stop
DS800 programs, press and hold in the Reset button for
approximately 10 seconds while the ROC800 is powered.
Note: This feature is not available on the DL8000.
o To reset the ROC800 configuration to system defaults, remove
power, press and hold in the Reset button as you re-apply power
to the ROC800. This reset clears all user programs, FSTs, and
DS800 programs but retains history, alarms, and events.
Note: The Reset button is recessed to prevent accidental resets. Use
the end of a paper clip to access this button.
For ROC800 configuration system defaults, when you reset, the
ROC800 loses configuration. BEFORE you attempt ANY type of reset,
back up your configuration and log data and ensure that you have
current versions of user programs and DS800 programs to reload.
Refer to “Preserving Configuration and Log Data” in Chapter 6,
Troubleshooting.
LED: Press to turn on the LEDs on the CPU module, I/O modules,
and communication modules when the ROC800 has timed out.
The STATUS LED helps indicate the integrity of the ROC800 (refer to
Table 2-2).
Table 2-2. STATUS LED Functions
ROC800 functioning normally.
Low Battery Voltage alert.
System AI (Point number 1) LoLo
Alarm.
Apply DC voltage source.
Firmware update in
decompression.
Do not restart the ROC800.
Firmware update is flashing image.
Do not restart the ROC800.
To save power, you can enable or disable the LEDs on the ROC800
(with the exception of the LED on the power module). Using
ROCLINK 800 (from the ROCLINK 800 menu, select ROC > Flags
and the Advanced tab), you can define how long the LEDs remains on
after you press the LED button on the CPU module. For instance, with