Section 9: Standard & Optional Machine
Features
145
4. Press the Go button. You now have a new Home position and the laser is set to
engrave in the center of our glass.
Note – It can be useful to put a black mark on the center of the glass as a reference
point so you can easily see it when you place the glass onto the rotary attachment.
5. From your software package (Corel, etc) rotate your artwork at 90 degrees as
you would for any rotary job. You can place your artwork almost anywhere on
the page for Center-Center engraving as long as it’s not too close to any of the
edges of the page.
6. Print and go to the Epilog driver.
7. Your artwork should be perfectly placed!
8. You can continue to use this new Home position or you can set another one
using this process.
There is no reset feature that will send the carriage back to its standard Home
position, but there are two ways to accomplish this. To reset the machine to the
standard rotary Home position at the edge of the black bumper, you can either turn off
the machine and then power it back up, or you can press the X/Y Off button, move
the red dot manually to the edge of the black bumper, and then press the Go button.
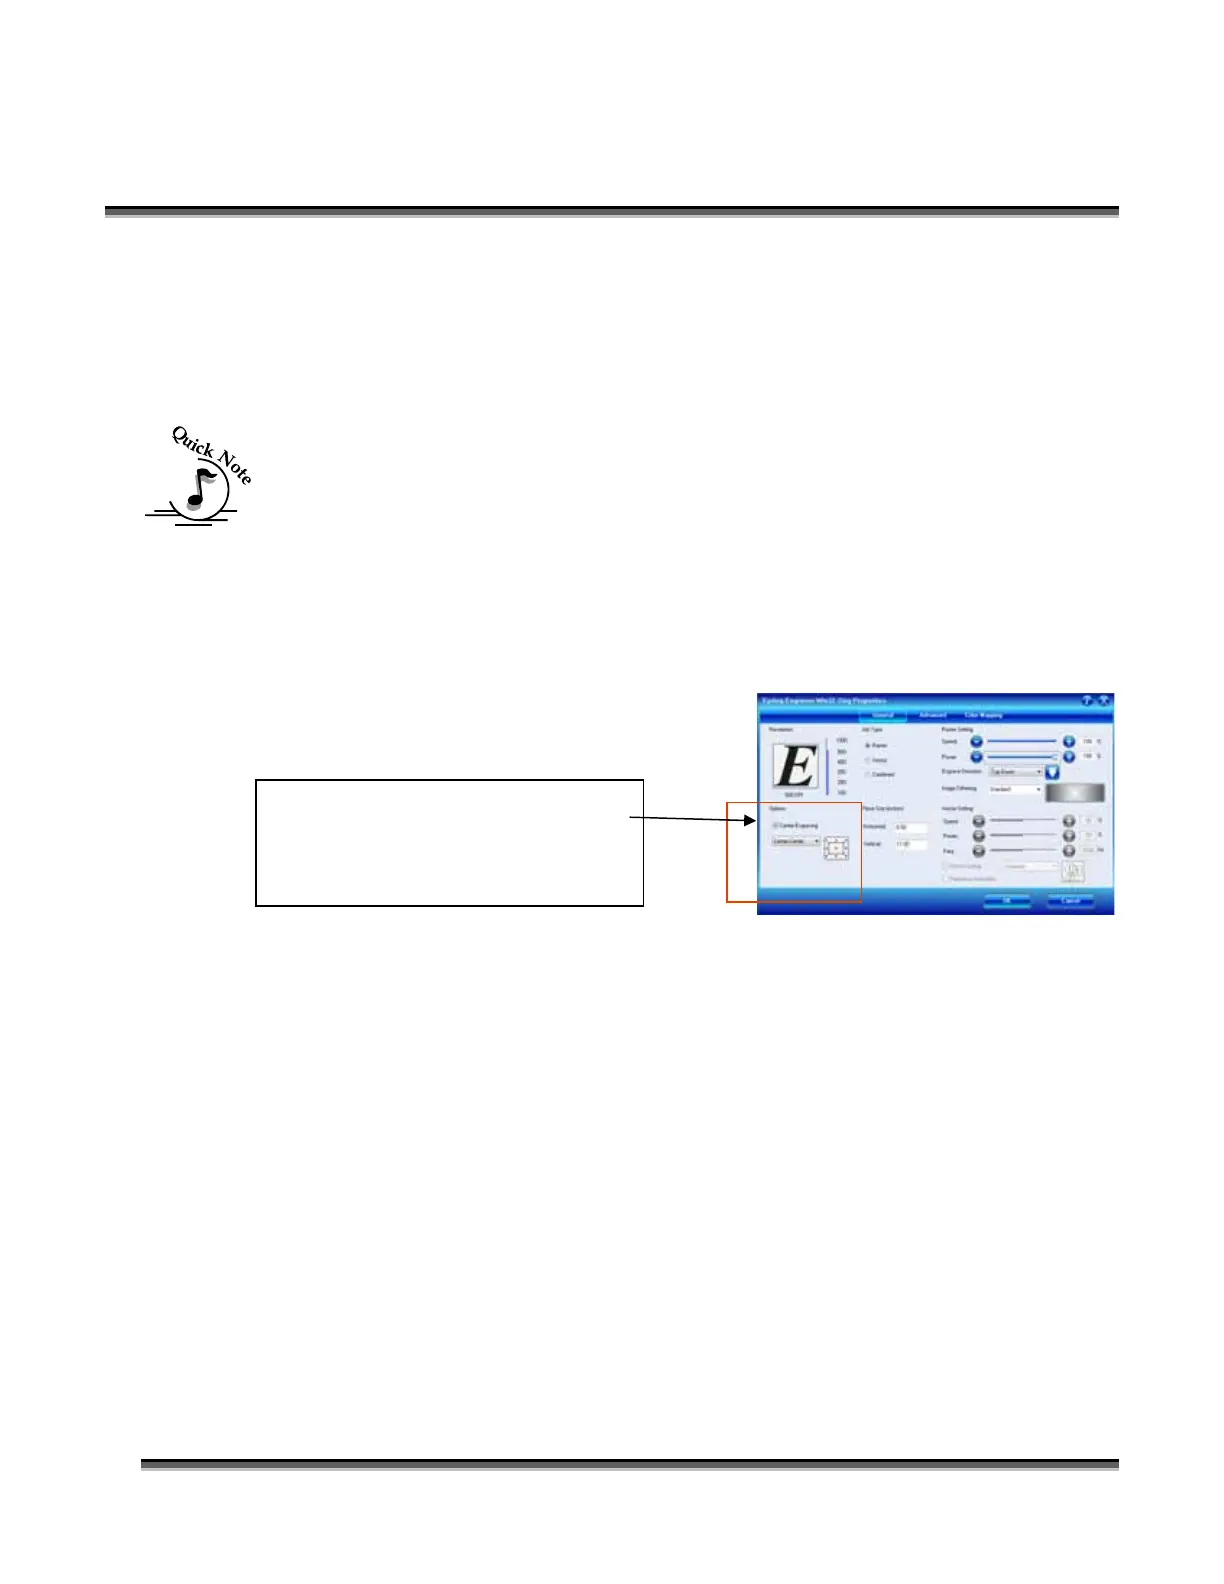
Select the Center Engraving option
and choose Center-Center. Set your
other laser parameters as normal,
then click OK.
 Loading...