Section 9: Standard & Optional Machine
Features
144
Additional Artwork Tips and Tricks
Creating a new Home position for Center-Center engraving.
Another way to set up your artwork is by using the Center-Center feature in the
Epilog Driver. There are detailed instructions in your Owner’s Manual that describe
how to use Center-Center engraving, but one of the most useful methods for the
rotary attachment is described here.
Using the rotary attachment sometimes requires you to think in three dimensions
rather than the standard two dimensions normally used for flat work. For some
cylindrical jobs it would be convenient to be able to set up your artwork simply by
defining the center of the job and working from there, rather than think about it in 3
dimensions.
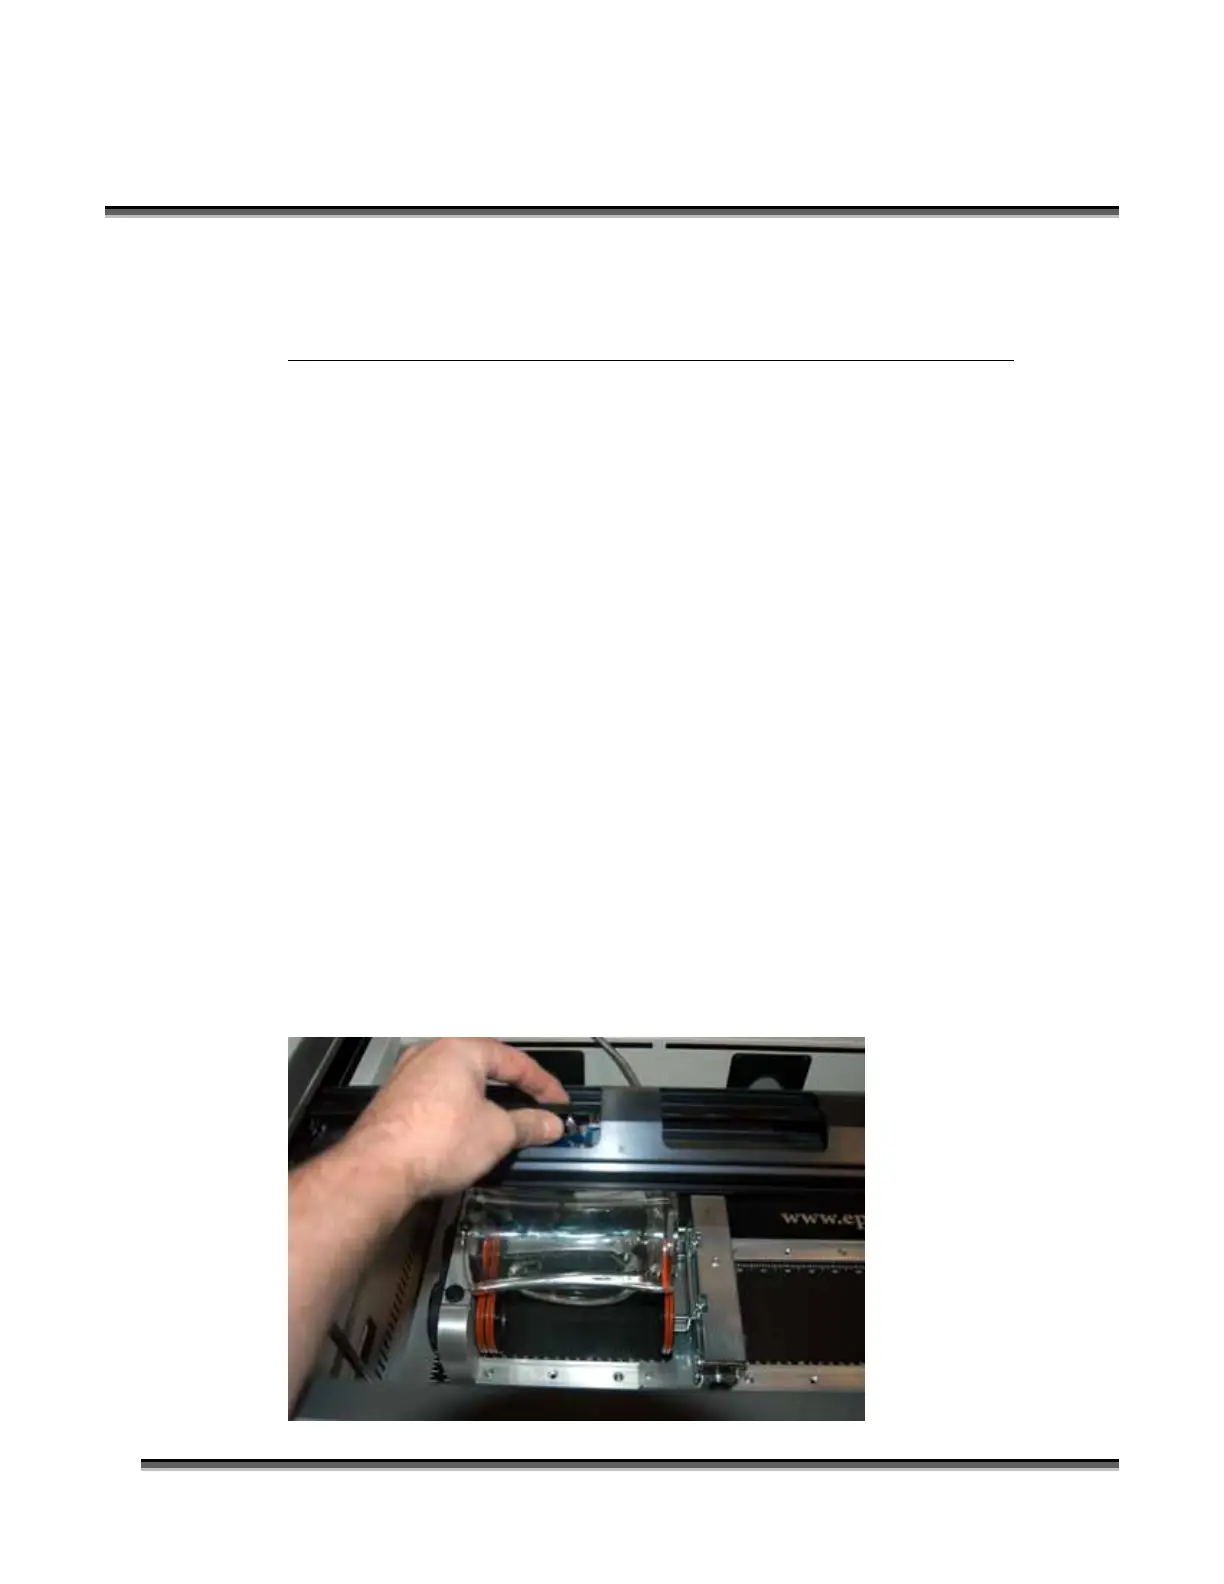
In the photo below, the glass has a handle and we want to engrave exactly opposite of
the handle. Here’s how to do it.
1. Press the Pointer button to turn on the red dot pointer.
2. Press the X/Y Off button
3. At this point in the process we want to move the carriage by hand in the X axis
(to our right) and then rotate the glass so the red dot is at the exact center of
where we want our artwork to be processed. Only move the carriage in the X-
axis. If the X-beam is moved forward or backwards, it will have the effect of
displacing our artwork.
 Loading...