Section 6: Quick Start and Easy Setup
47
Note: If your Raster artwork contains thin lines between .001 and .007 inches and
you are using Vector or Combined mode, those thin lines will all vector cut. This
can be disconcerting when it happens. The most common setup where this occurs
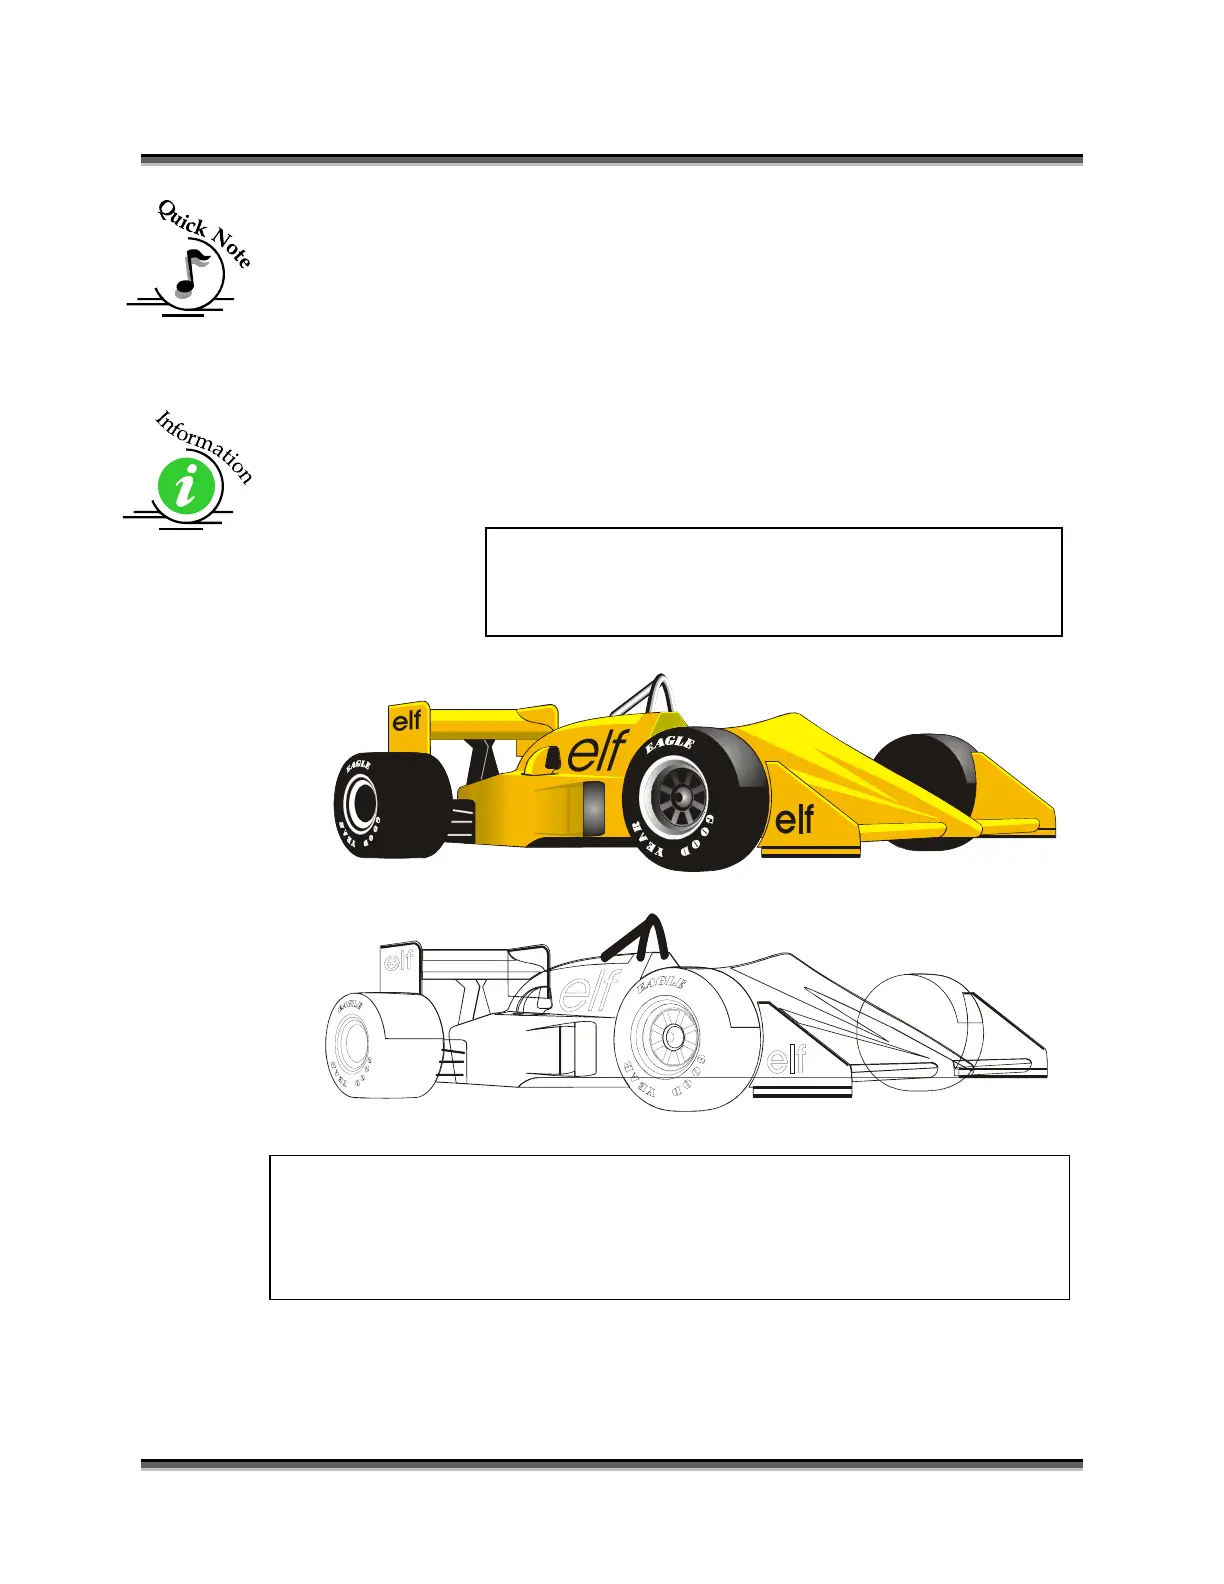
is when you have a clipart image with hidden lines that you send to the laser using
Combined mode. The artwork shown below is a good example of a piece of
clipart as it appears on the screen (top) and the hidden lines (bottom) that will
vector cut if you are in Combined or Vector mode. If you only want to Raster
engrave, make sure you select Raster mode in the Epilog Dashboard.
For more information on Vector cutting refer to the Using the Epilog Dashboard
Driver section of this manual.
The upper image is a complex piece of clipart. The lower image shows all of
the hidden lines that are in this piece of clipart. If this clipart image were run in
Combined mode it would first raster most of the car then vector cut all but the
thickest lines.
In CorelDraw you can view just the lines (bottom view)
by clicking on the View button in the menu bar and
selecting Simple Wire frame.
Figure 1: Clipart Image w/Hidden Lines

 Loading...