Epson Artisan 800/Epson Stylus Photo PX800FW/TX800FW/Epson Artisan 700/Epson Stylus Photo PX700W/TX700W Revision C
PRODUCT DESCRIPTION Specification for Each Function 40
Confidential
1.7.3.3 General Operation Procedure
The DSC direct print procedure differs depending on the DSC specifications. The
following explains common procedure.
1. Setting on the printer
Before connecting a DSC with a USB cable, make the print settings such as paper
type/size, layout setting on the printer. This may not be required for some DSCs.
2. Setting on the DSC
Make the following settings on the DSC before connecting it to the printer. Some
DSCs may require to first connect to the printer for making the settings.
• When printing multiple images, specify images and number of copies using
the DPOF and Multiple Sheet menus. The menus may not be available on
some DSCs.
• When printing a single image
Specify an image and the number of copies. Specifying the number of
copies may not be available on some DSCs.
• Select the paper type/size, layout, and make the Fit to Frame setting if
necessary. These settings may not be available on some DSCs.
3. Starting to print
When the print settings on both the printer and the DSC is completed, follow the
procedure below to start printing.
1. Connect the printer and the DSC with a USB cable. Using a USB cable
included in the DSC package is recommended.
2. Operate the DSC to start printing.
3. Printing is carried out according to the settings made on the DSC. When some
print settings have not been made on the DSC, the corresponding settings
made on the printer are applied.
1.7.3.4 Operations when a DSC is connected
Before connecting the DSC, check that the printer is in the
following status.
• No print job from a computer is processed or performed.
• Direct print from a memory card is not processed or performed.
• Stand alone copy using the scanner function is not operating.
• No paper out error or ink out error is occurring.
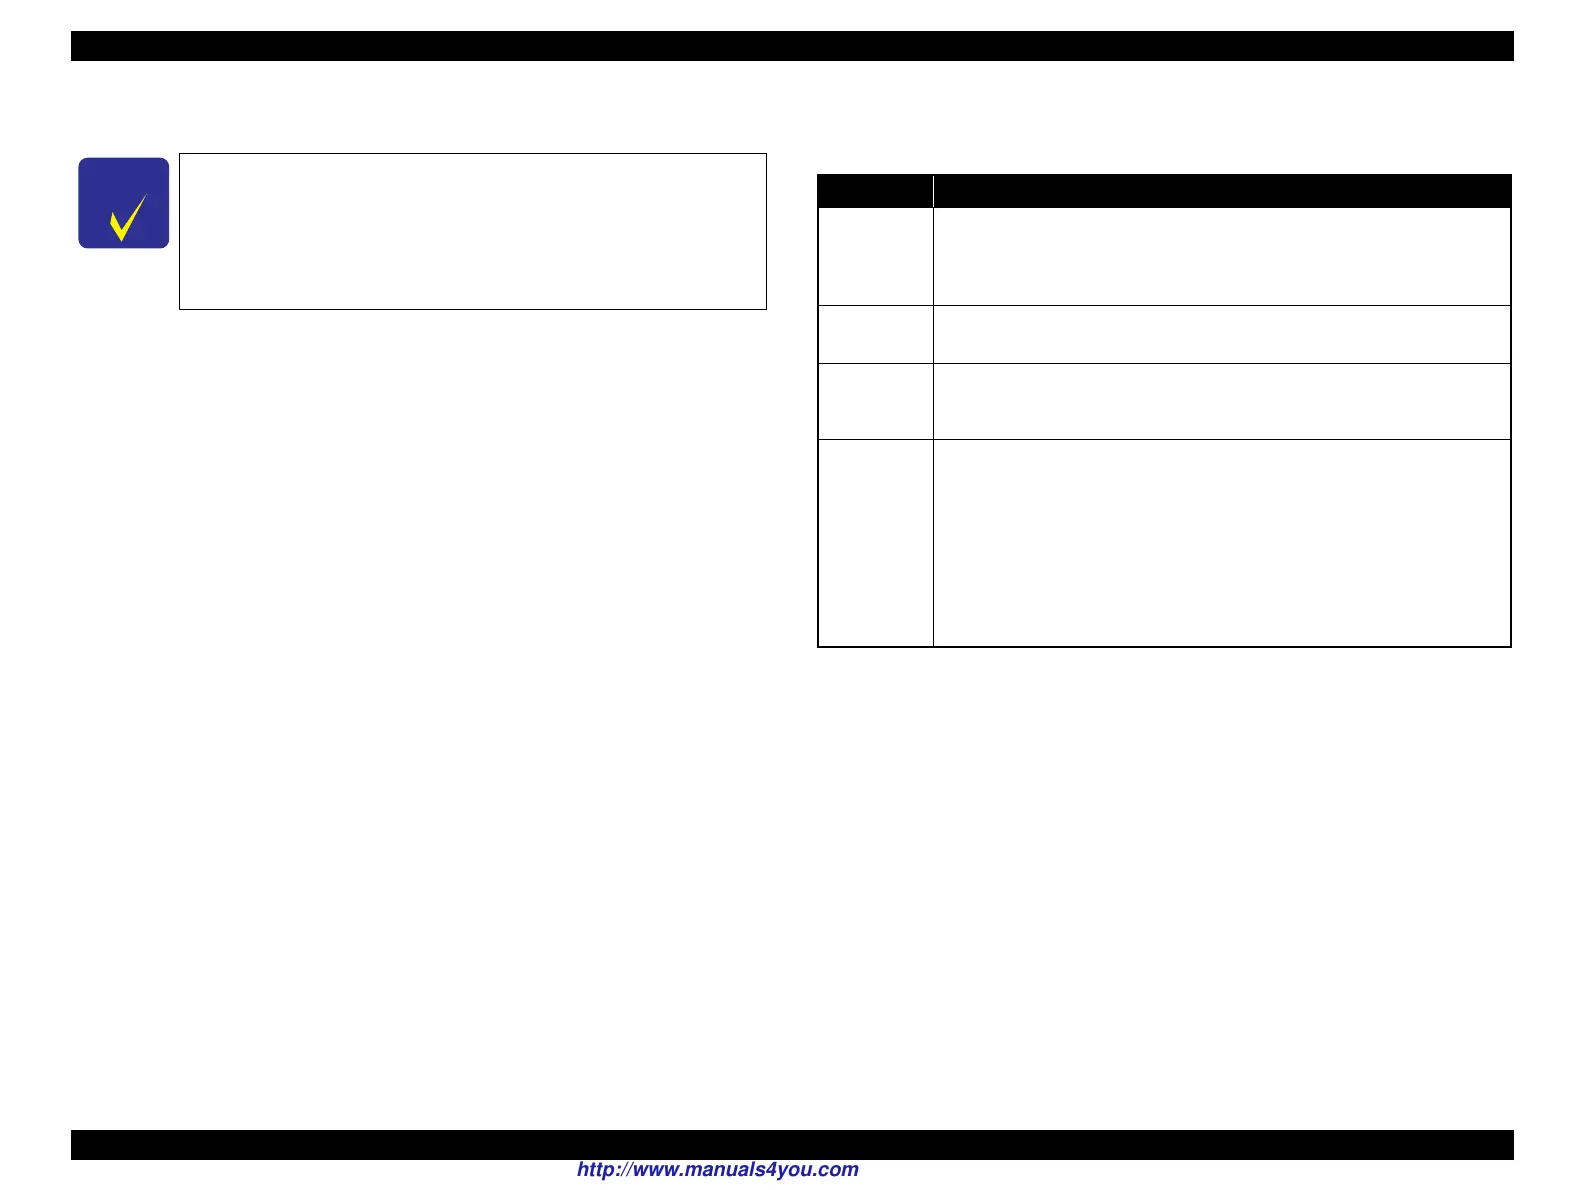
Table 1-41. Operations during Connecting DSC
Operation Specifications
Connecting
DSC
(print start)
When a DSC is connected as described in “ 1.7.3.3 General Operation
Procedure ( p. 40 ) ” Step 3-1, Epson Artisan 800/Epson Stylus Photo
PX800FW/TX800FW/Epson Artisan 700/Epson Stylus Photo PX700W/
TX700W displays PictBridge logo on the LCD.
Canceling
printing
A print job can be canceled from the DSC.
The [Stop/Clear setting] button also cancels the print job.
After printing
is completed
When performing memory card direct print after printing from a DSC, the
USB cable connecting the DSC must be disconnected from the printer in
advance.
Exclusion
control
Print settings made on both the DSC and the printer can become impossible
settings for the printer due to unsupported combination of paper type, paper
size and layout. In such case, the print settings are automatically changed as
follows.
The settings made on the DSC are maintained. Any print setting items that are
not specified by the DSC are changed in accordance with the DSC settings.
When the paper type is changed, changed to Prem. Glossy, when the paper
size is changed, changed to 4x6 size. And when the layout is changed,
changed to Borderless layout.
http://www.manuals4you.com

 Loading...


