271
• Clean the projection window.
Note: To avoid condensation on the lens after bringing the projector in from a cold environment, let the
projector warm up to room temperature before using it.
• Position the projector close enough to the screen, and directly in front of it.
• Verify that the throw distance from the projector to your projection surface meets the specifications in
your projector's Installation Guide.
• Position the projector so the keystone adjustment angle is not so wide that it distorts the image.
• Adjust the Sharpness setting to improve image quality.
• If you are projecting from a computer using a VGA cable, press the Auto button on the remote control
to automatically adjust the tracking and sync. If any bands or overall blurriness remain, display a
uniformly patterned image on the screen and manually adjust the Tracking and Sync settings.
• If you are projecting from a computer, adjust the computer's resolution to match the projector's native
resolution, if possible.
• Reset the keystone, Quick Corner, and Arc Correction settings to their factory defaults and refocus
the image.
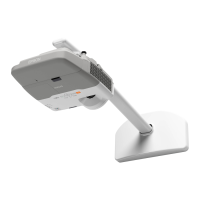
Note: If the projector is mounted on the wall, always use the adjustment dials on the mount to center
the image.
• Make sure the screen is flat.
Parent topic: Solving Image or Sound Problems
Related references
Input Signal Settings - Signal Menu
Image Quality Settings - Image Menu
Related tasks
Focusing the Image
Solutions When the Image Brightness or Colors are Incorrect
If the projected image is too dark or light, or the colors are incorrect, try the following solutions:
• Press the Color Mode button on the remote control to try different color modes for the image and
environment.
• Check your video source settings.