e
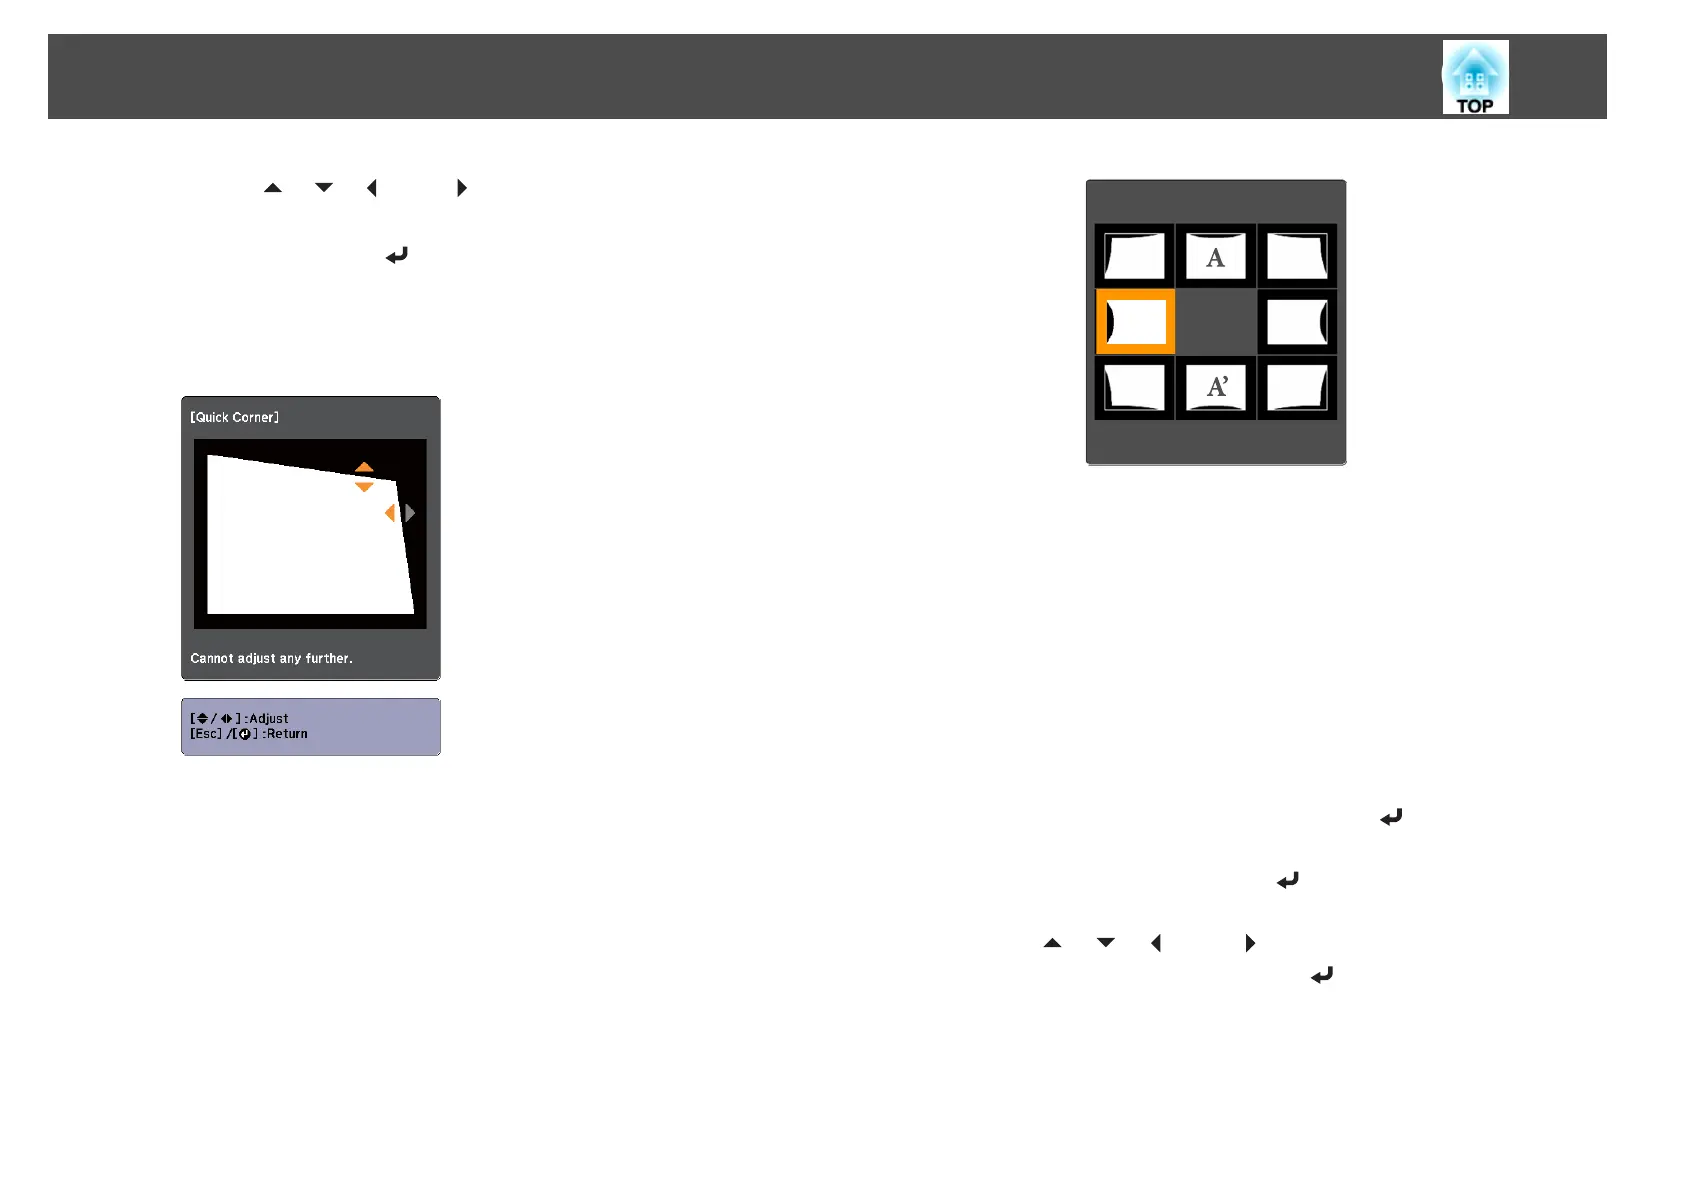
Use the [ ], [ ], [ ], and [ ] buttons to correct the position of
the corner.
When you press the [
] button, the screen shown in step 4 that
allows you to select the area to be corrected is displayed.
If the message "Cannot adjust any further." is displayed while
adjusting, you cannot adjust the shape any further in the direction
indicated by the gray triangle.
f
Repeat procedures 4 and 5 as needed to adjust any remaining
corners.
g
To complete the corrections, press the [Menu] button.
Arc Correction
This function allows you to fine tune curved distortions in the image.
You can make corrections in 0.5 pixel increments within the following
ranges.
When top center (A) or bottom center (A') are selected:
You can correct by a maximum of 7 pixels vertically and 3 pixels
horizontally.
When one of the other correction points is selected:
You can correct by a maximum of 7 pixels vertically and 110 pixels
horizontally.
a
Press the [Menu] button while projecting.
b
Select Geometric Correction from Settings.
c
Select Arc Correction, and then press the [ ] button.
If the message "If this setting is changed, the image may be
distorted." is displayed, press the [
] button.
d
Use the [ ], [ ], [ ], and [ ] buttons to select the area you
want to adjust, and then press the [
] button.
Adjusting Projected Images
53
 Loading...